


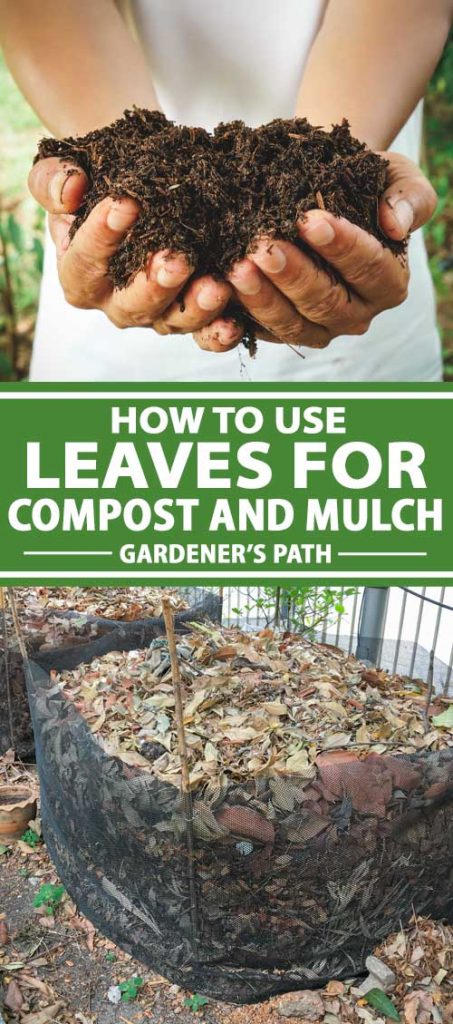
There is really nothing like reaching into a pile of rich “black gold” that used to be rotting kitchen scraps and decomposing foliage. It’s a beautiful transformation.
Despite all my wonderful garden produce, I can say with all honesty that my favorite thing to harvest is my compost.
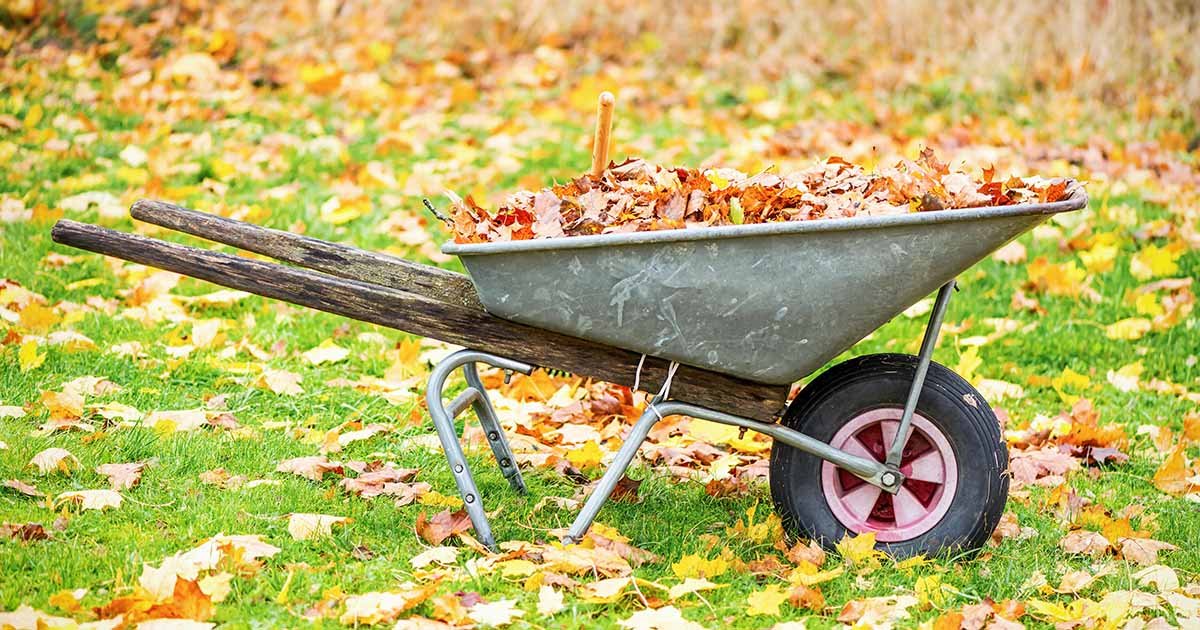
Free autmn leaves, to me, mean free compost for my veggie garden.
If you have done any at-home composting, you have probably found that your biggest source of material for your bin is kitchen waste, which is very nitrogen heavy, and in composting lingo is categorized as “greens.”
We link to vendors to help you find relevant products. If you buy from one of our links, we may earn a commission.
To make good compost, you have to balance those greens out with some “browns,” material that contains a lot of carbon.
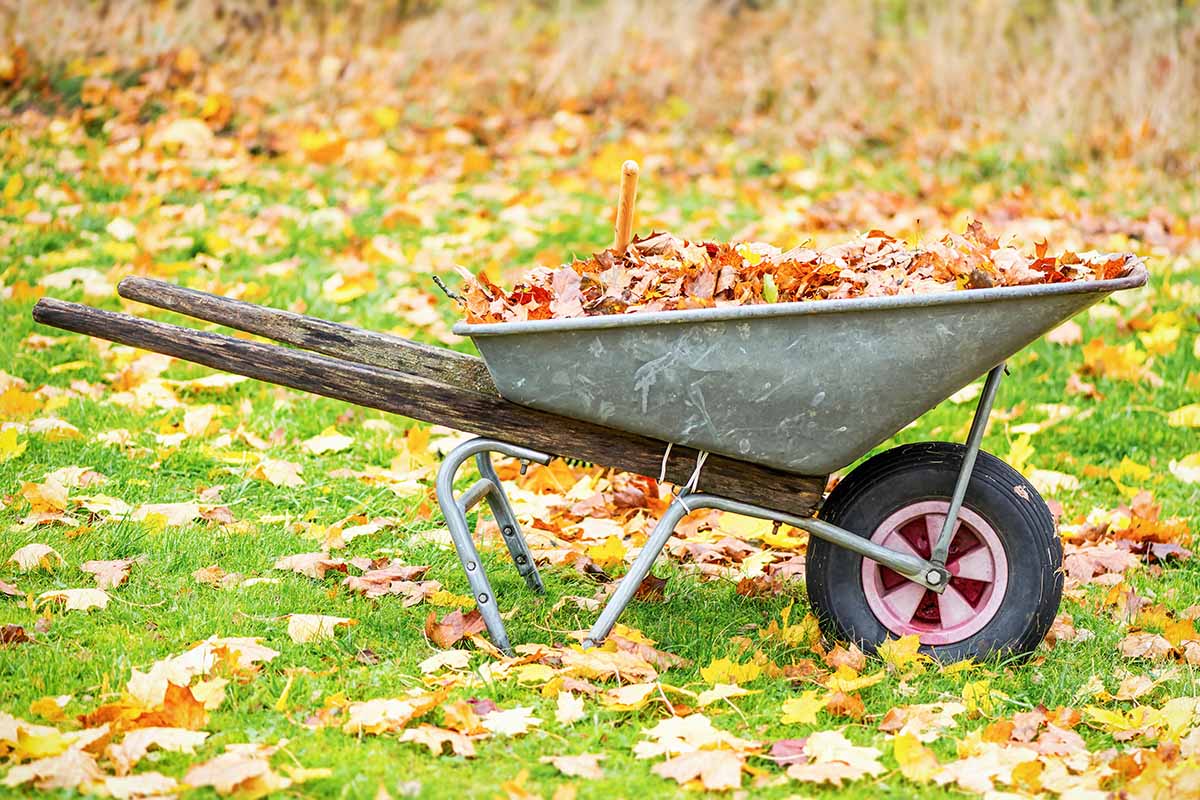
And do you know what makes the perfect browns? Fallen leaves.
It’s not that fallen leaves are essential to creating black gold, but if you’ve got them, it’s basically a gardening tragedy to let them go to waste.
Not to mention, they really make the composting process a breeze. And that is what I intend to show you in this article.
Here’s an overview of what I’ll cover:
The Benefits of Composting Leaves
Compost can provide a huge range of benefits to your garden.
From adding a slow release of nutrients to your soil, improving soil structure, balancing your soil’s pH, to increasing water retention.
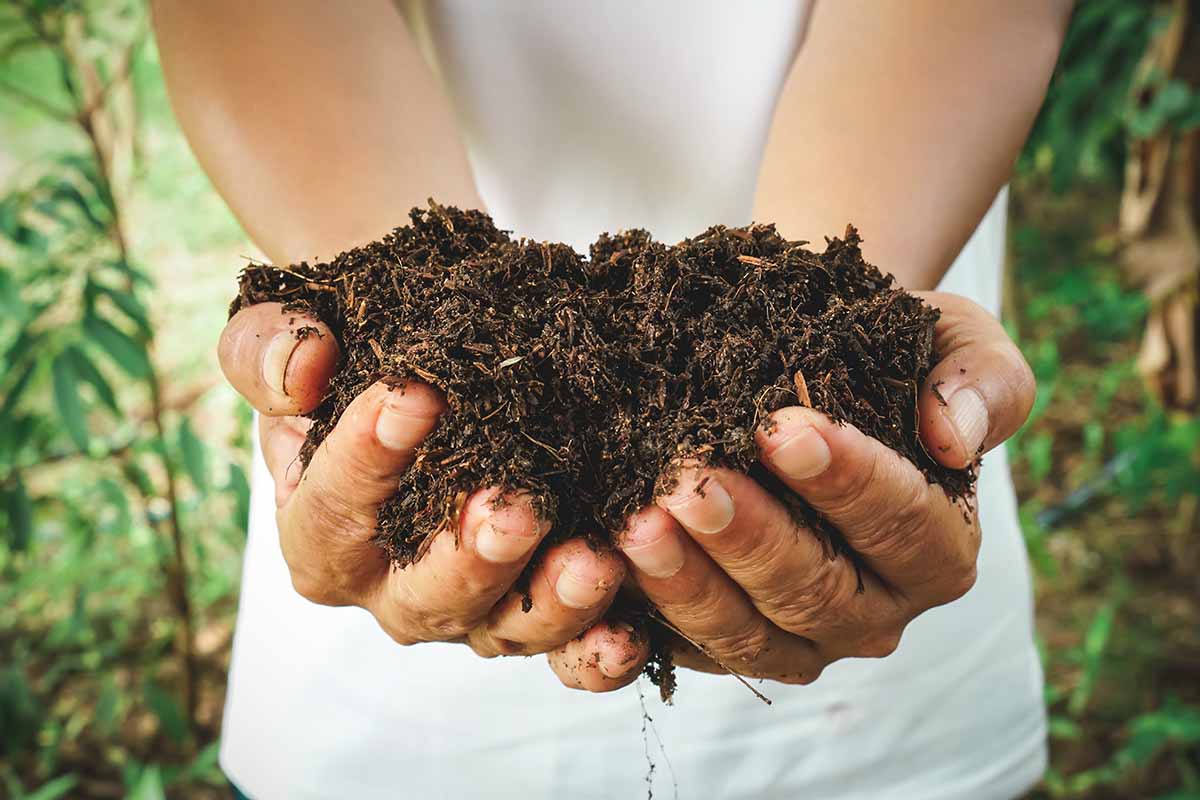
There are few garden situations where this amendment won’t be a huge help.
And in addition to the general benefits of using compost in the garden, there are some other more specific benefits to composting leaves in particular.
Composting fallen leaves will save you money, keep organic waste out of landfills, and is what nature intended, after all.
Let’s start with what I find to be most people’s biggest motivator: saving money.
Saving Money
Throwing away leaves is like throwing away money, especially if you’re a gardener.
Vincent Cotrone, Extension Urban Forester at the PennState Extension, puts the estimated value of leaves, in terms of fertilizer and humus, at about 50 dollars for each mature tree.
Would you willingly throw a 50-dollar bill into your trash can? I didn’t think so. Me neither.
If you’re a gardener who has ever had to buy compost for your garden, you know that the price on those bags can quickly add up.
Why spend your hard-earned money on soil amendments when you could spend it on seed packets, nifty gardening tools, or dreamy gardening books instead?
You can also use fallen leaves as an alternative mulch around trees and shrubs, where they will slowly break down, nourishing your plants. I’ll cover that later in the article.
Avoiding Landfill Use
Another good reason for composting this type of yard waste is to keep it out of landfills.
Leaves and other types of yard waste comprise up to 20 percent of waste placed in landfills, according to Henry Clay, Professor of Horticulture Emeritus at the University of Georgia Extension.
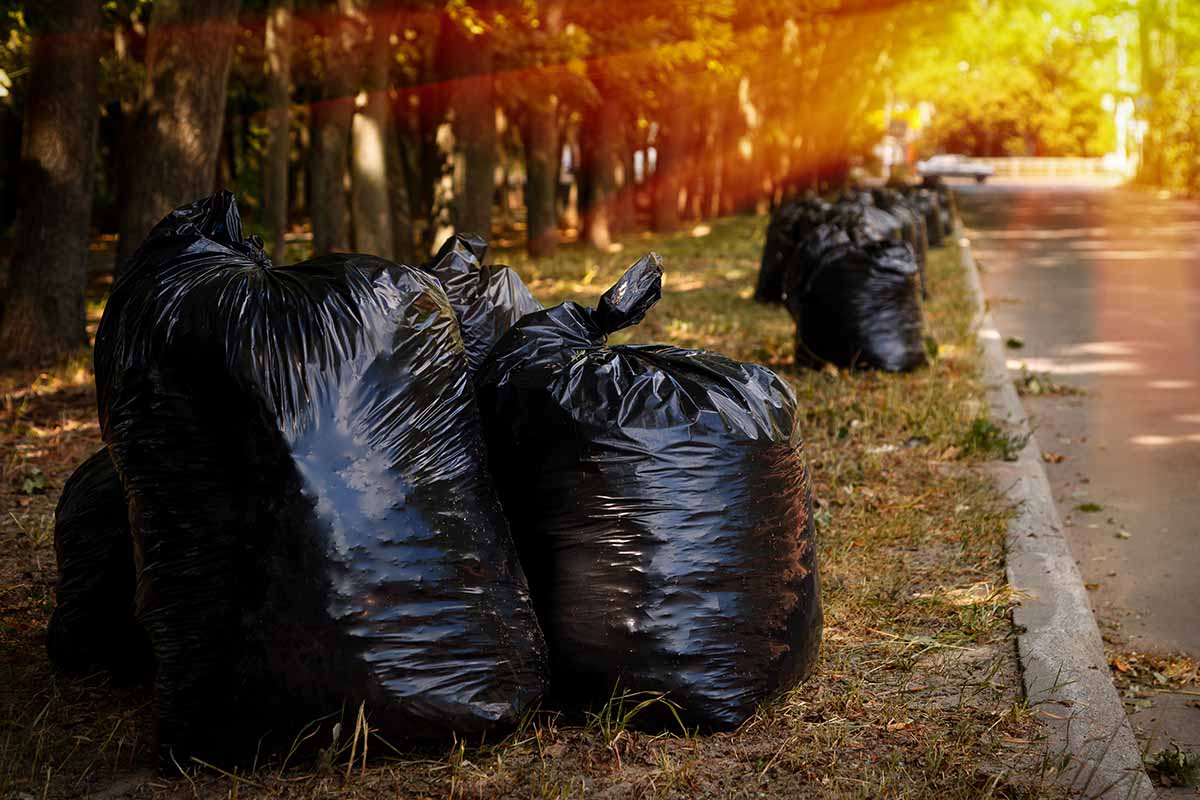
So, keeping yard waste out of your trash can could potentially mean a fifth less land needed to serve the stinky purposes of your local landfills.
Instead of turning public land into landfills, wouldn’t it be nice to have more parks instead?
Reducing Greenhouse Gases
Speaking of odor, when organic matter is decomposed in an anaerobic environment, such as a landfill, the greenhouse gas methane is produced.
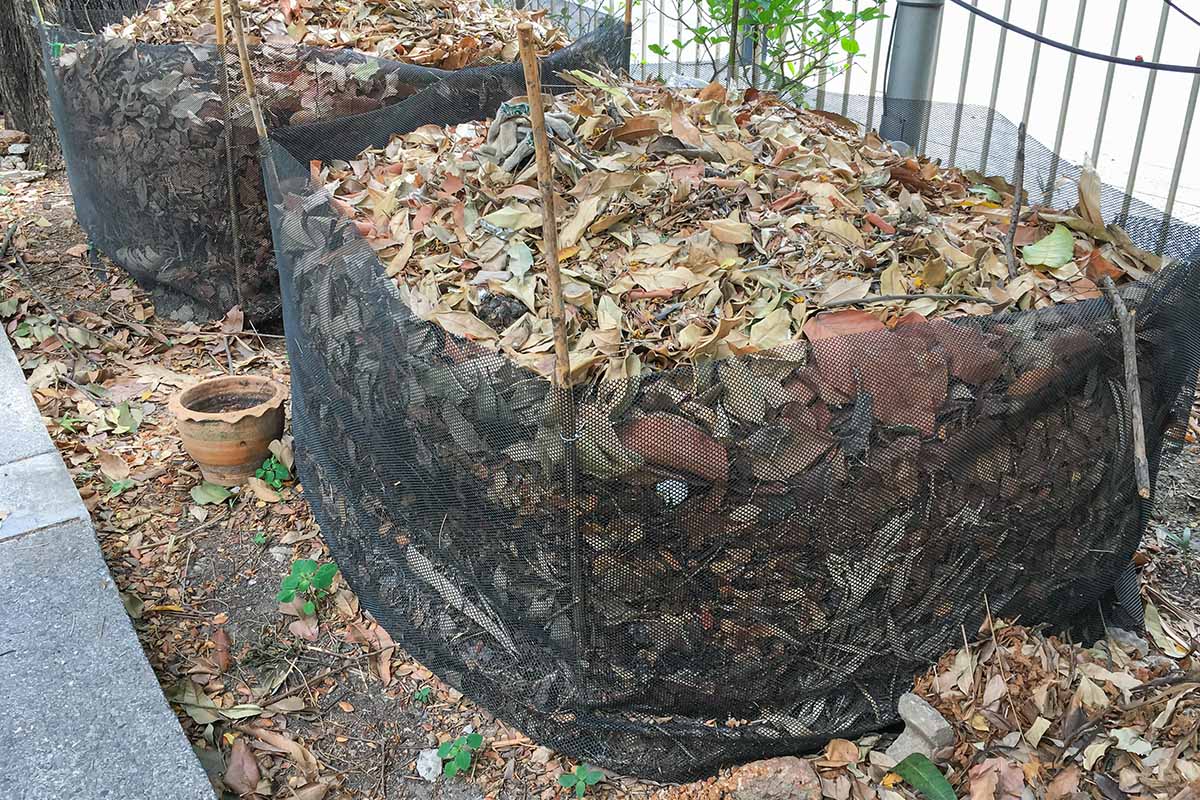
On the other hand, when kitchen scraps, leaves, and other types of yard waste are decomposed aerobically in a well-balanced bin or pile, it doesn’t stink nor will it produce methane.
Microbes that produce methane don’t hang out in places where there’s oxygen present, and there’s plenty of oxygen in an aerobic compost pile.
Letting Nature Do Its Thing
Producing dead foliage is part of the natural life cycle of deciduous trees.
Fungi and other varieties of microfauna slowly break down the dead foliage on the ground, returning nutrients to the soil and keeping it well-structured.
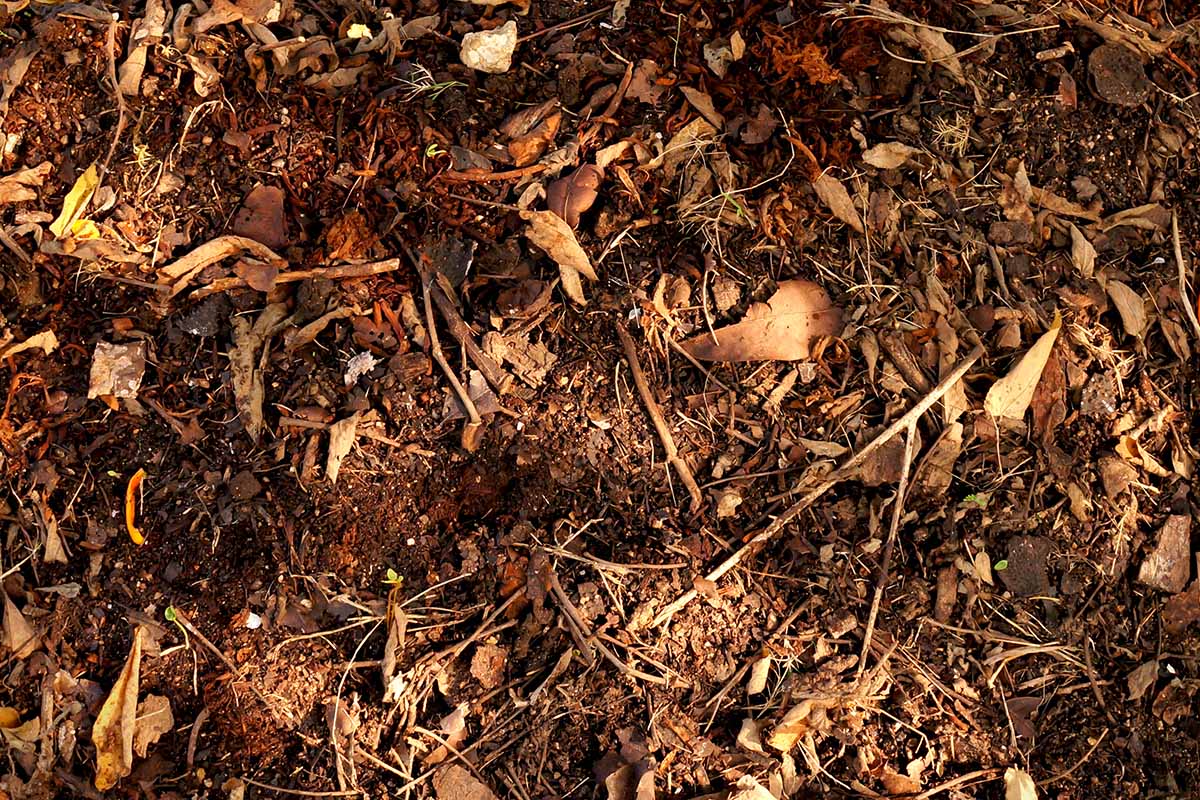
This is part of nature’s own ingenious recycling system.
While you may not want to allow the fallen leaves to remain exactly where they drop, you can take advantage of this natural cycle by allowing them to decompose where you do want them.
This process of decomposition can take place at a slow pace, as is the case with mulch, or much faster, when it’s composted.
Stocking Up on Browns
Perhaps the biggest benefit to composting this type of plant material, from a composter’s point of view, is all that easy-to-come-by carbon material for the pile – in other words, free “browns.”
As I mentioned above, dry leaves are considered a “brown” in composting lingo – that is, they provide a source of carbon.

On the other hand, green leaves, fresh grass trimmings, and kitchen scraps are all considered “greens” – or sources of nitrogen.
It’s hard to do a lot of home cooking without generating a large quantity of kitchen scraps. And you can only feed so much of them to your worms, so most of it goes into the compost pile.
Too many kitchen scraps in a pile without some carbon to help balance it out will make your pile stinky, and might cause it to turn anaerobic if it becomes overly wet and compacted from all that rotting goo.
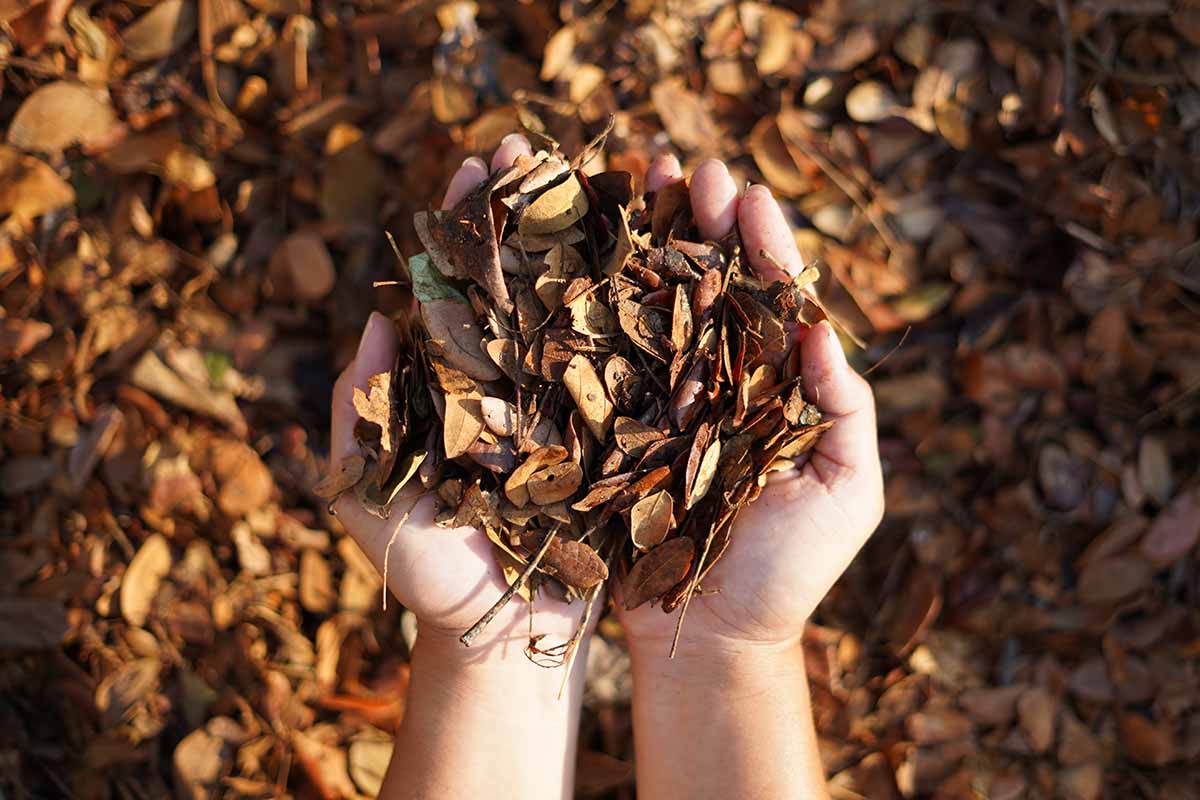
But mix in some dead leaves, and they will aerate the pile, absorb extra moisture, and give your pile the sponge-like texture you’re aiming for.
Read more about kitchen composting on our sister site, Foodal.
How to Compost Leaves
If my mention of the desired sponge-like texture has you scratching your head, perhaps it’s time to brush up on your composting basics?
If so, we have an article to help you with that.
In this article, I’m going to provide you with a primer on how to compost with leaves.
Ratios
Does that word give you the creeps? Make you want to click away? Don’t worry, math is not my favorite subject either, so I’m going to dumb this ratio thing way down for you.
All composting instructions will likely mention that a certain ratio of browns to greens – i.e. the proportion of carbon-heavy materials to nitrogen-heavy materials – should be respected.
The best and most user-friendly advice on this subject that I have encountered is pretty simple: aim for twice the volume of browns to greens.
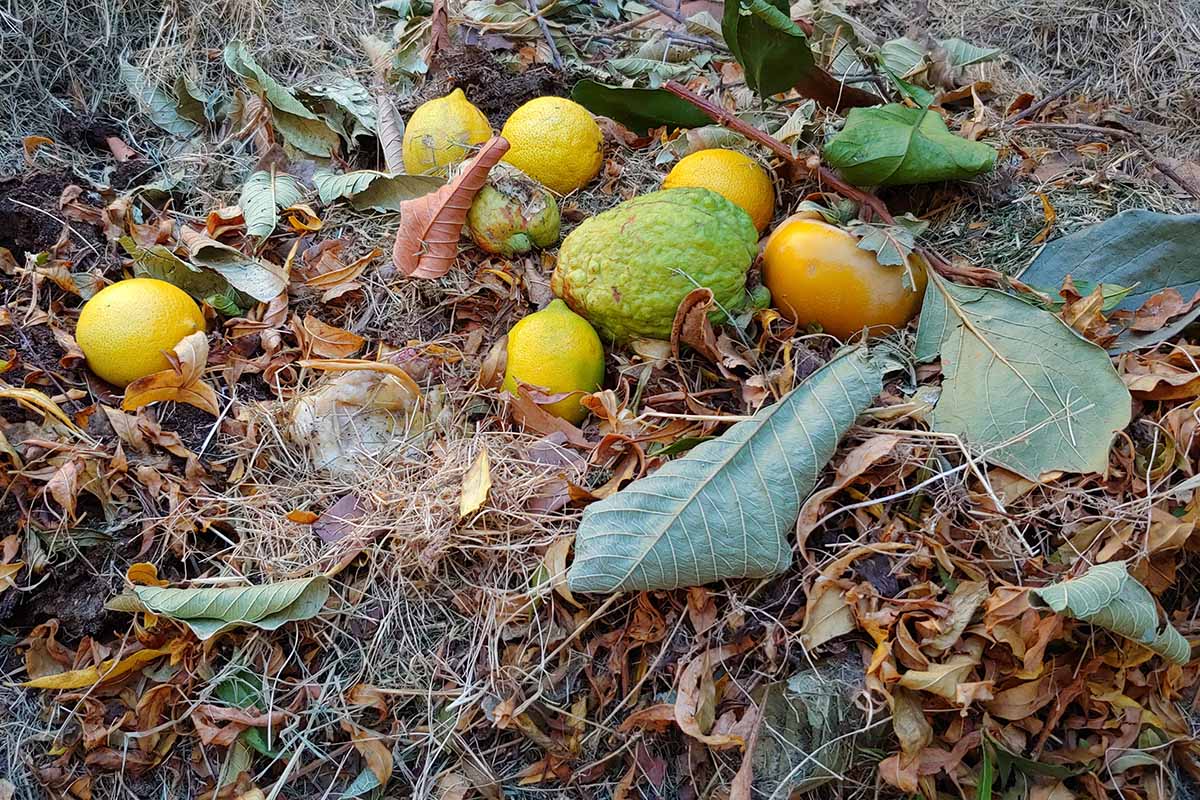
This is the proportion I use in my own piles, and it works great for me.
What does this mean? If you have a pail full of kitchen scraps, spread it out on your pile, and cover it with two pails full of dead leaves.
Water your pile after this, and if the food scraps are showing through, cover them with more leaves.
That’s it. Or that can be it, if you already have a bin or pile going, and just want to start adding some leaves to it.
However, if you’re just starting out or want to start a new bin to add to your collection, keep reading.
A Leaf-Centric Bin
Back in my yard waste stalking days, I took a home composting workshop through my local municipal waste management center.
The method I learned there was brilliantly simple, and allowed me to create my own supply of black gold – relying heavily on my own autumn leaves, as well as those of many of my neighbors.
Up until this point, I had been trying (and miserably failing) to create compost in a plastic tumbler-style bin.
The contents weren’t breaking down, and it was too small to be really useful for someone with big gardening ambitions such as myself.
Then I took the workshop and came home with a new system – and it worked like magic.
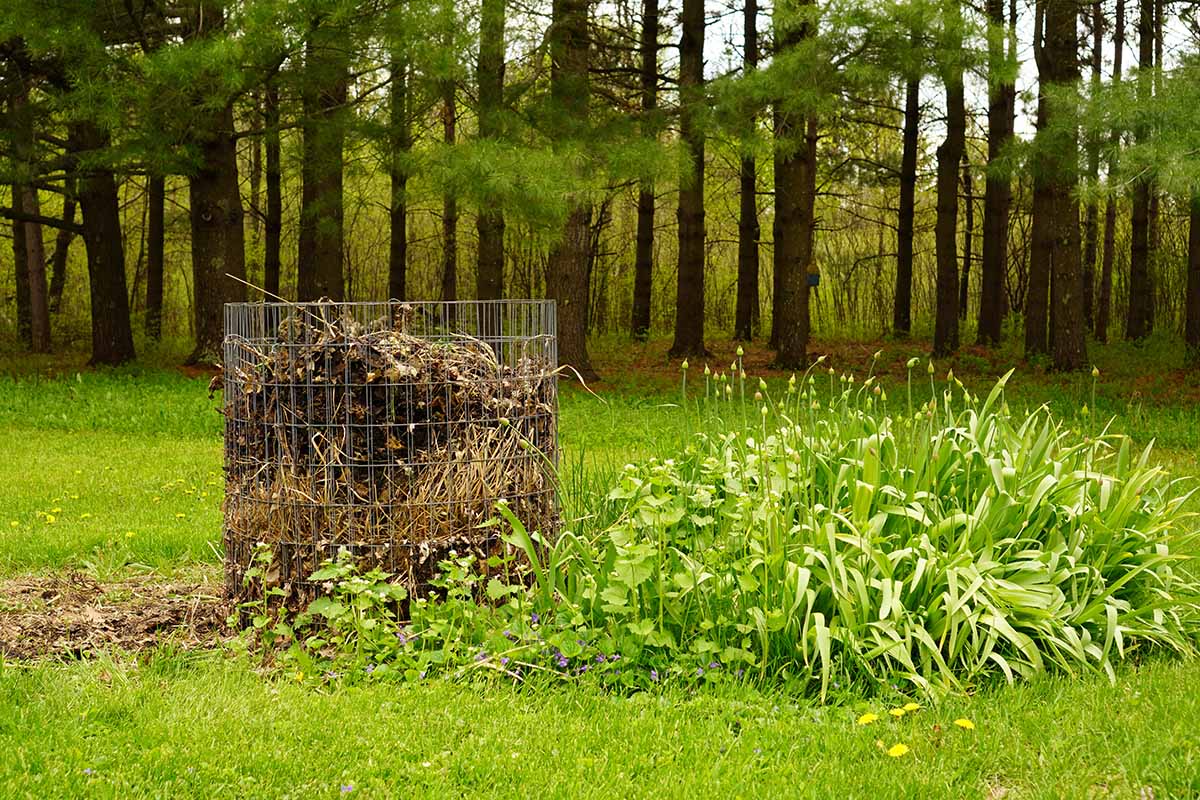
In this method, which also happens to be recommended by the Cornell University Cooperative Extension and by the Rodale Institute, among others, you start with a piece of welded wire fencing which you shape into a cylinder.
Add some twigs on the ground to help with air circulation, pour in a thick layer of leaves, make some room in the center to add a bucketful of kitchen scraps, then cover them up with dead leaves.
Repeat until the bin is full.
Essentially, each layer of dry foliage is like a bowl that holds the kitchen scraps or other “greens.”
There are layers of leaves on the sides and on the top at all times. It looks very clean, doesn’t smell, and doesn’t attract unwanted critters, since there is no rotting food spilling out of it.
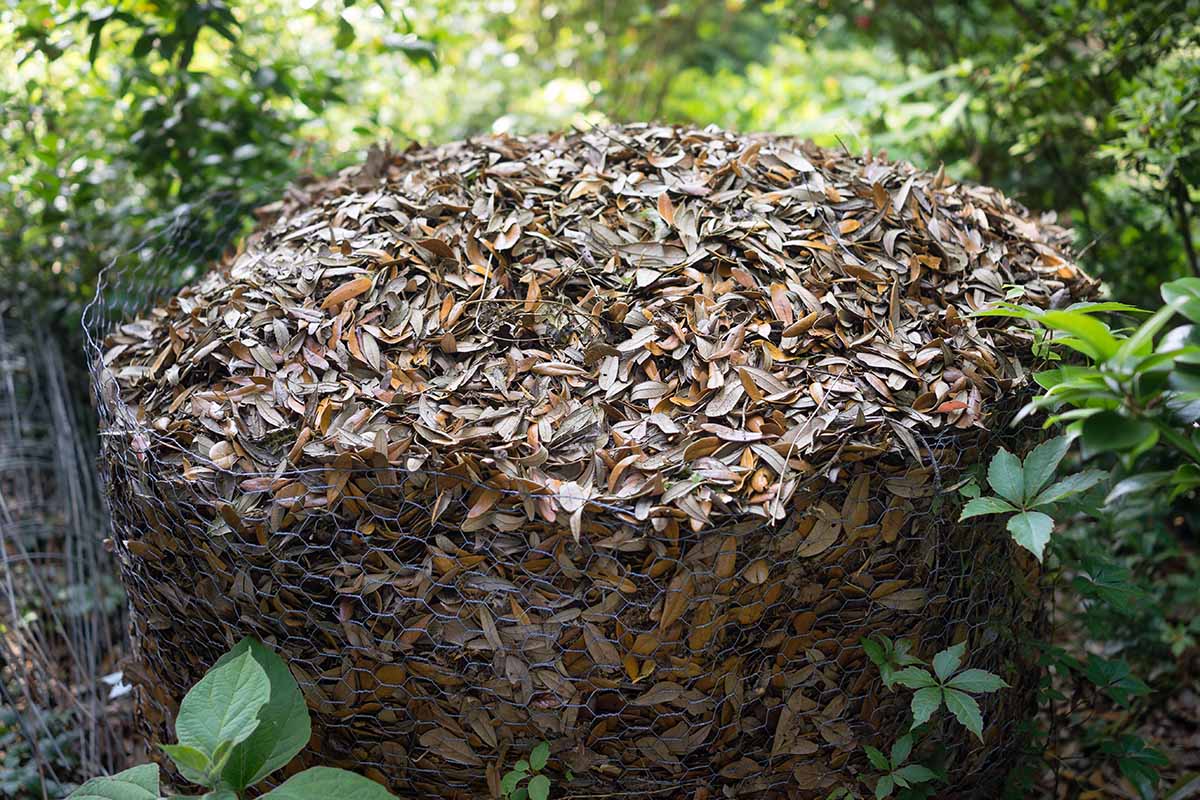
Possibly the only disadvantage to this system is that it doesn’t work well in arid climates where the mixture of browns and greens will dry out too quickly.
This is why I have transitioned to a more climate-compatible pit system here in Utah.
But for those of you in more temperate areas, there are many advantages to using this type of system.
Since the contents of the bin are in direct contact with the ground, it’s easy for decomposers such as fungi and other organisms to come in and do their work.
And since the sides of the bin are made from wire mesh, it also provides great airflow.
Oh, sure, there are other types of bins that will work to break down leaves, too.
The best ones allow your compost to be in direct contact with the ground, permit good airflow, and are light enough for you to move them around easily.
The model described here has all of those winning attributes, and it is extremely affordable.
Make Your Bin
Are you ready to make your own? Here’s what you’ll need:
- An ample supply of leaves – if shredded, they will decompose faster, though this is not necessary.
- A roll of 14-gauge galvanized welded wire fencing about three to four feet tall. You’ll need a piece that is 10 to 13 feet long for one bin.
- Wire cutters
- Some twigs or dry stems
- A small amount of finished compost as an inoculant (optional)
Here’s the process:
- Using wire cutters, cut a piece of fencing that is 10 to 13 feet long. Make your cut so that you can bend the ends of the fencing to attach it to itself.
- Stand the fencing up and form a cylinder, with about six inches of one end overlapping the other. Twist the cut ends to secure them to the other end of the fencing.
- Locate your bin away from any trees or shrubs to conserve nutrients in the pile.
- Place a layer of twigs or woody stems in the bottom of the cylinder.
- Next, pour in a bag or two of leaves. You want about a 12-inch layer or so.
- Form an indention in the middle and add your first batch of greens, such as kitchen scraps.
- Optionally, you can add a small amount of finished compost to kickstart decomposition.
- Cover with leaves.
- Water the contents of your bin thoroughly. If any food scraps are showing, add more leaves.
- Every time you add greens to your bin, repeat the same process – make a “bowl” in the middle of the pile, add the greens there, cover with a layer of leaves, and then water it in.
You may have noticed that in this method, leaves are not only one of the compost ingredients, they are part of the structure of the system, creating a permeable liner within the cylinder of welded wire fencing.
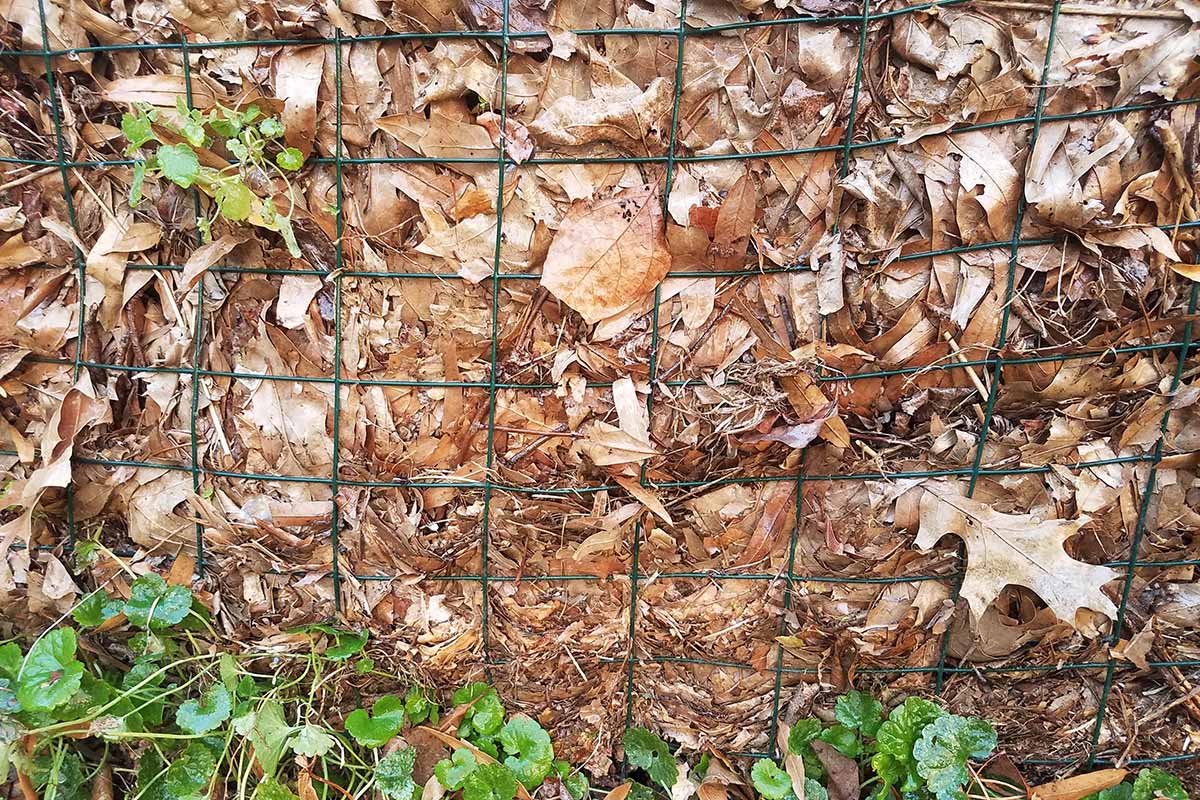
This inner “liner” will eventually break down and turn into compost as well.
A note on fencing material: the 14-gauge galvanized welded wire fencing is rigid and will keep its shape even when empty, while other fencing materials such as chicken wire or plastic mesh garden fencing will slump, making your pile less easy to manage.
And since the welded wire fencing is galvanized, it is also very long lasting and can be used over and over again.
Managing Your Pile
Your pile should remain evenly moist, like a sponge that has been wrung out, so water it as needed.
You don’t necessarily have to turn your pile when using this layering method, though if you want finished compost faster, mixing it will really help.
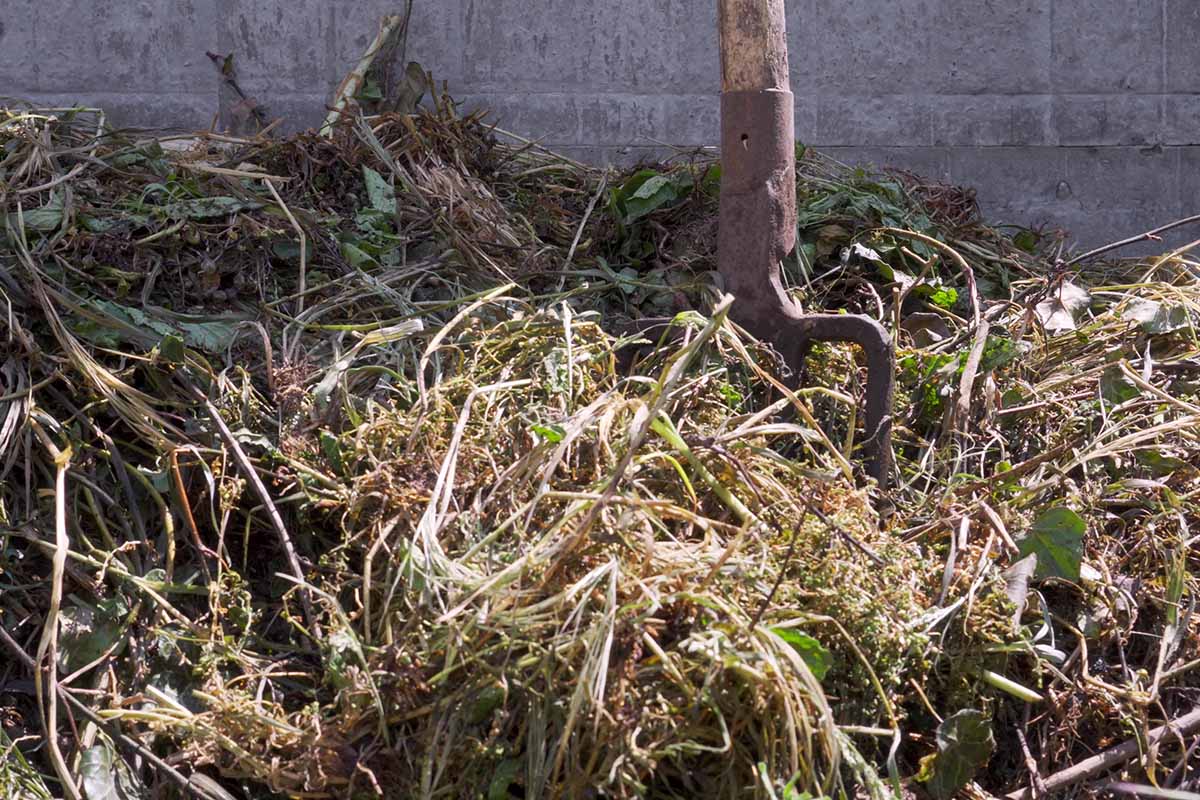
To mix your pile, twice a month, use a pitchfork to turn over or mix the contents in the center of your pile.
Pamela Coleman, Agriculture Specialist at the National Center for Appropriate Technology recommends that during each mixing session, you give it at least five turns.
At some point – usually this is when your bin is full – you’ll need to stop adding new materials to it and start a new bin, allowing the first one to finish its work of decomposition.
As the contents of your bin decompose, the pile will settle, growing smaller.
Don’t be tempted to keep adding to it at this point, just let it keep cooking away. But do keep watering it, and mixing it if you’re taking an active approach.
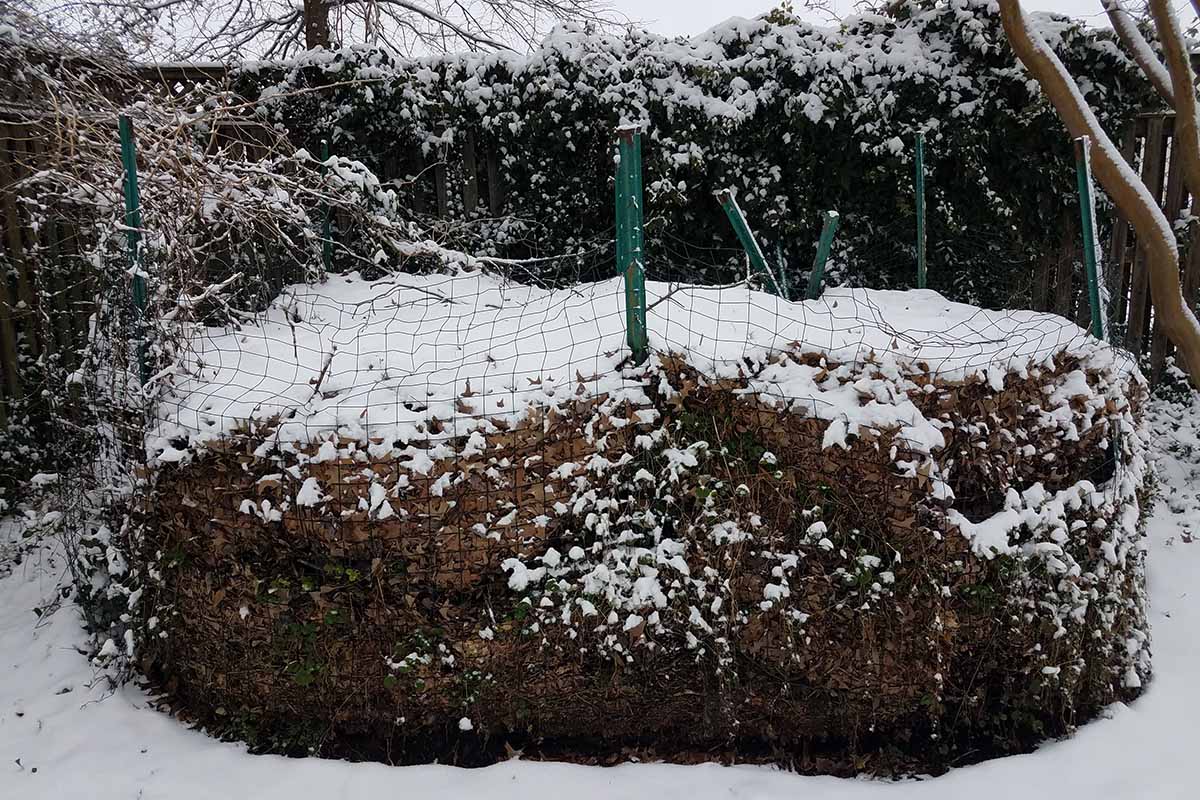
If you are keeping an unmixed “lazy” pile, your compost should be ready in around a year. A more actively managed pile should be ready to use in six months or less.
The timing will depend on your climate and when you started the bin – whether it was in gradually cooling weather or warming weather.
To check and see if your pile has fully decomposed, have a look at it when you mix it.
When there are no recognizable materials left, and the compost is dark brown, crumbly, and smells like soil, it’s ready to use.
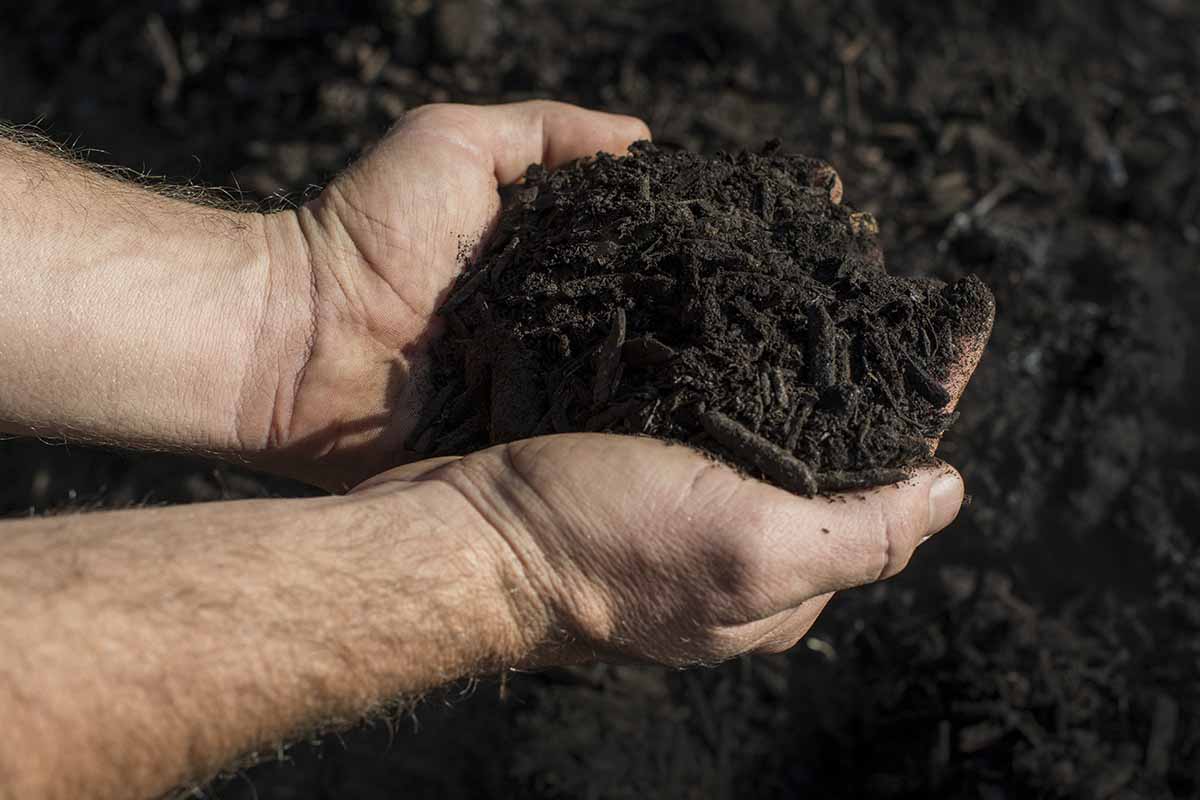
When decomposing primarily food scraps and leaves, there may be a few exceptional solids left in a compost that is otherwise ready to use, such as avocado peels, eggshells, and fruit pits.
These are slower to decompose, and can be screened out or picked out of the finished compost by hand, or broken down more before you add them to encourage quicker decomposition.
When your compost is ready, untie the wire ends of your bin, and pry the fencing away from the pile.
After you have harvested your black gold, you can start your pile over again in the same spot, or better yet, plant a tree or shrub in this well-amended location, and relocate your bin to a new spot.
Tips for Collecting and Stockpiling Leaves
When you’re on the hunt for leaves to use for your own gardening projects, I have some recommendations on how and where to gather and stockpile them.
Of course, you’ll always want to start with your own.
Collect Your Own
You’ll need to gather up leaves on your own property using either a good quality leaf rake or an electric or gas powered blower.
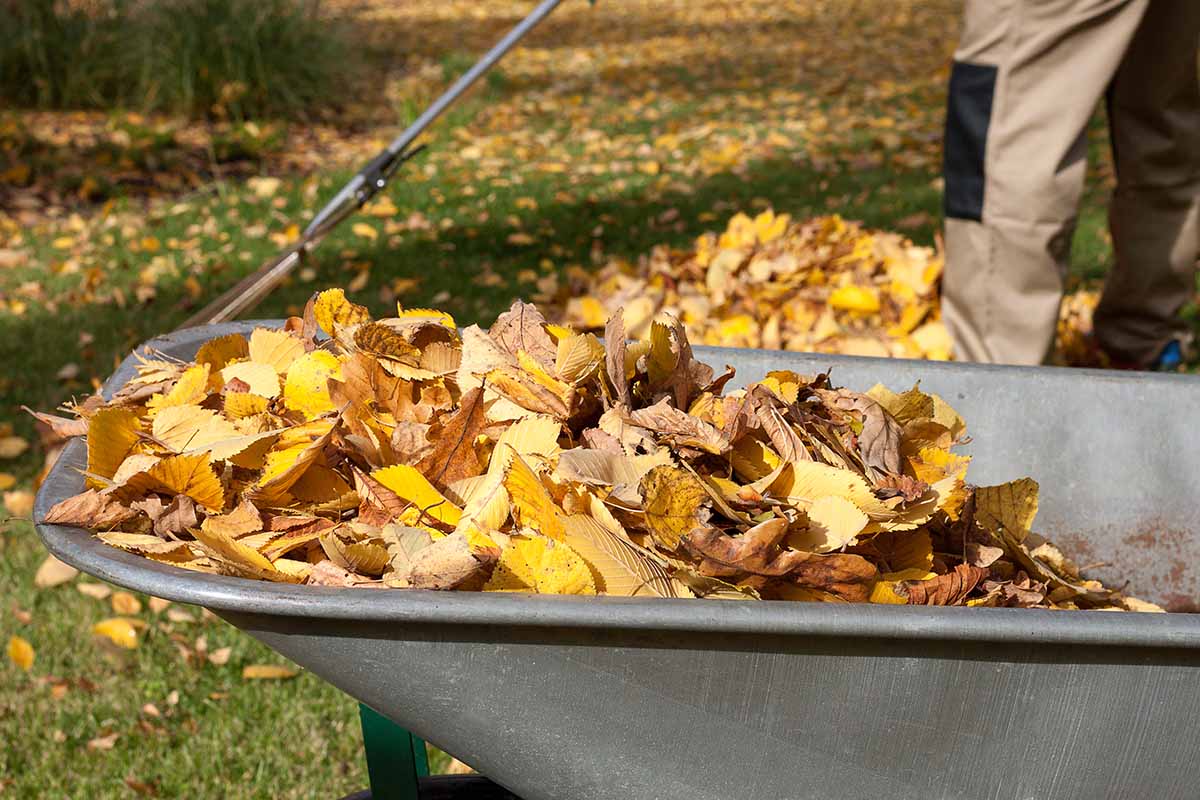
You can bag them up if you want. But if keeping them in bags isn’t your longer-term plan, there are other ways to gather them.
Once you gather your fallen foliage, you can start placing it in your bin or you can stockpile it – see below for storage suggestions.
Collect from Neighbors
If you don’t have an adequate supply from your own yard, you can also collect some from your neighbors.
A small point of etiquette: when you spot your neighbors’ unwanted yard waste on the curb, if they happen to be out in the yard, it’s a good idea to be polite and ask before you grab it.
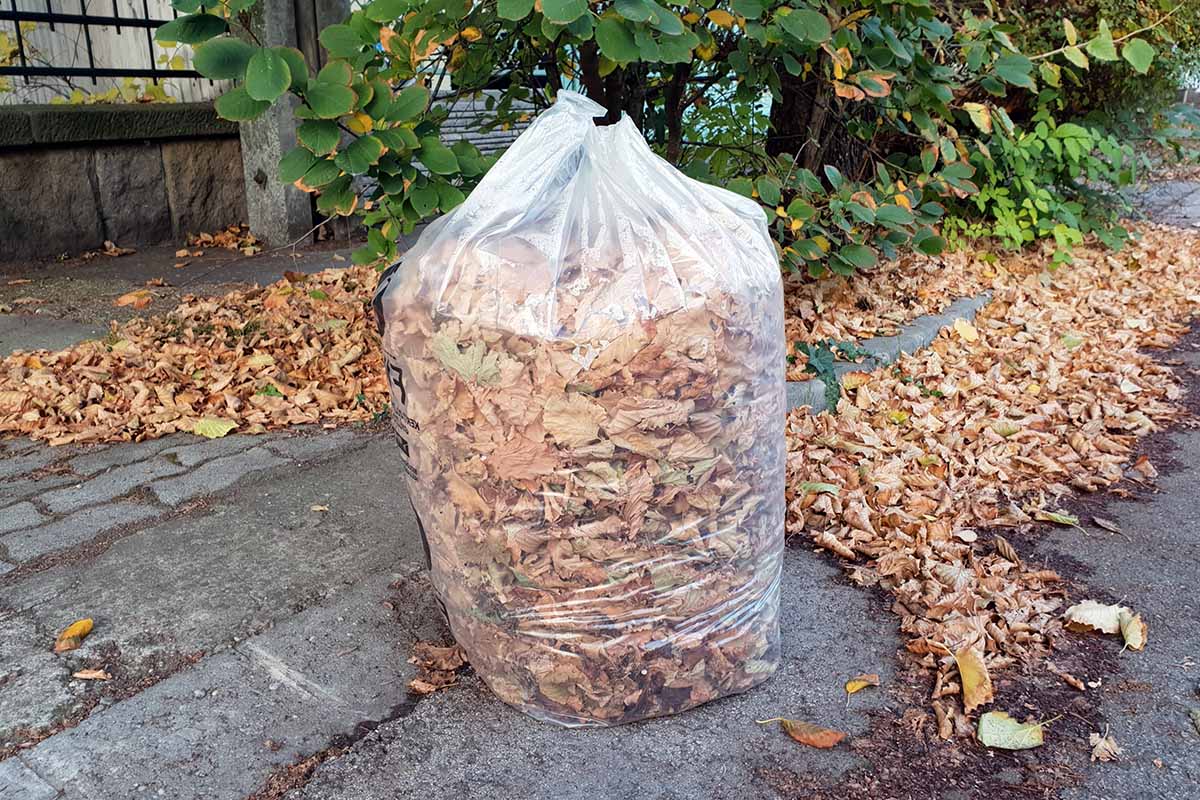
I have found that most people don’t mind if you make their bags of yard waste disappear from their curb faster than the waste collectors.
When scouring your neighborhood curbs for ready bags, the best ones to look for are the ones that are transparent – that way you can see what type of yard waste is inside, and avoid any types of materials you don’t want, such as woody tree and shrub trimmings.
Those will break down, but not as quickly.
One more thing you might want to look for when collecting yard waste from outside sources is to try to avoid potential herbicide or pesticide contamination.
Most homeowners are not likely to be spraying on top of fallen foliage, so the risk of contamination is logically small, but it’s something you might want to be aware of, particularly if you are trying to garden organically.
When I used to collect bags of yard waste in my neighborhood, I looked for bags from yards with garden beds and lawns that looked less manicured.
My theory was that they were less likely to have been sprayed with chemical herbicides or pesticides that might potentially persist in my finished compost.
Collect from Municipal Waste
You may also be able to pick up loads of this yard waste for free at your local municipal waste center.
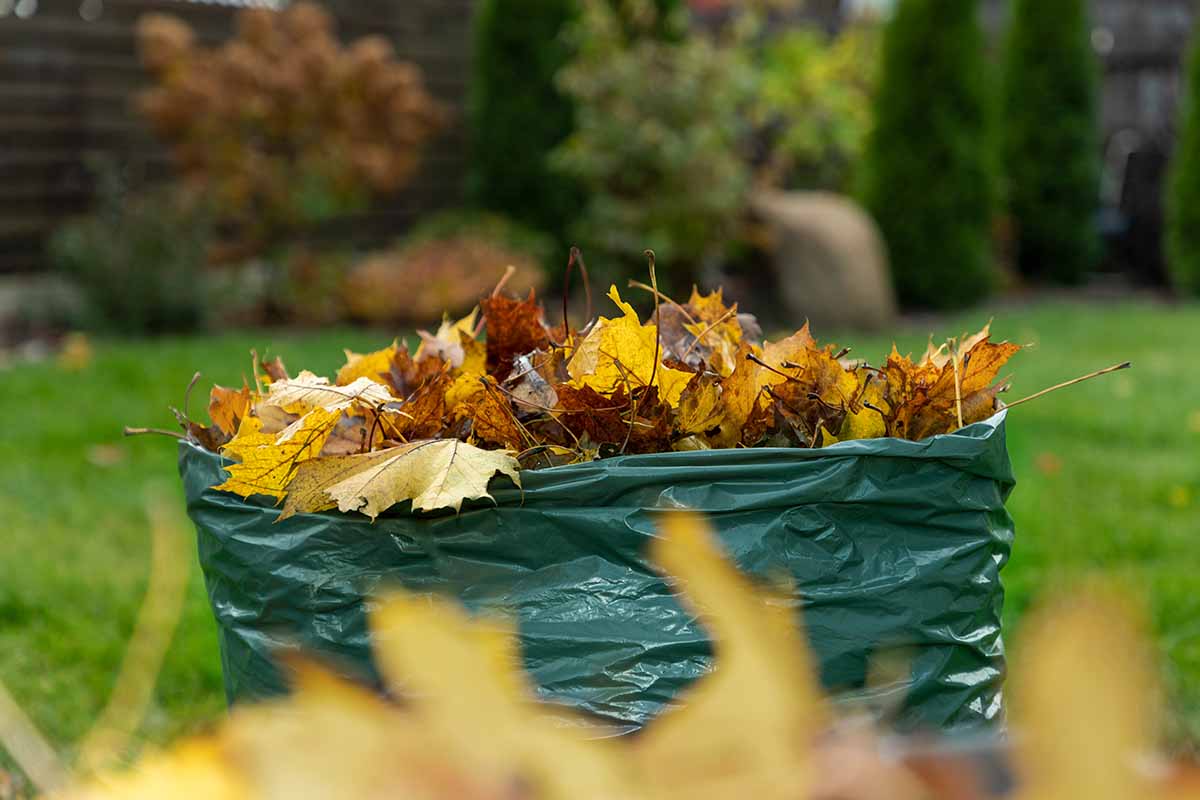
Some waste services collect yard waste and then keep it at a central location where residents can come haul it away and use it at home.
You won’t be able to use your detective skills to discern whether the yard waste came from a spray-free yard or not, but having an additional source of free browns can help when you don’t have enough available locally, or if you are working on a larger project.
Look up your local waste management center to find out whether they keep yard waste for residents to haul away. Some keep leaves separate, and some mix them with other yard waste.
Stockpile Your Browns
It’s possible to keep these browns in bags until you need them. Some people prefer to store a dry, bagged supply in the garage until they are ready to be used.
Before I had an extra holding bin available, I stored a stockpile of full bags near my compost bin over the winter, so I could easily add layers of leaves to my bin when they were needed.
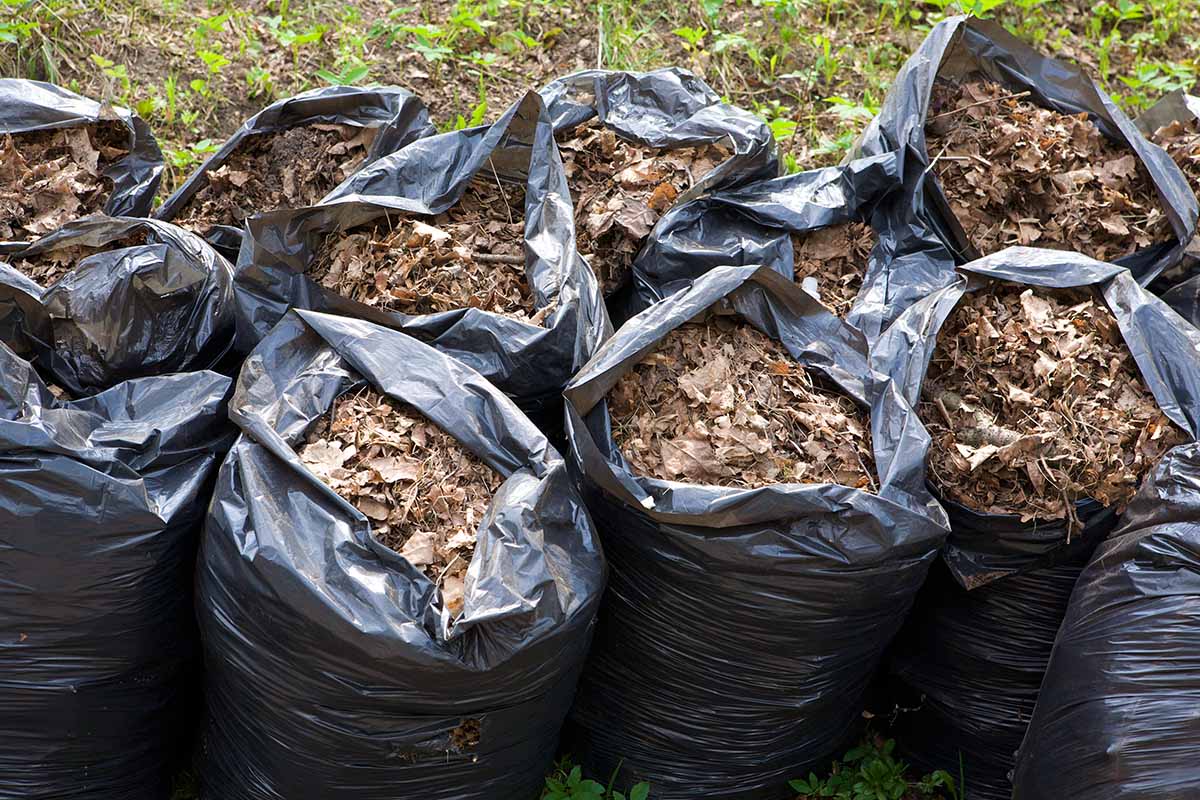
They will begin to break down a bit in the bags, which is not a problem since that’s the goal here anyway!
If you’re going to be storing them in bags, you will want to use them up before the bags start to decompose, which will be faster if they are in full sun.
If you’re looking at longer term storage, it’s a good idea to create a second (or a second and third) holding bin too.
Any type of bin will work for holding your stockpile.
When you make your compost bin out of welded wire, you might want to go ahead and make another bin (or two) dedicated to holding leaves.
How to Use as a Mulch and Soil Amendment
Using leaf litter as a mulch is another way to put the natural recycling system to use in your garden.
When used as a mulch, leaves will slowly break down, eventually turning into humus and enriching the soil around your plants.
You can apply as is, or shred the leaves first for a finer appearance and faster decomposition.
This type of mulch will help to retain water, and will also add organic matter and nutrients to your soil.
For Your Lawn
When a light layer of leaves falls from the trees in autumn, they can be shredded with your lawn mower, then left in place as a lawn amendment.
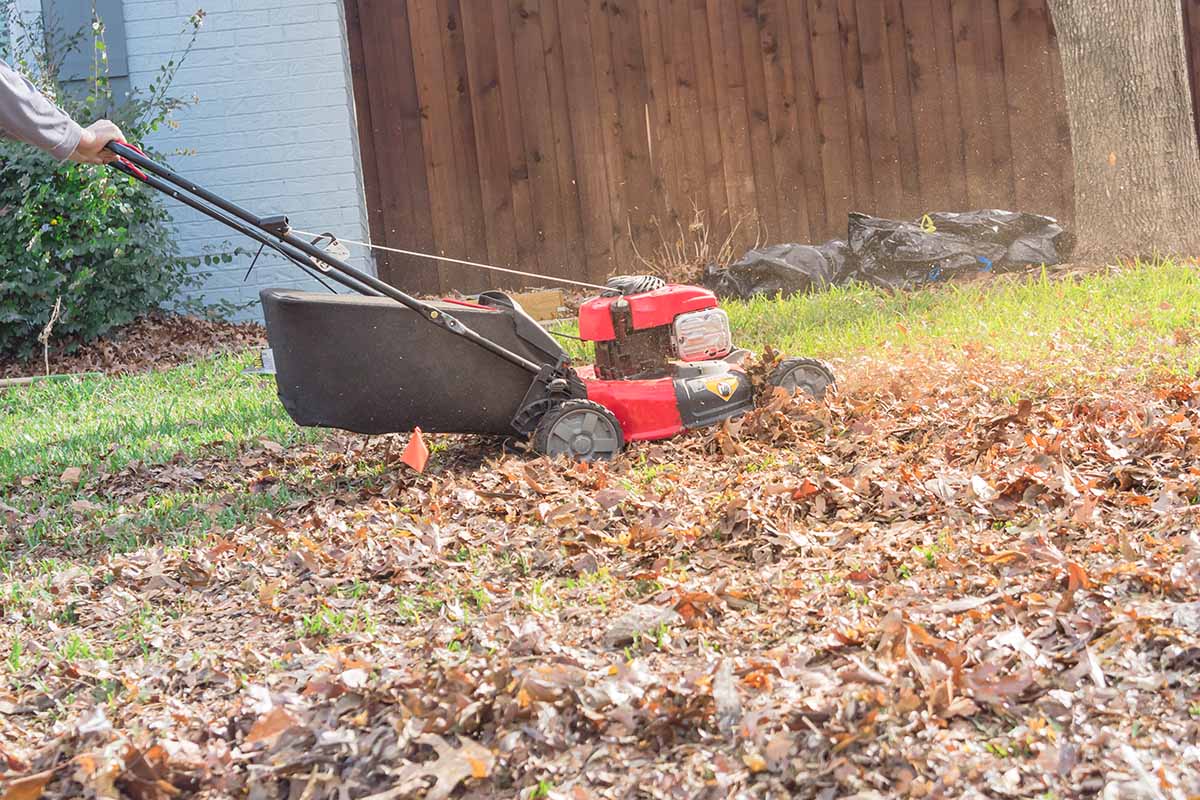
As long as the layer of shreds isn’t so thick that it will smother your grass, pieces will fall in between the blades of grass and add organic matter to your lawn, providing a slow-release natural fertilizer.
In or Around Raised Beds
Working leaf litter – or most other mulches, for that matter – directly into the soil of your garden beds isn’t recommended, since the decomposition process can take nutrients away from your plants.
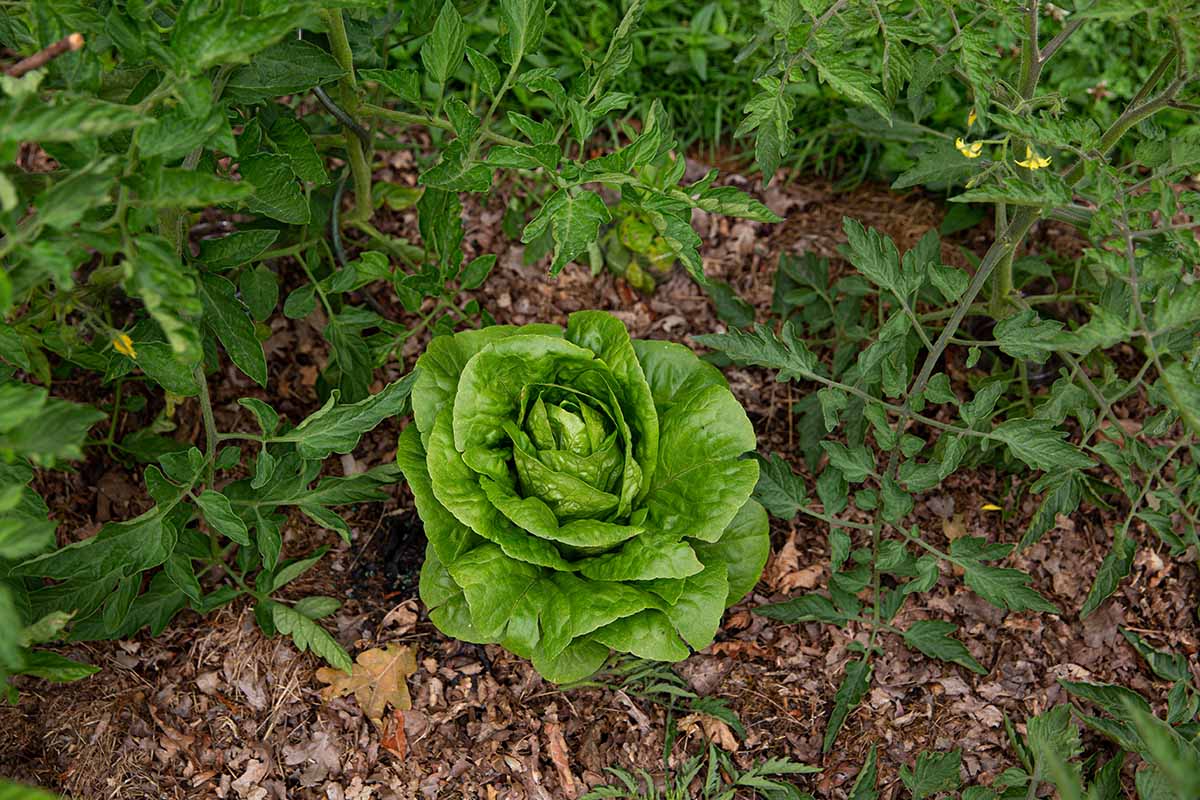
However, when leaves are used as a mulch on top of your soil, it will help to retain moisture and will slowly decompose, gradually adding nutrients to your soil.
This yard waste also makes an excellent mulch around garden beds.
When my method of gardening was primarily in raised beds, I used a thick layer of leaf litter to cover the spaces between the beds, which made for a soft, comfortable walkway.
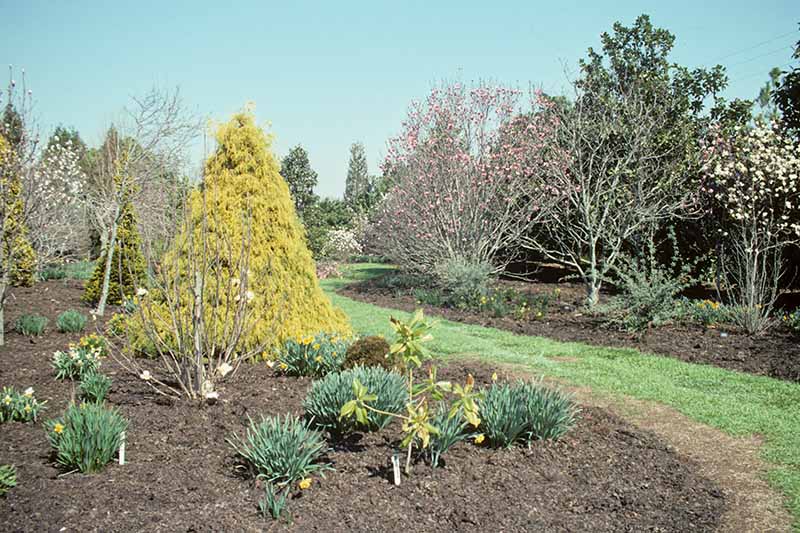
This layer of mulch did an excellent job of preventing weeds from popping up.
You can even use this type of mulch in more formal flower or landscaping beds – skip the pine bark mulch and use leaf litter instead.
As a Winter Mulch
If you are growing any plants that are a bit more tender than others and could use some winter mulching, you can use leaves for this purpose as well.
Sarah Browning, Nebraska Extension Educator in Horticulture, suggests a novel way of mulching with them – she recommends placing them bagged around tender plants for winter protection.
Which Leaves Not to Compost
While most foliage makes good food for your pile, there are some types you may want to omit:
Diseased Plants
To avoid spreading disease among your garden or landscape plants, don’t put materials from sick plants into your compost pile unless you’re sure that your pile is reaching high enough temperatures to kill plant pathogens.
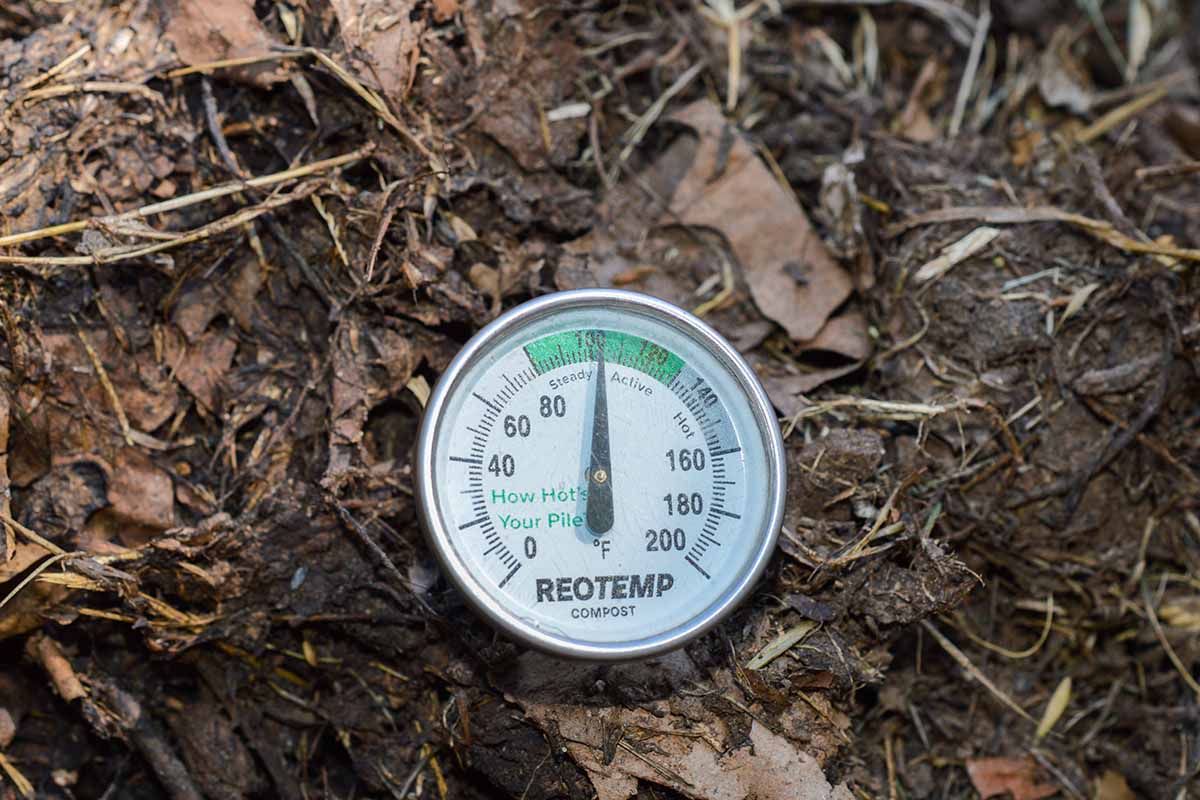
You can monitor the temperature of your pile with a compost thermometer.
To figure out how hot your pile is, place the stem of the thermometer into the center of the pile – this the place where it will be the hottest.
If your compost pile reaches 140°F for 15 consecutive days – the temperature that will kill plant pathogens and weed seeds – you should be safe to compost diseased plant material.
However, if you’re not sure if your pile is heating up enough, stay on the safe side and forego adding material from diseased plants. Instead, dispose of it in your regular trash.
Learn more about composting diseased plant material.
Pine Needles
Pine needles and needles from other evergreen conifers can be composted but will not break down as quickly as deciduous plant material.
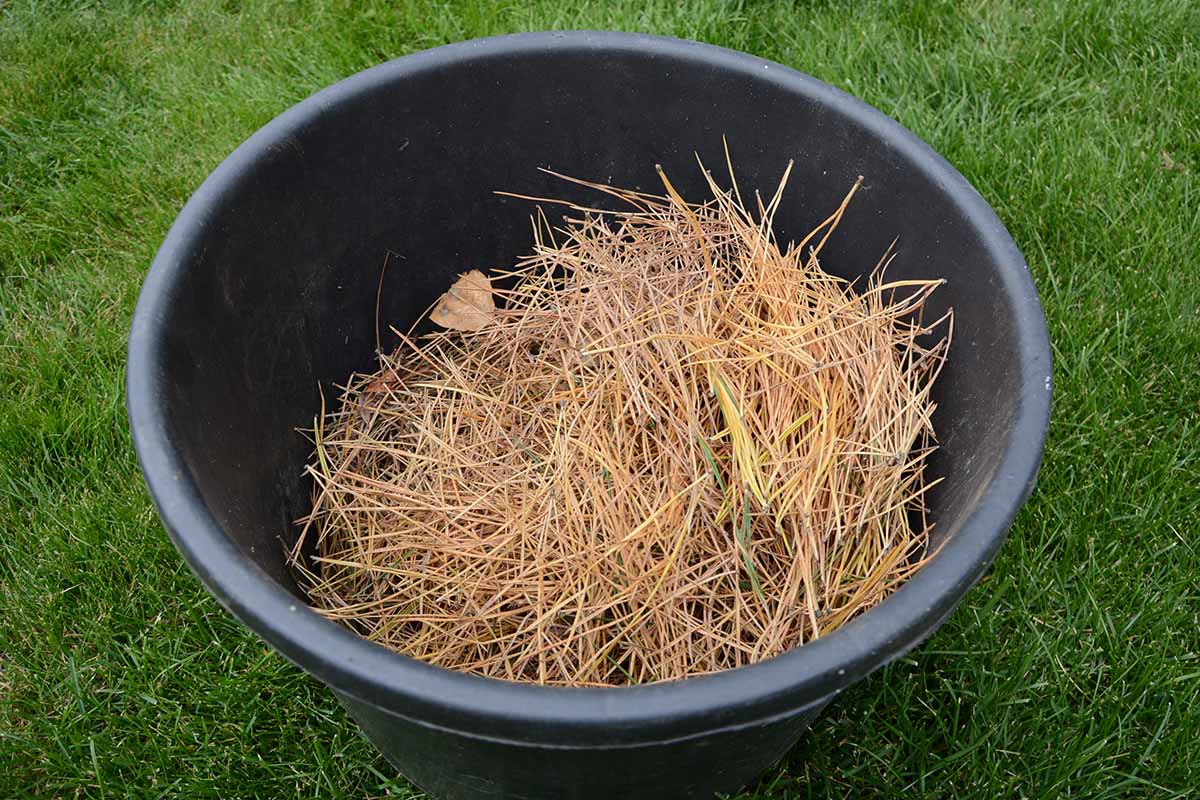
These can be composted separately, or they can be used as mulch – particularly in alkaline areas that could use some balancing.
Pine needles are acidic and can help to swing the pH balance of alkaline soils back towards neutral.
Broadleaf Evergreens
You may also want to omit foliage from broadleaf evergreen trees, such as many species of magnolia or holly, since these break down much more slowly than deciduous foliage.
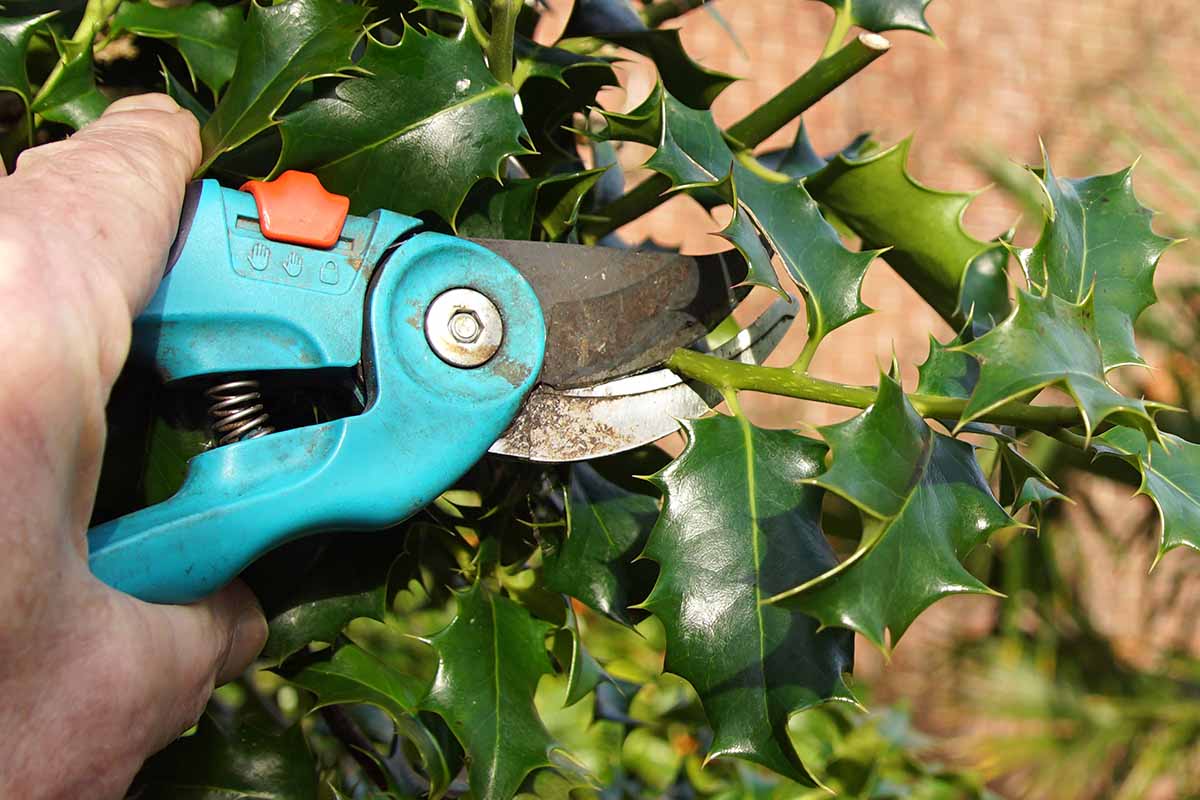
If you have plant trimmings from these types of trees, consider composting them separately.
You can place these in a separate holding bin to allow them to start decomposing before adding them to your regular bin.
Shredding them beforehand will also help to speed up decomposition.
Black Walnut
All parts of the black walnut tree contain a substance called juglone, which is part of the tree’s natural defense system.
Juglone is found in other types of walnuts as well as pecan, hickory, and butternut trees, but in black walnuts it is produced in higher concentrations.
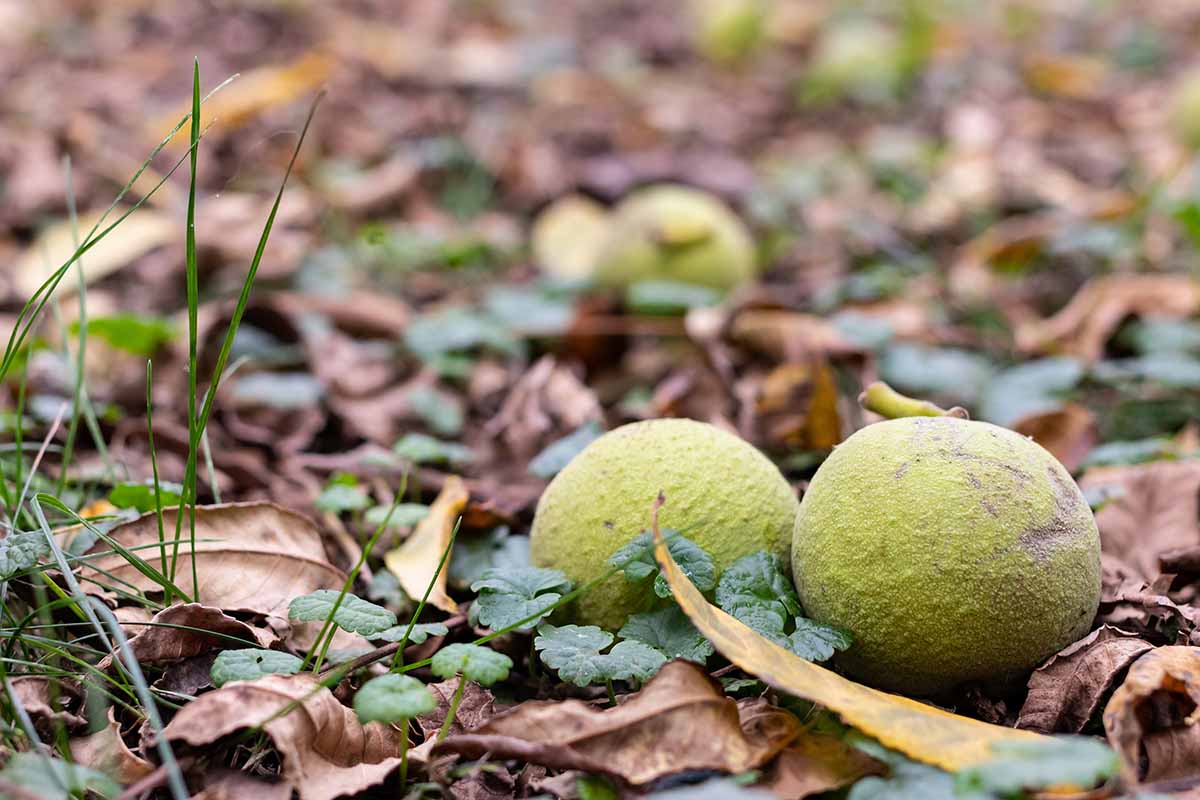
Avoid putting any nuts, leaves, or other plant debris from a black walnut tree into your compost to prevent ill effects from this naturally occurring chemical.
Get the facts on juglone toxicity here and learn which plants are affected.
Recycle Your Leaves
Autumn is a beautiful time of year isn’t it? All those colorful leaves swirling to the ground, free for the taking, and ready to be turned into sweet, rich black gold.
If you live somewhere where you find yourself up to your knees in leaves in the fall, look at them as the amazing free resource they are.
Are you ready to start composting your leaves – and your neighbors’ leaves too? Have you ever used this free resource as mulch?
Let us know in the comments. And better yet, share your pics of your own leaf-centric compost bin!
And if you’re interested in learning more about the art of decomposition, make sure you check out some of our other articles on this hot topic:

