


Hi GPODers!
Yesterday we enjoyed scenes from the vibrant spring that finally erupted in Kit Jensen’s garden this year (A Rare Spring Week in Kit’s Ohio Garden), and today we have another gardener showing off the spring color that has emerged after a long and lingering winter. Lee from the Mohawk Valley of New York State has sent several submissions of spring in his colorful garden (check out some previous contributions: Lee’s Tulips in Mohawk Valley, Lee’s Spring Garden in the Mohawk Valley, and Early Spring Blooms from the Mohawk Valley), but this year the earliest displays are, as Lee explains below, more on the “simple” side. As Lee always has inspiring words to share about the craft of gardening and how we view our outdoor spaces, I’ll let him explain why simple can still be so special:
Well, it snowed a couple of days ago but nothing that stuck. It’s a reminder that here in the Mohawk Valley in central New York, we have some “brutally cool” days still. On Saturday, it was shorts, no shirt, and the start of a tan at 75 degrees while I started cutting a “garden expansion” (ruh-roh!). Twelve hours later, it’s snowing… Confusing? Nah—just quite fickle.
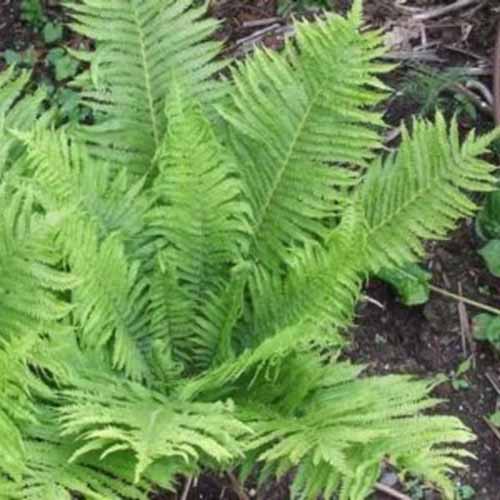
I see many nice pictures of everyone’s spring, with lots of color and blooms and foliage. Well, that ain’t here. Part of it is due to the time of year and secondly, my early springs are “eh” until things get going.
But “eh” ain’t all that bad, so I called this submission, “Eh—Simple Spring.” Yup—simple, not much color, not many blooms, and scant foliage. Howeverrrrr, that in and of itself makes a subtle statement, and the pics substantiate that, I do believe. I find simplicity appreciatively being a part of my three-season gardening.
Once you see my pics, you’ll see that none of them will blow you away or even impress. They may not even tickle a slight fancy. But I personally look for those simplicities that set the stage for the upcoming. As we know, anticipation is half of the enjoyment—and free!
Yup, at times, I find simplicity making a statement of its own—almost as much as a bountiful garden of colors—which will come with time. I’m in no hurry—whatsoever.
Am I a loner on this??? Probably. I never claimed I made sense all the time.
As ALWAYS, good fortune and great gardening to all—and let the coloring begin! Catch ya down the road.
Peace from the Mohawk Valley in beautiful New York State.
As we’ve seen from Lee’s previous submissions, a wonderful mix of bright bulbs are a staple in his spring displays. They might not have reached their peak yet, but, as Lee expressed in his intro, the earliest blooms and first glimmers of color can be just as exciting as the landscape at its most lively.
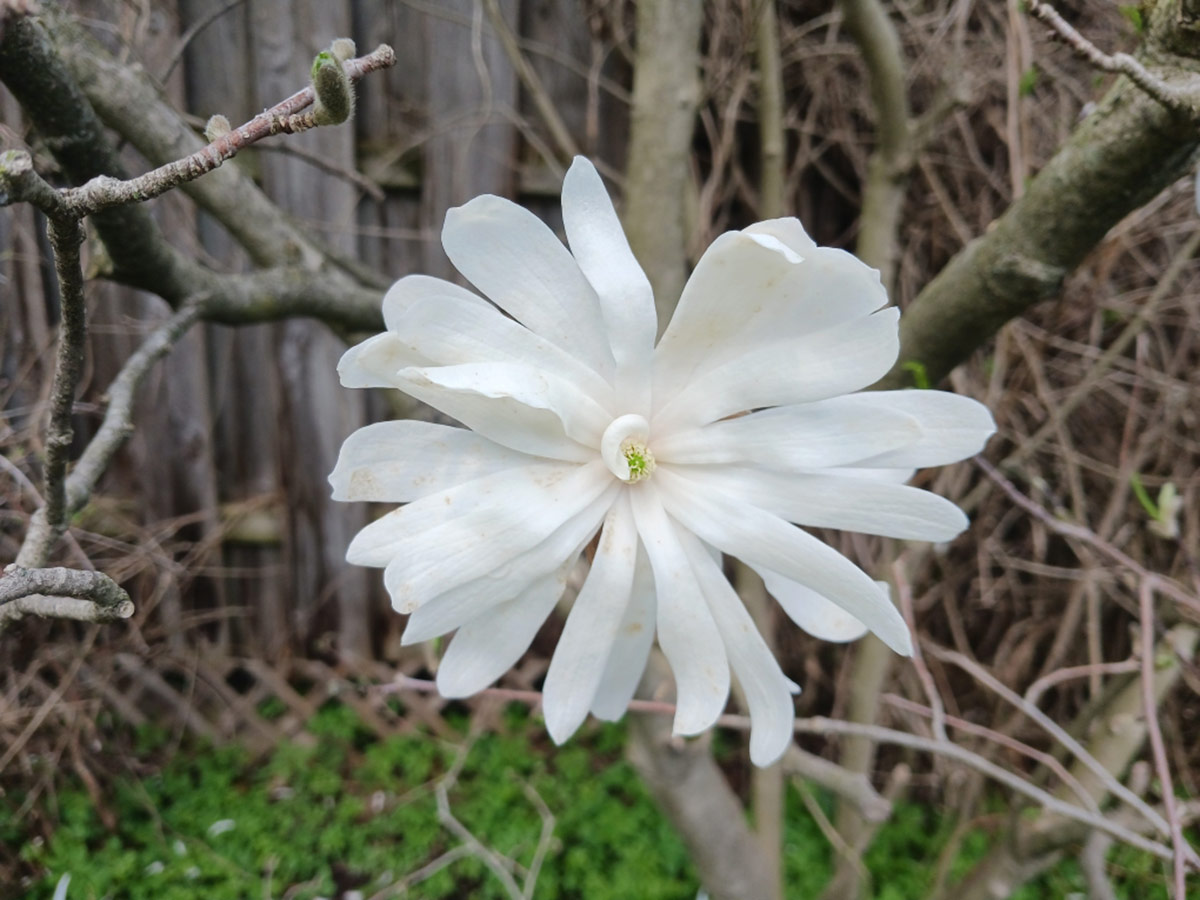 Flowering trees are also a great example of the simple interest that can make our hearts go aflutter. While branches are still bare, the blooms that emerge—like this glorious star magnolia (Magnolia stellata, Zones 4–8)—are like magical gifts that seemingly appear out of nowhere.
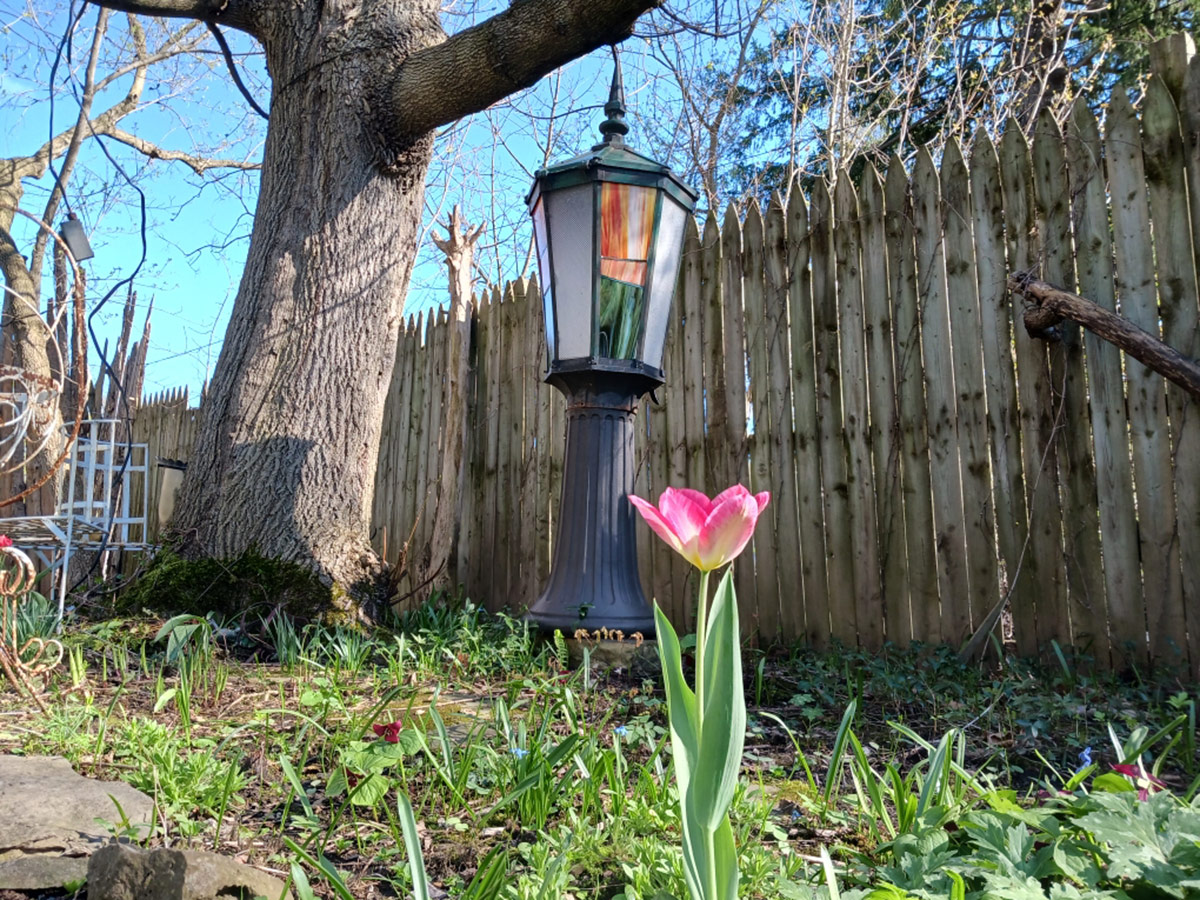 As you’re still battling bouts of cold weather, the first shoots of greenery and a single pink tulip are vital signs of garden life that invigorate the senses.
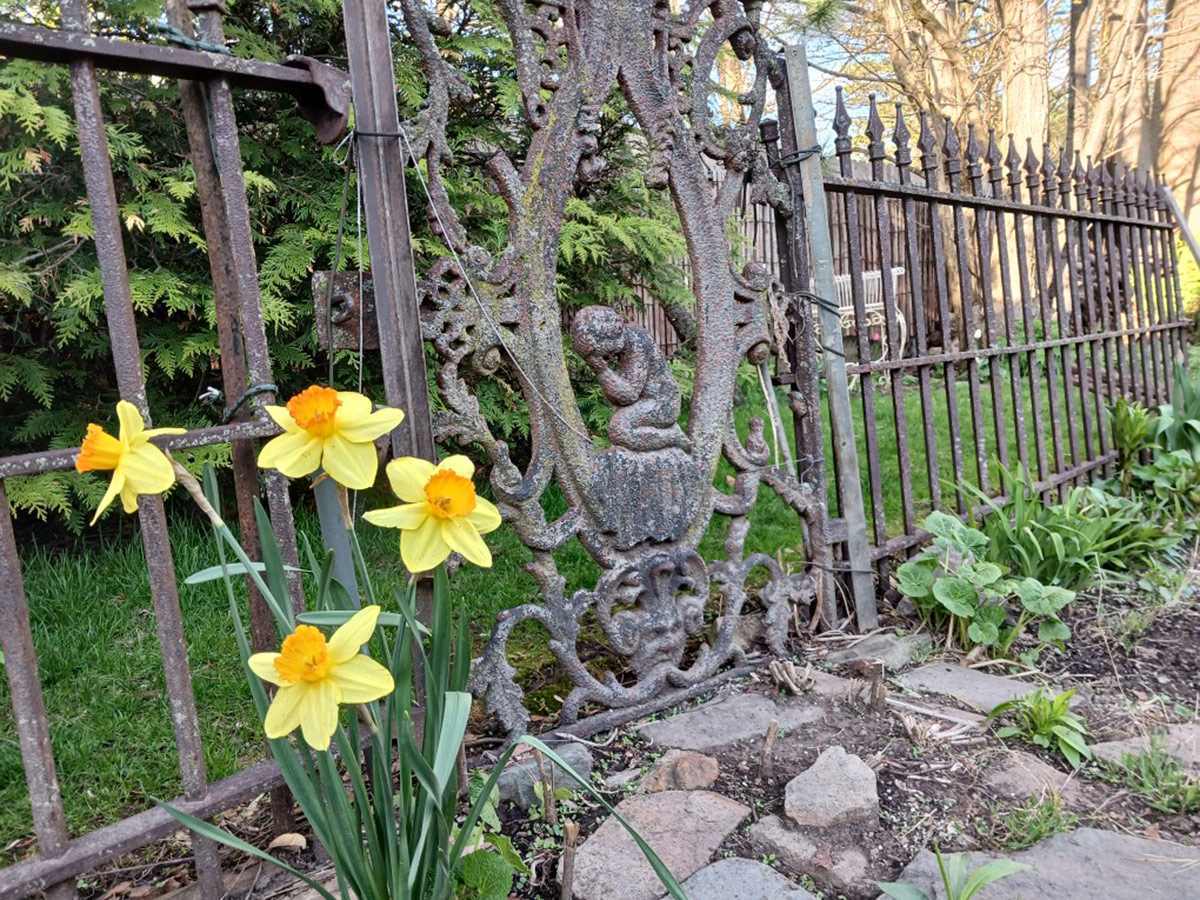 Nothing says “spring is here” quite like happy clumps of daffodils. Even when spring is slow and fickle, these cheerful blooms are a great reminder that winter weather won’t last forever.
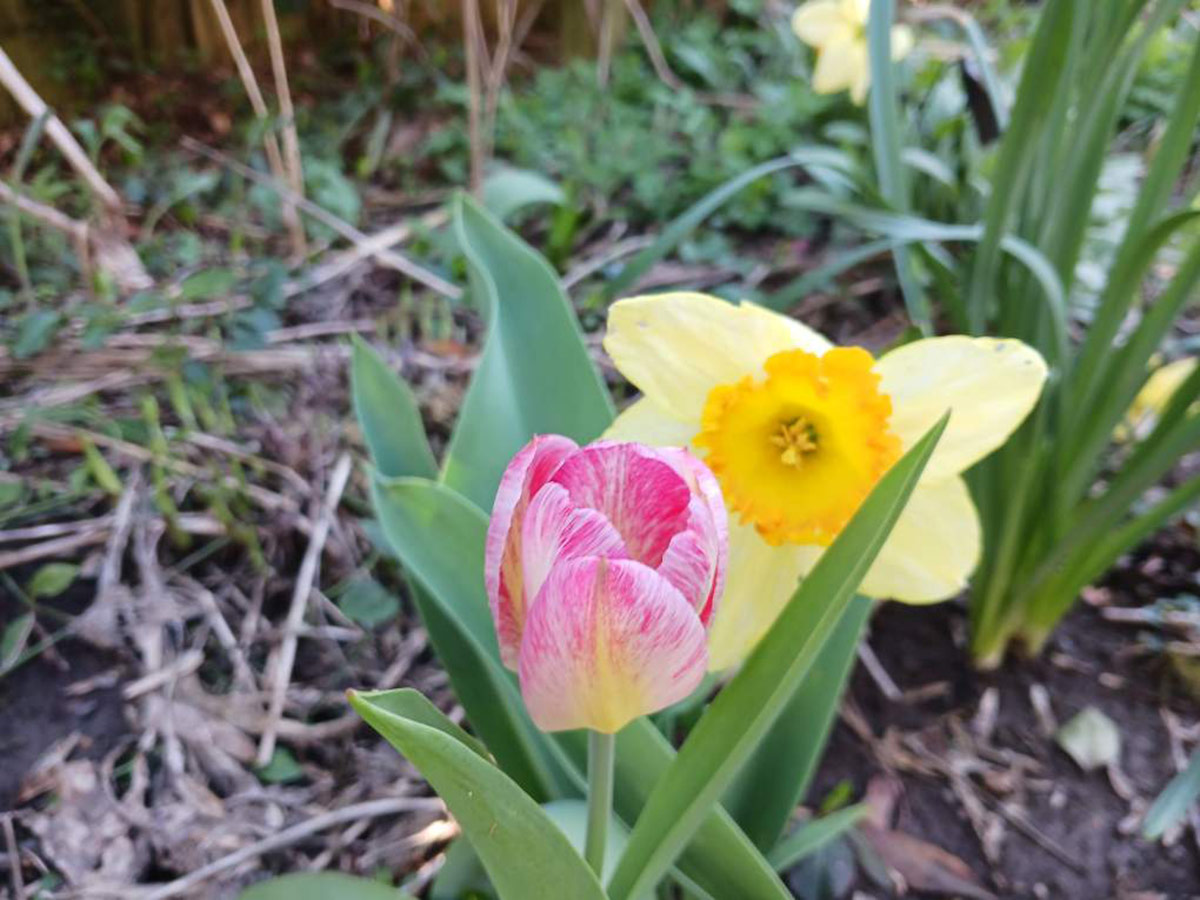 The fantastic pairing of a light pink tulip and a butter yellow daffodil might be “simple,” but it would still stop me in my tracks.
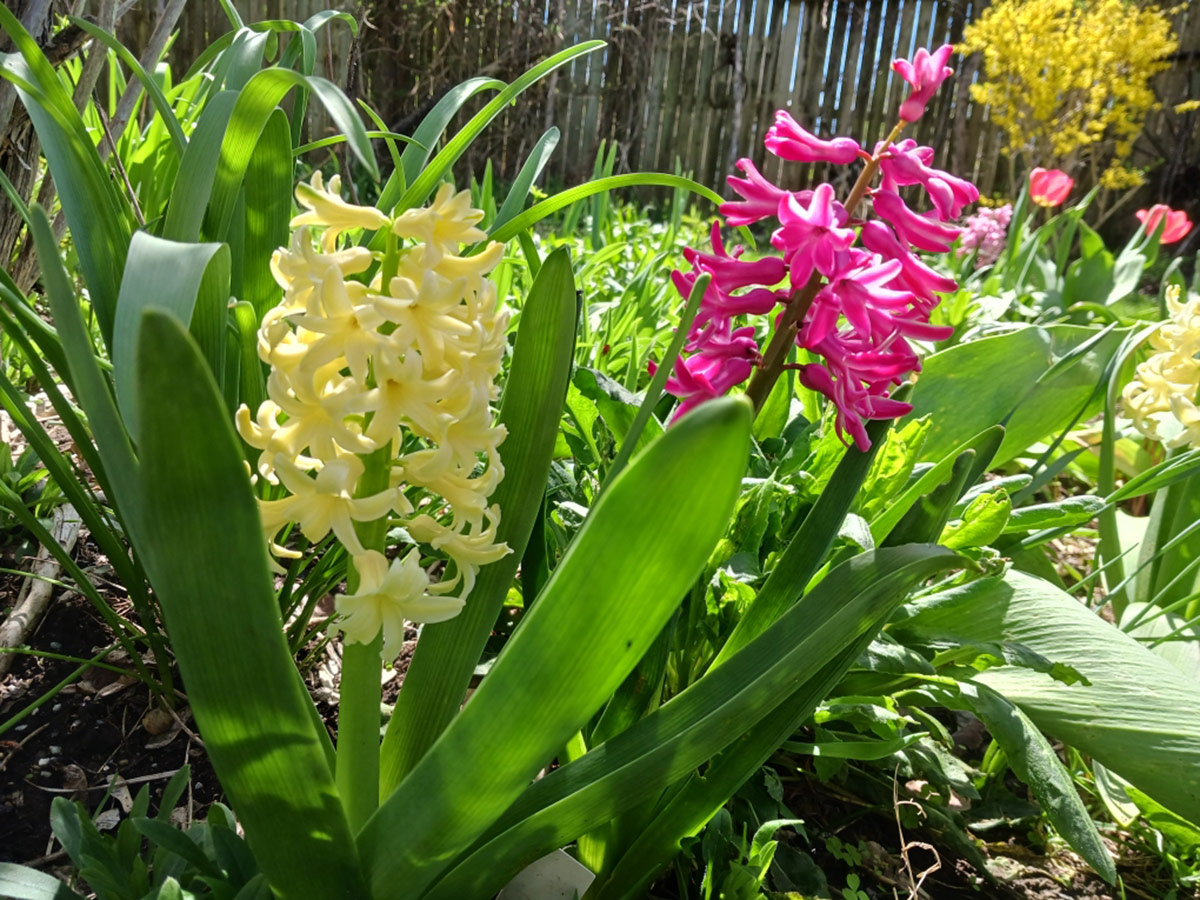 And that lovely combination of pink and yellow is repeated in these hyacinths (Hyacinthus orientalis, Zones 4–8), which are equally as enticing.
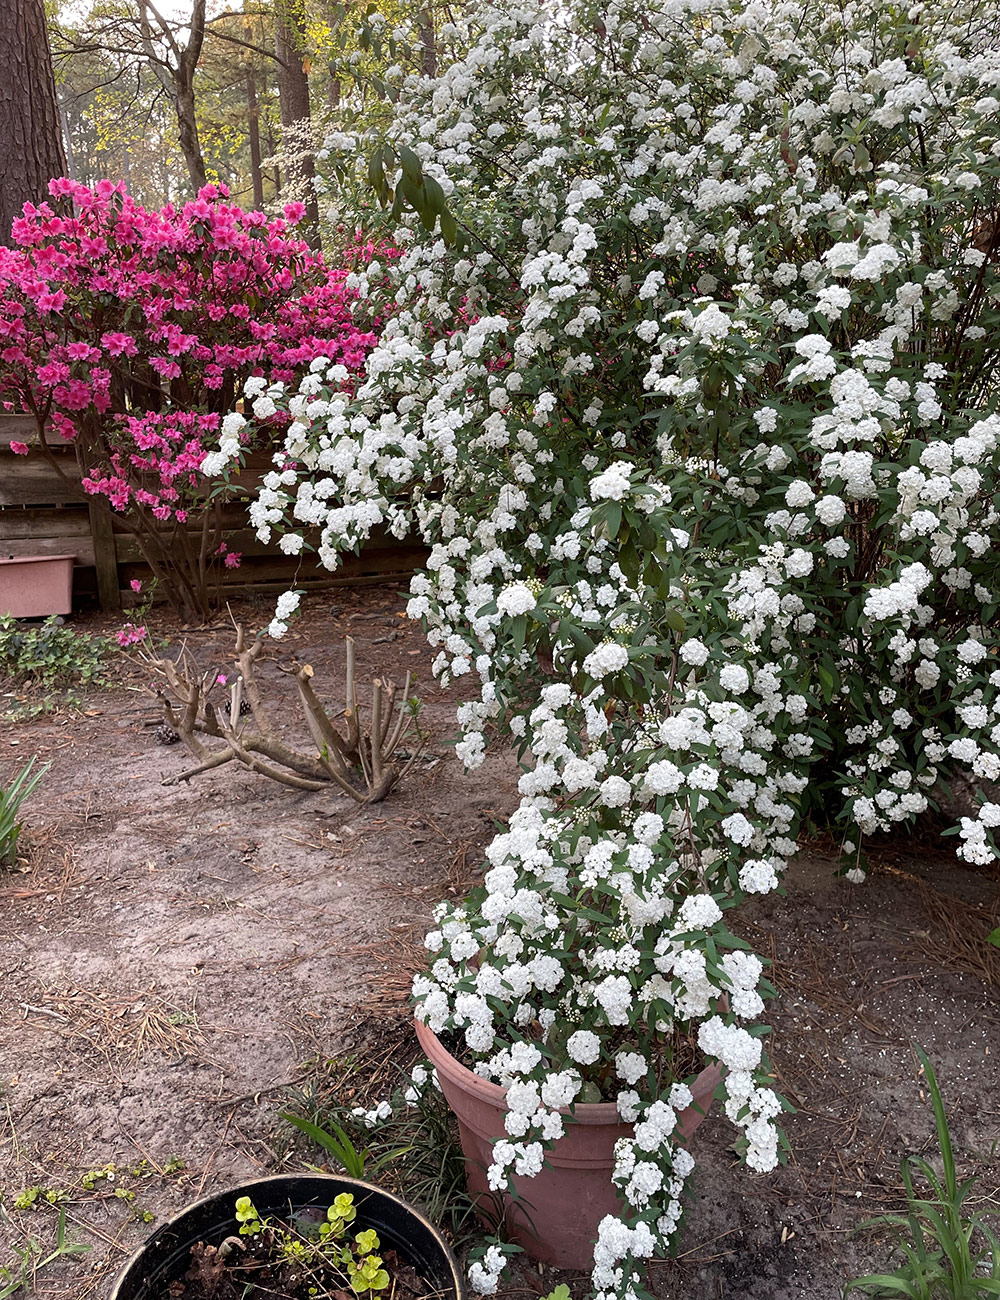
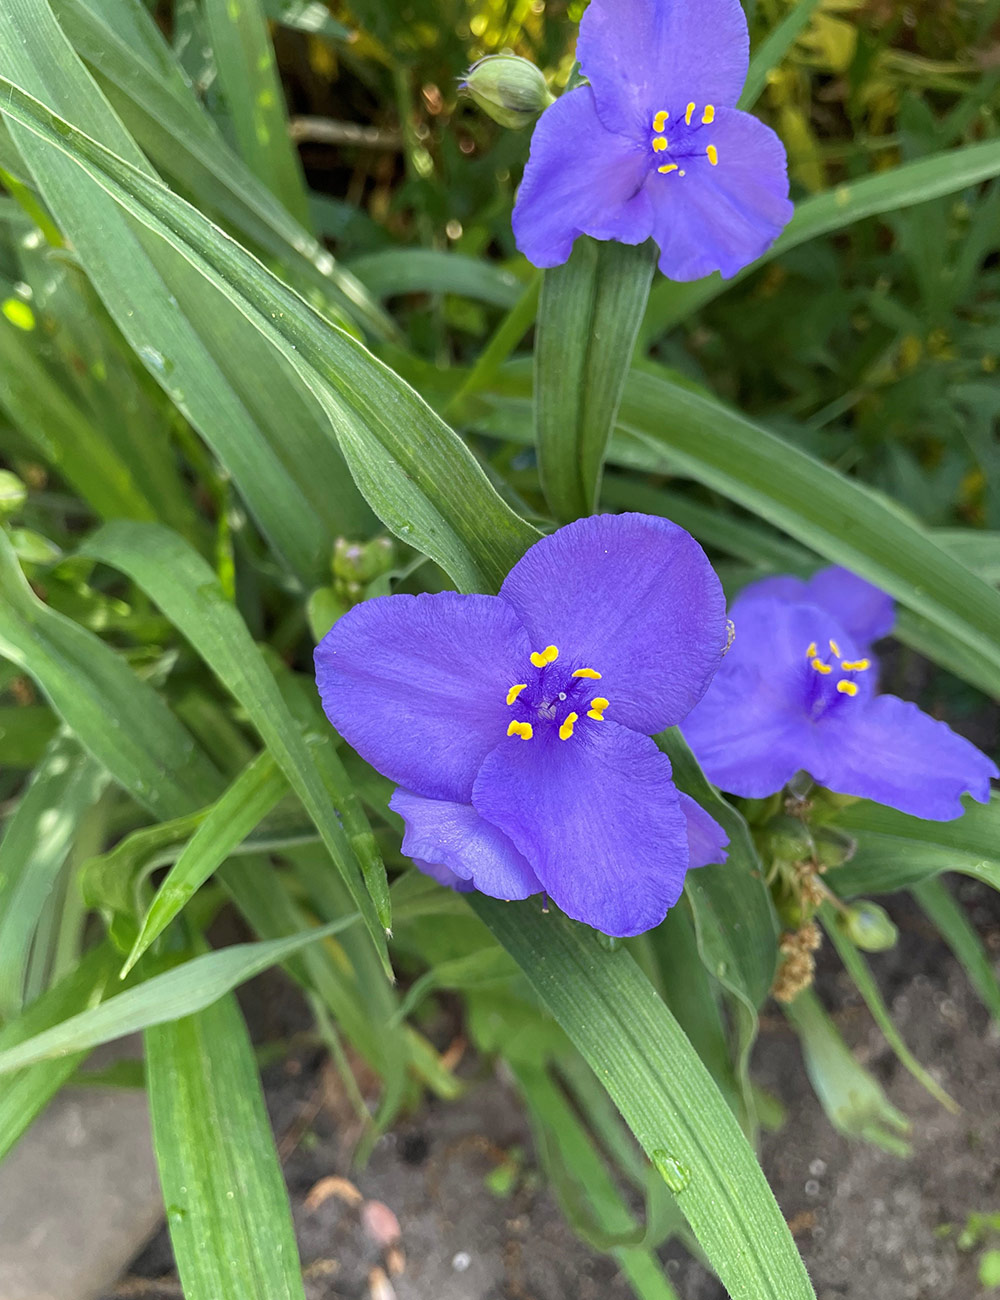
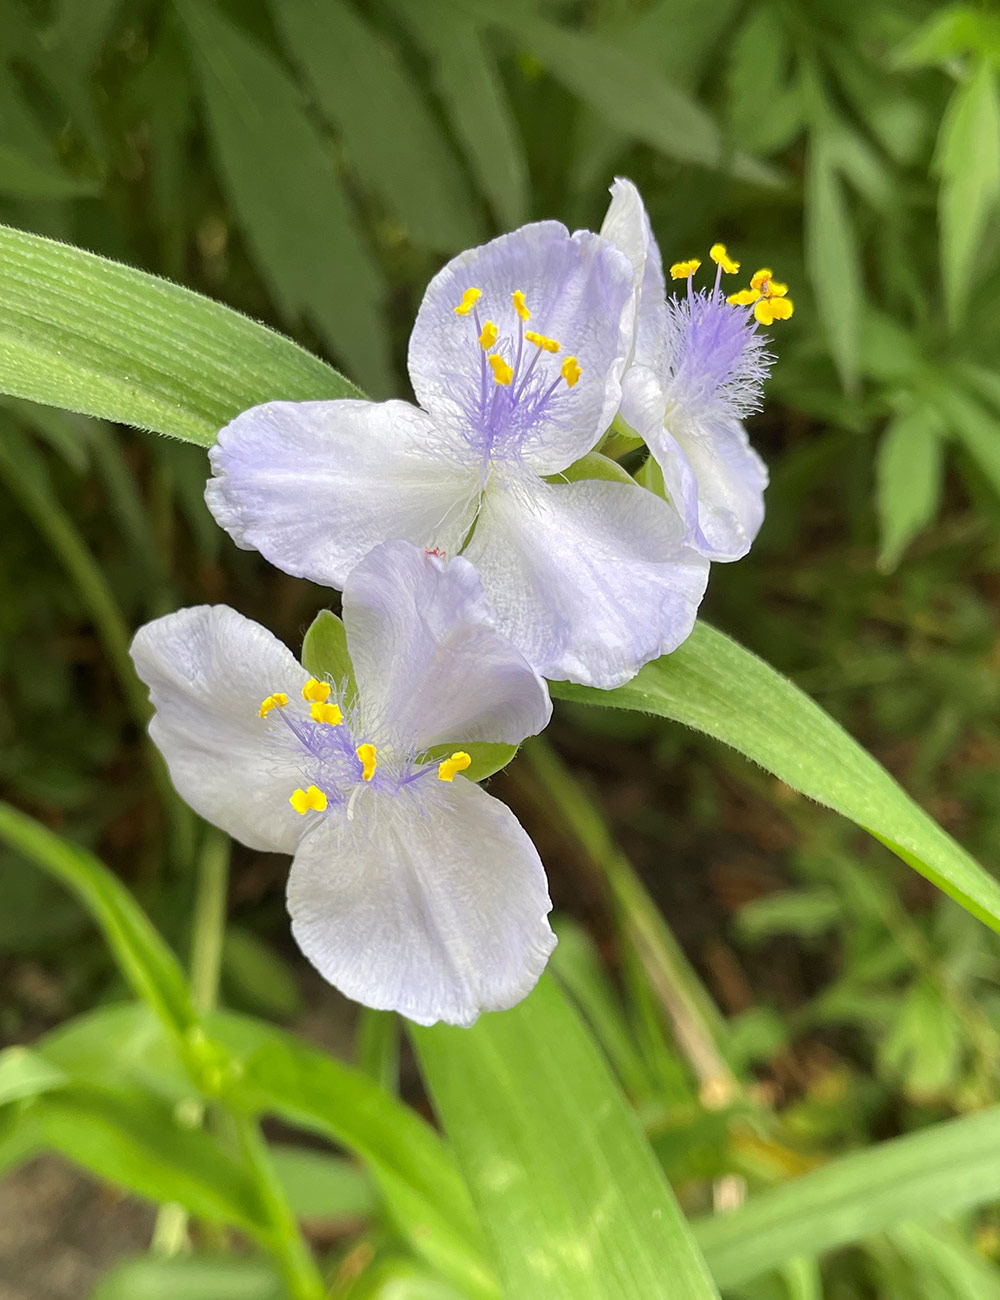
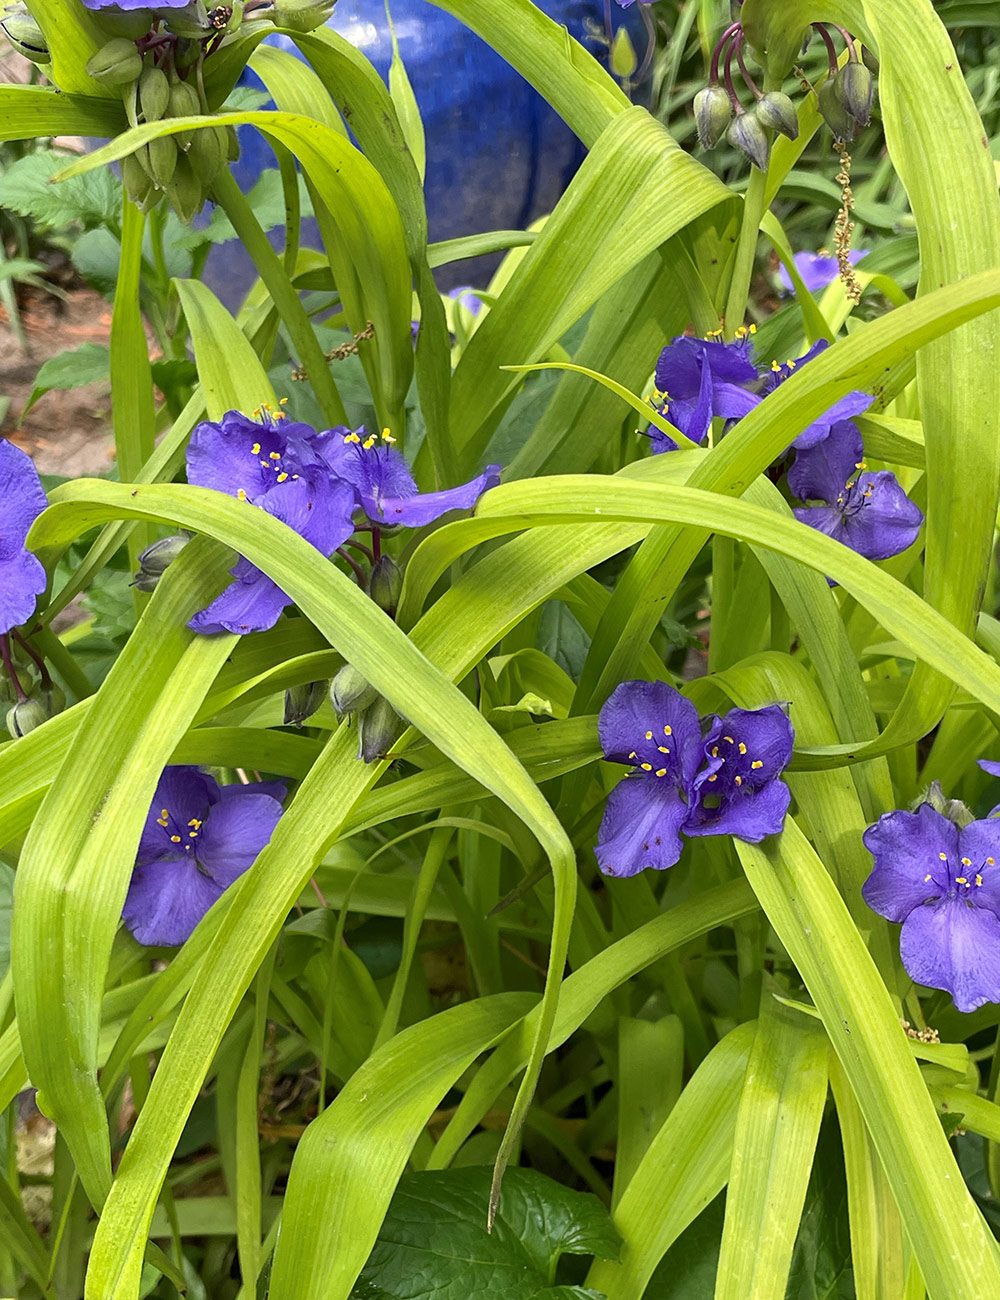
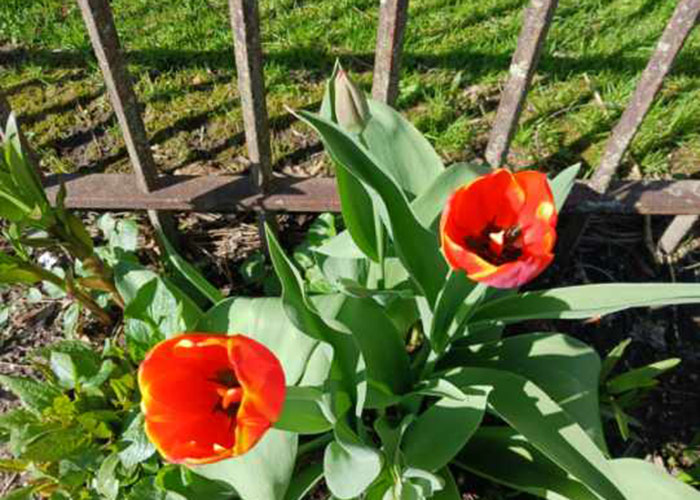 While the flowers that have emerged so far in Lee’s garden look to be mainly a palette of pinks and yellows, there are some bolder colors starting to show off.
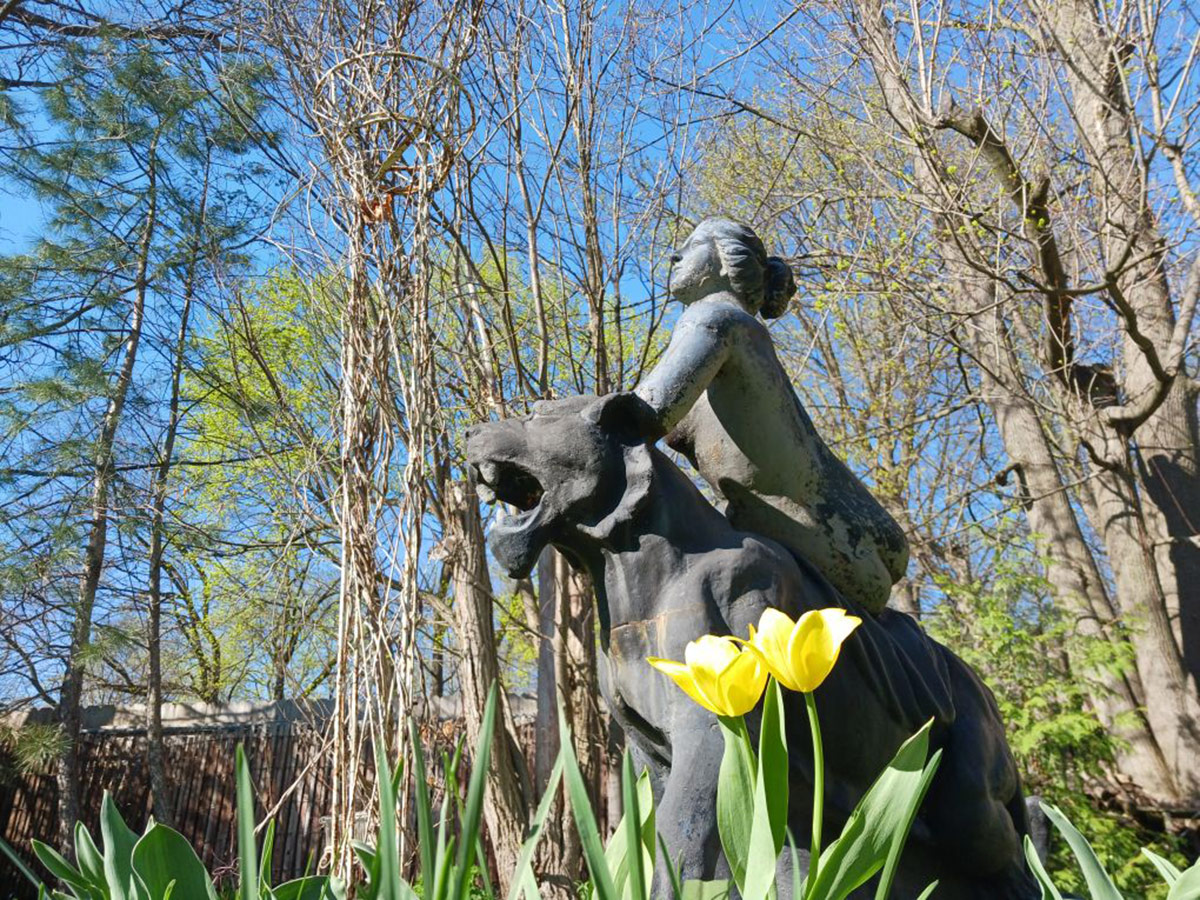
 And looking over all of this simple spring glory with Lee is one of his cute cats. A stack of old tree cuttings appears to be the perfect perch to watch spring color slowly unfurl.
Thank you so much for sharing these early signs of spring with us, Lee! I entirely agree that the anticipation of spring is something we should all savor, and the simplest moments of interest are very deserving of celebration.
What simple or small moments of beauty in your garden get you most excited for the upcoming growing season? Let us know in the comments, or consider sharing your early spring garden photos with the blog. Follow the directions below to submit your photos to Garden Photo of the Day!
We want to see YOUR garden!
Have photos to share? We’d love to see your garden, a particular collection of plants you love, or a wonderful garden you had the chance to visit!
To submit, fill out the Garden Photo of the Day Submission Form.
You can also send 5–10 photos to [email protected] along with some information about the plants in the pictures and where you took the photos. We’d love to hear where you are located, how long you’ve been gardening, successes you are proud of, failures you learned from, hopes for the future, favorite plants, or funny stories from your garden.
Do you receive the GPOD by email yet? Sign up here
Fine Gardening Recommended Products
Berry & Bird Rabbiting Spade, Trenching Shovel
Fine Gardening receives a commission for items purchased through links on this site, including Amazon Associates and other affiliate advertising programs.
Ideal Tool for All Gardeners Use: Our heavy duty trenching shovel is designed by a professional gardening tool designer. Lifetime Durability: This heavy duty drain spade is made of high-quality stainless steel, it is very strong and durable, even if it is used for high-strength work, it will not bend. Ergonomic Wood Handle: The handle of this planting spade is made of ash hardwood harvested from FSC-certified forests and has an ergonomically streamlined design, making it very suitable for everyone’s hands. Multi-Use: This digging shovel is generally used for digging trenches, digging holes, transplanting, edging, moving compost, cutting thick turf and furrowing. The sharp blade allows you to cut, scoop, dig, lift and dice in hard soil.

isYoung Birdlook® Smart Bird Feeder with Camera
Fine Gardening receives a commission for items purchased through links on this site, including Amazon Associates and other affiliate advertising programs.
Upgraded Dual Granary Bird Feeder. G11 Smart Bird Feeder with Camera – The upgraded dual granary design allows for separate food dispensing, giving birds the freedom to choose while preserving the food’s original taste. With a 2L extra-large capacity, it reduces the need for frequent refills. The drainage design ensures the food stays dry and prevents spoilage from rain. Ideal as a camera bird feeder for birdwatching enthusiasts. 2K HD Camera & Close-Up Bird Watching. Experience clear bird watching with the G11 smart bird feeder. This bird feeder with camera features a 170-degree wide-angle lens and a 1296P HD camera, ensuring vibrant images and videos. With AI-powered recognition, it can identify over 16,000 bird species (subscription required, first month free) and provides extensive birding knowledge. Its unique design helps attract more birds to your backyard. App Alerts & Super Night Vision. The smart bird feeder camera detects motion within 0.5 seconds and sends instant notifications through the “VicoHome” app. With a 2.4G Wi-Fi connection, you can view real-time updates on bird activity right from your app. The video bird feeder also features night vision, ensuring vibrant images and videos even in low light conditions. Ideal for wild bird feeders, this advanced functionality enhances your bird-watching experience day and night.
")


 – Sodium Chloride Hypertonicity Ophthalmic Ointment 5% – Relief of Corneal Edema Symptoms – Lanolin & Mineral Oil – Sterile – Travel Size – Eye Care – 1/8 oz (3.5g)")


")
