

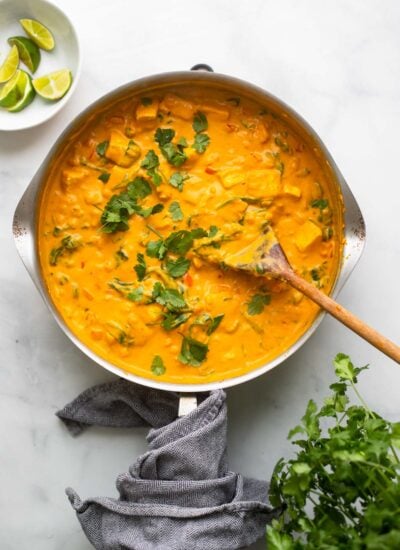
This creamy broccoli and chickpea skillet may not look like much, but it’s packed with flavor and nutrients! Everything comes together in just one skillet on the stovetop in less than 30 minutes so you’ll want to add this one to your weeknight dinner rotation.
Ok sure, we’ve been told to eat the rainbow for better health but ugly food is good for you too! This creamy broccoli and chickpea skillet may not look like much, but it’s packed with flavor and nutrients! Everything comes together in just one skillet on the stovetop in less than 30 minutes so you’ll want to add this one to your weeknight dinner rotation.
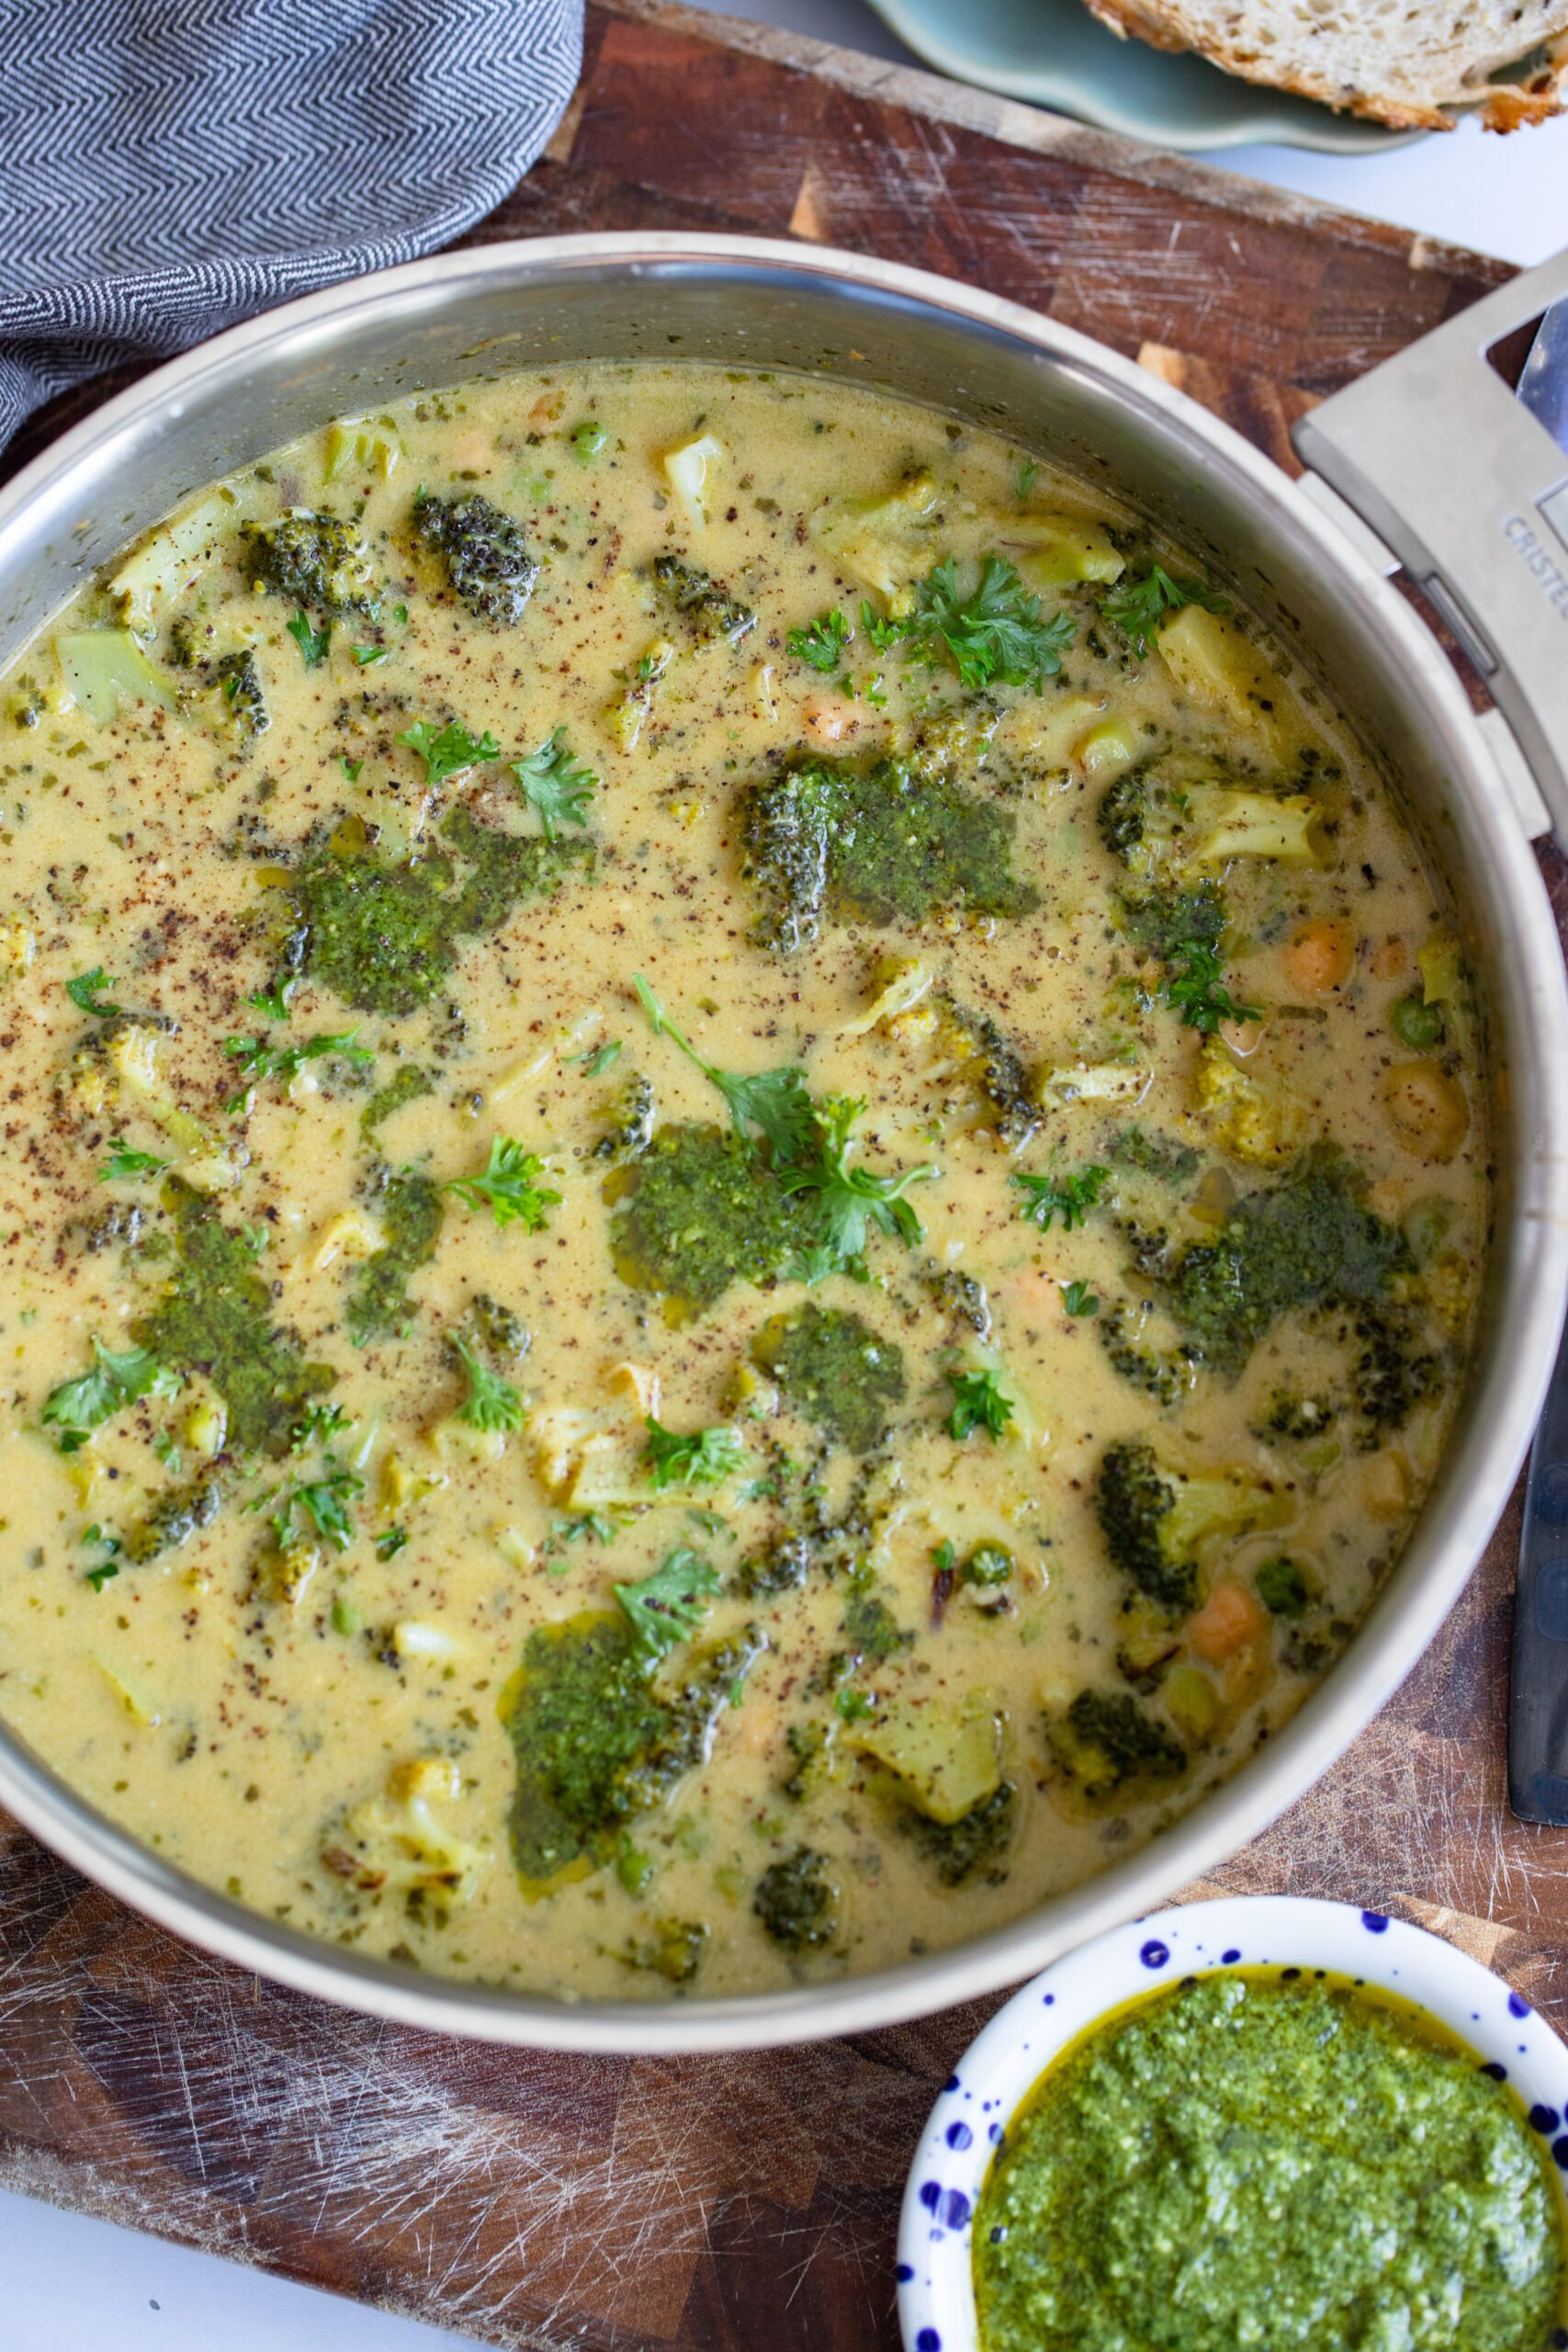
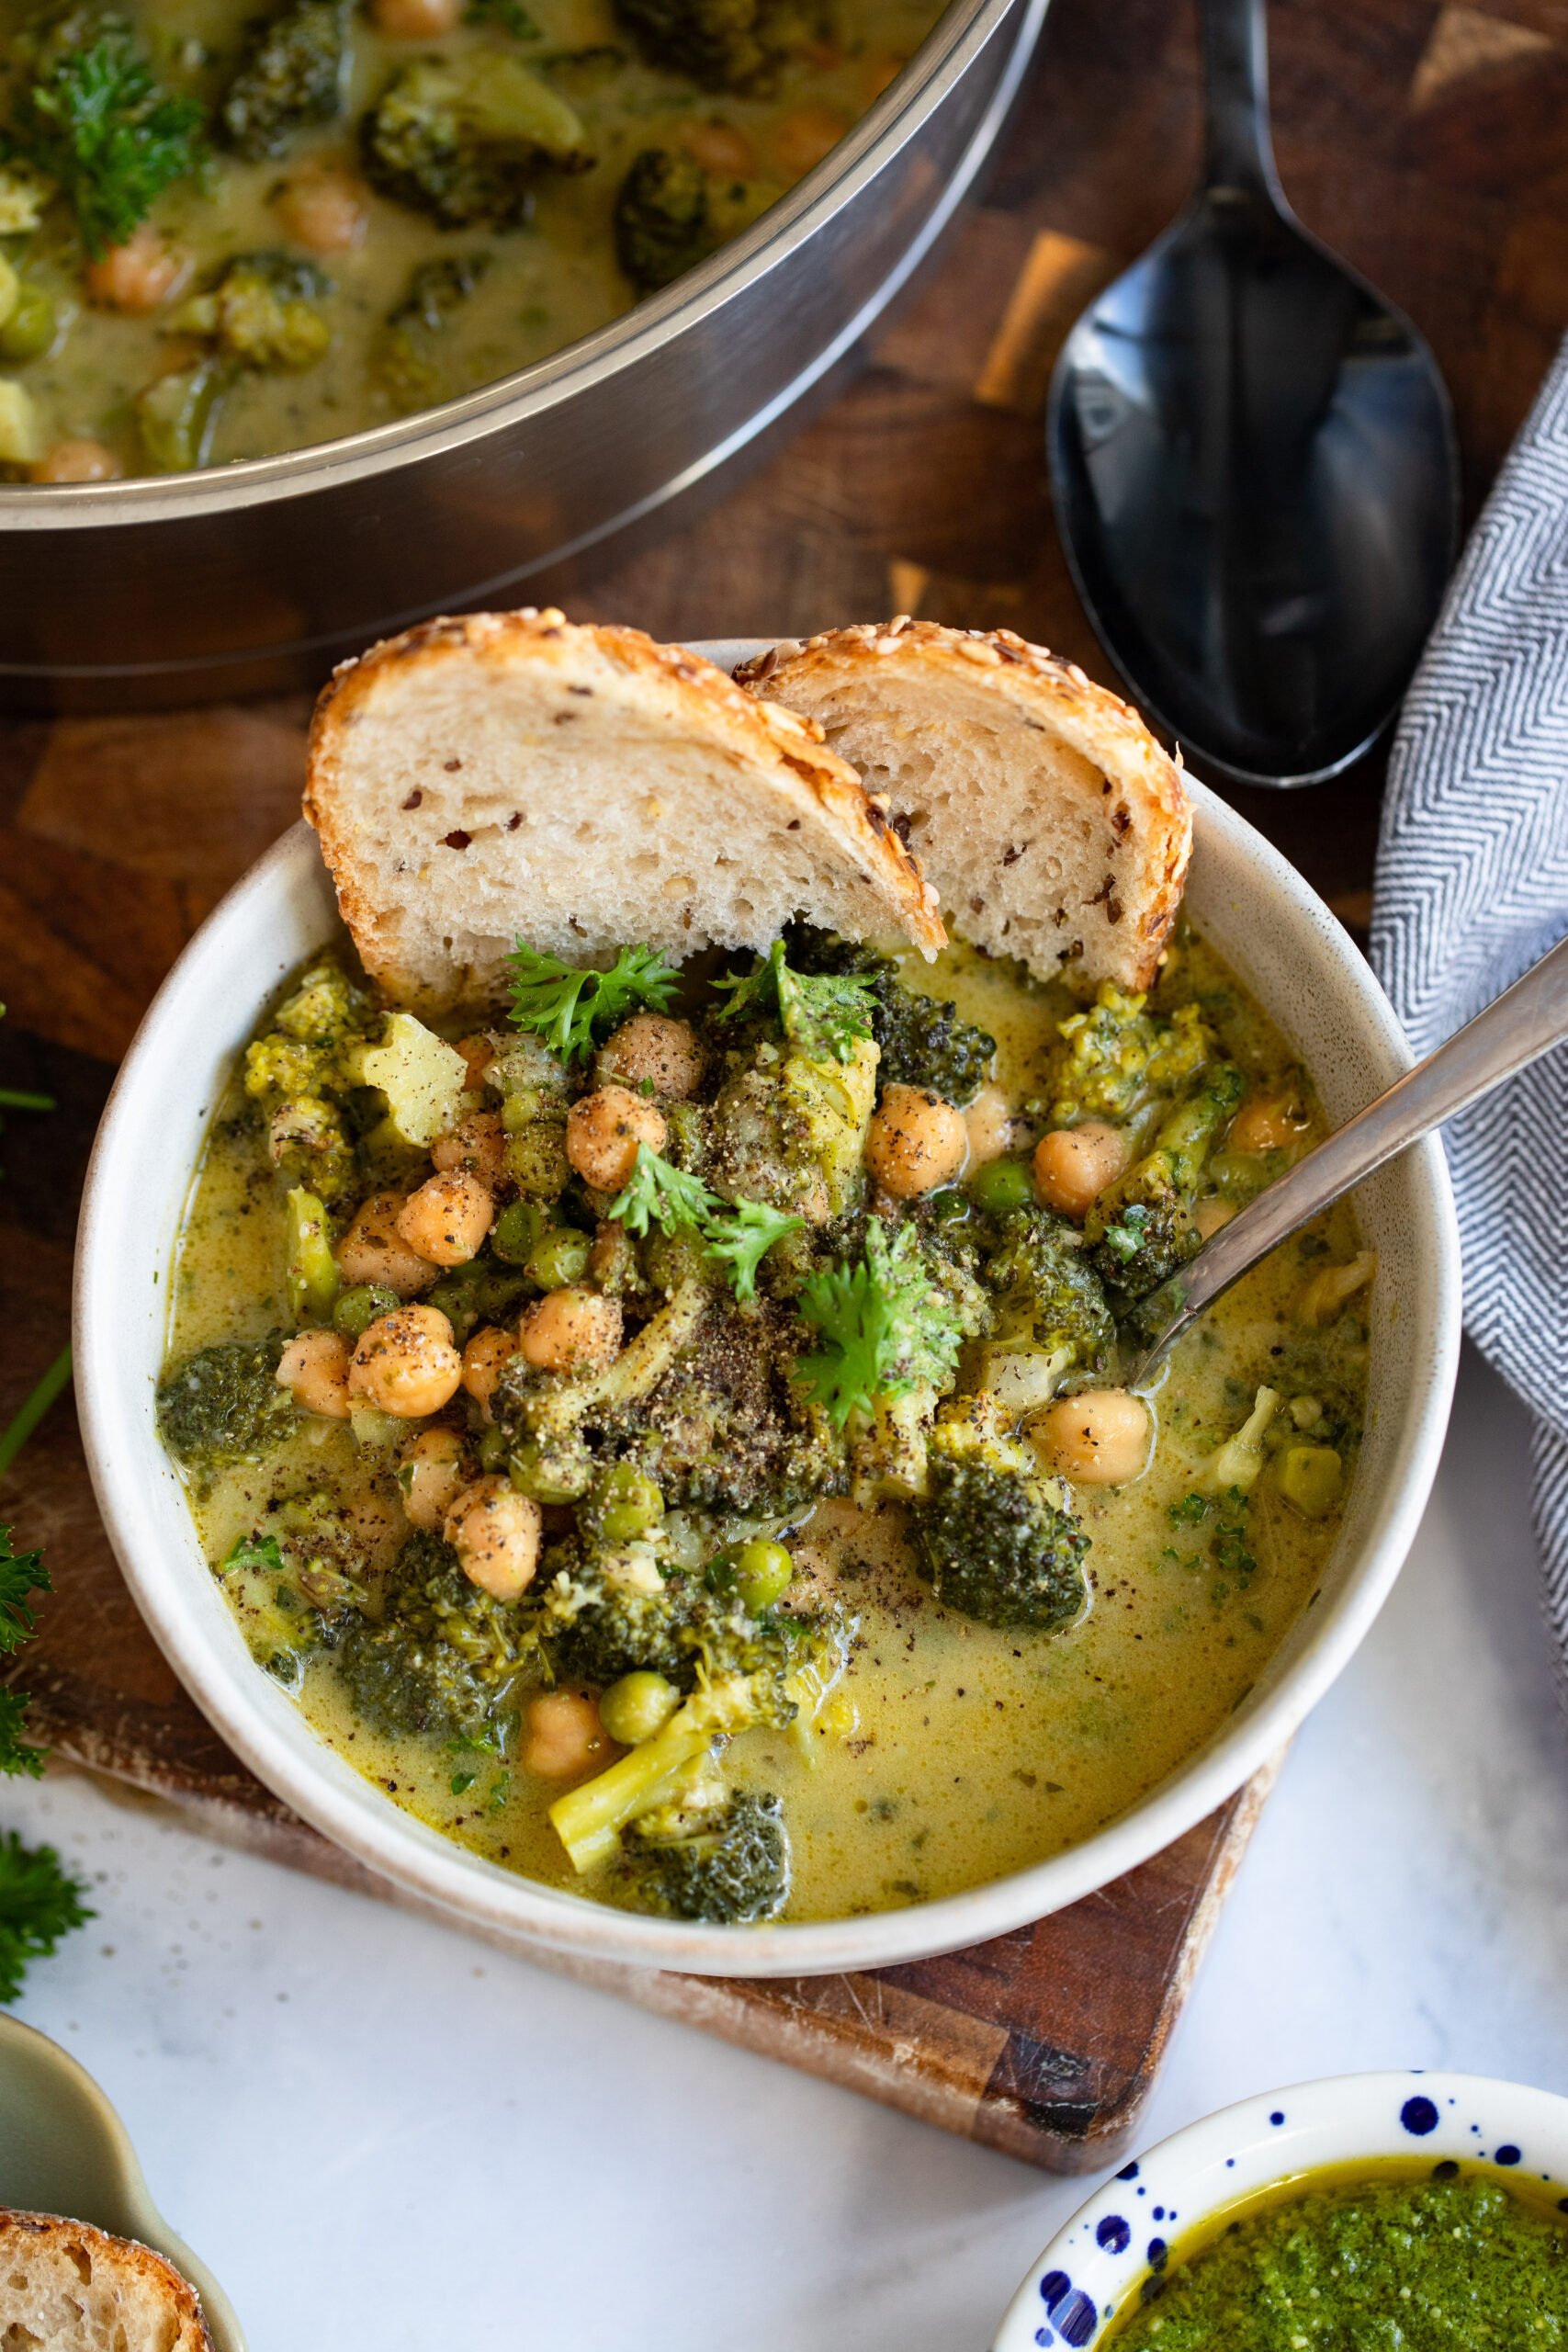
The broccoli, peas, and chickpeas are simmered in a creamy sauce that is then flavored with pesto. So easy, so delish! My favorite way to serve this is with some big pieces of sourdough for sipping in the sauce.
Why You’ll Love this Recipe
- Simple: this one gets all cooked up in a single skillet on the stovetop. You’ll want a big skillet with tall sides if you have it. This sauté pan from Cristel is the one I use for cooking in my kitchen all the time. (Use code DEBBIE30 for 30% off!)
- Easy to Customize: feel free to make this recipe your own by using different beans or even a different veggie instead of the broccoli.
Key Ingredients You’ll Need for this Skillet Recipe
- Broccoli: You’ll use about 1 large head of broccoli for this skillet. You could try swapping for another veggie like cauliflower or cabbage.
- Coconut Milk: I usually use full fat canned coconut milk for the creamiest sauce but you could use a lite coconut milk instead. If you don’t want to use coconut milk, you could substitute with another plant-based milk but you might need to cook it a bit longer to get the sauce to thicken.
- Pesto: For a shortcut, I usually keep some vegan pesto on hand for recipes like this one but you could also use homemade. This is my go-to homemade vegan pesto recipe!
How to Make this Broccoli Chickpea Skillet
Here’s a quick rundown of the key steps in making this skillet meal. See the recipe card at the bottom of the post for the full recipe instructions.
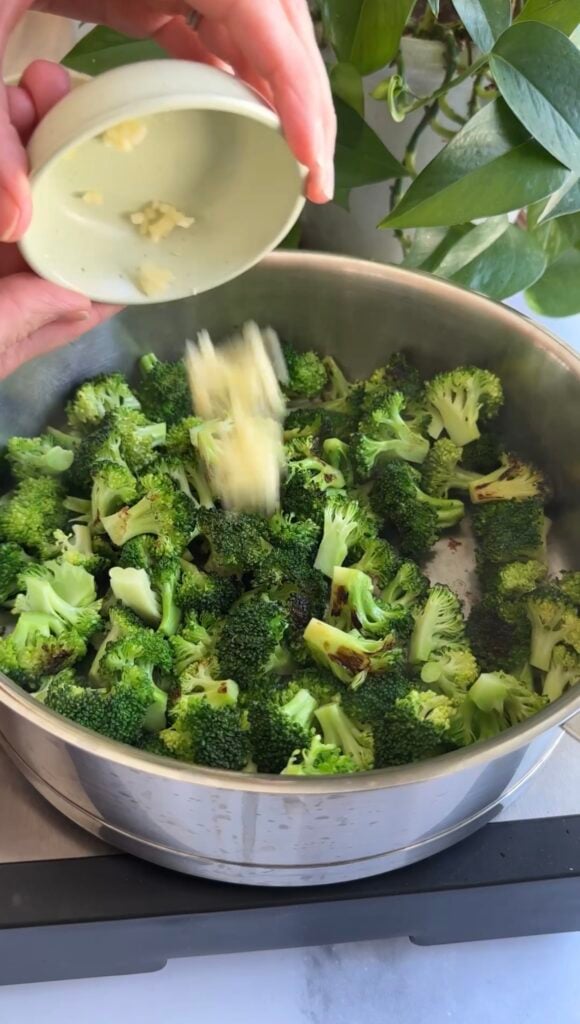
Saute the Broccoli: start by sautéing the broccoli in a bit of olive oil until it’s bright green. I like to do this with the lid on so that it also steams the broccoli as you cook.
Add the Seasoning: once the broccoli has started to cook, you’ll stir in the garlic and onion powder and your nutritional yeast. Give it all a good stir to combine.
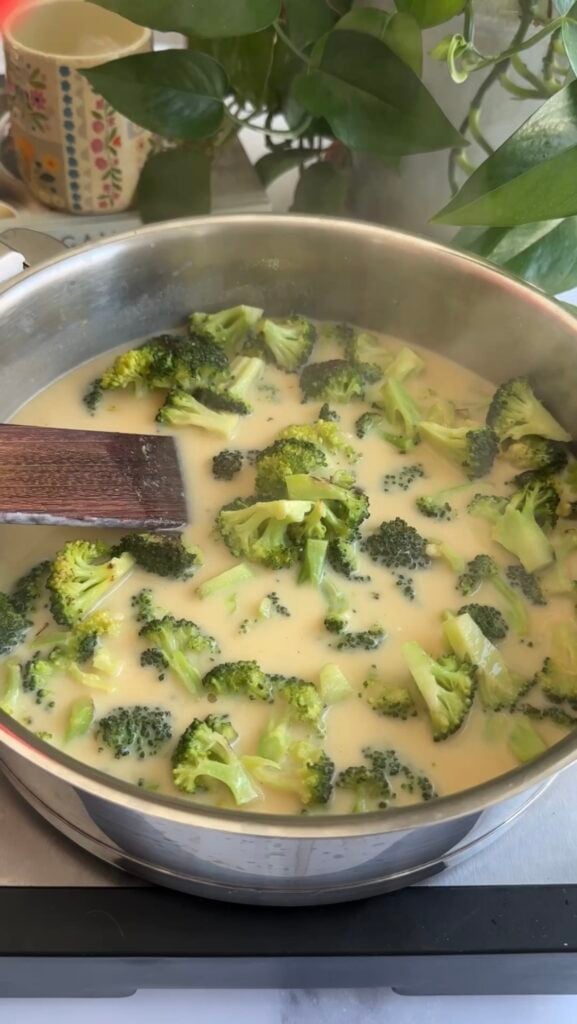
Simmer: Next, you’ll add in the coconut milk and vegetable broth and bring it all to a simmer. Simmer for up to 10 minutes to thicken the sauce a bit. Then, stir in the parmesan, chickpeas and peas and cook just until the peas are heated through a the parmesan has melted into the sauce.
Taste and Adjust: Turn off the heat and stir in the pesto and lemon juice. Add a pinch of salt, taste, and add more salt and pepper if needed. Serve over pasta or with sourdough for dipping.
Meal Prep and Storage
Meal Prep: this dish is pretty simple to make even on a busy weeknight, but if you wanted to get a head start–I’d say you can easily pre-chop your broccoli and store int eh fridge until you’re ready. The same goes for if you’re using homemade pesto. Otherwise, most of the ingredients in this dish require minimal prep.
Storage: This dish keeps well in the fridge stored in an airtight container for up to 3-4 days. Just pop it into the microwave for a minute or two to reheat. I honestly haven’t tried freezing this one myself, but I feel like it would be a good freezer option too. (If you’ve tried freezing it, let me know in the comments!)
More Vegan Skillet Recipes You’ll Love

Creamy Broccoli and Chickpea Skillet
#wprm-recipe-user-rating-0 .wprm-rating-star.wprm-rating-star-full svg * { fill: #343434; }#wprm-recipe-user-rating-0 .wprm-rating-star.wprm-rating-star-33 svg * { fill: url(#wprm-recipe-user-rating-0-33); }#wprm-recipe-user-rating-0 .wprm-rating-star.wprm-rating-star-50 svg * { fill: url(#wprm-recipe-user-rating-0-50); }#wprm-recipe-user-rating-0 .wprm-rating-star.wprm-rating-star-66 svg * { fill: url(#wprm-recipe-user-rating-0-66); }linearGradient#wprm-recipe-user-rating-0-33 stop { stop-color: #343434; }linearGradient#wprm-recipe-user-rating-0-50 stop { stop-color: #343434; }linearGradient#wprm-recipe-user-rating-0-66 stop { stop-color: #343434; }
Ingredients
- 2 tablespoons olive oil
- 1 large head broccoli
- 3 cloves garlic
- 3 tablespoons nutritional yeast
- 1 teaspoon garlic powder
- 1 teaspoon onion powder
- 1/2 teaspoon smoked paprika
- 1 cup coconut milk
- 2 cups vegetable broth
- 1/3 cup shredded vegan parmesan
- 2 cups chickpeas, drained and rinsed
- 3/4 cup frozen peas
- 1/4 cup vegan pesto
- 1/2 teaspoon sea salt
Instructions
-
Heat the olive oil in a large skillet over medium-high heat. Add the broccoli and cover with lid, cook for 5-7 minutes.
-
Add the garlic and sauté 1-2 minutes.
-
Stir in the nutritional yeast, garlic & onion powders, smoked paprika, coconut milk, and broth. Bring to a simmer for 8-10 minutes to thicken.
-
Stir in the parmesan, chickpeas and frozen peas and cook another 2-3 minutes.
-
Turn off the heat and add the lemon juice, pesto, salt and pepper. Garnish with fresh basil and serve.
Video
Notes
Nutrition
The post Creamy Broccoli and Chickpea Skillet appeared first on Dietitian Debbie Dishes.


