


I’ve been firmly on team cauliflower since at least 2014. It’s easily one of the most versatile vegetables in my kitchen and something I cook with year-round.
Roasted cauliflower is still my favorite way to cook it. My Moroccan roasted cauliflower recipe, for example, tastes almost like popcorn once it’s done. I usually end up eating it straight off the pan before it even makes it to the table.
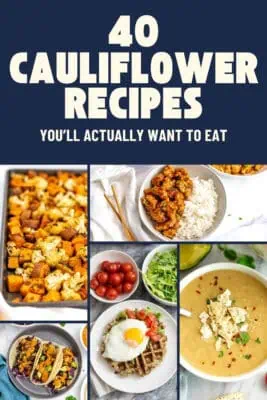
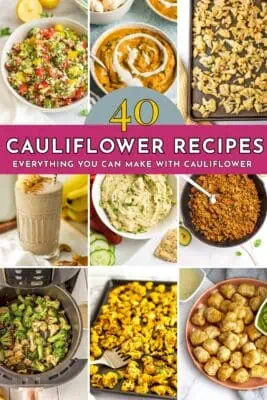
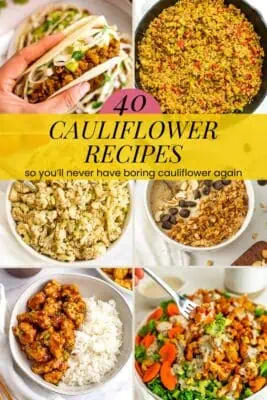
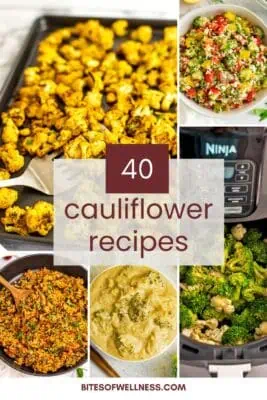
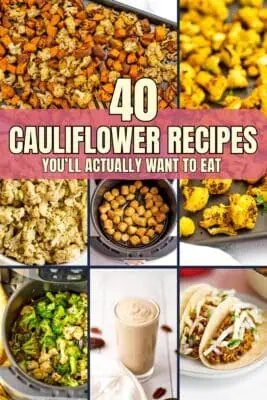
Even though I’m usually all about getting dinner on the table as fast as possible, cauliflower is one of the vegetables I’ll happily give a little extra time in the oven or air fryer because the flavor payoff is worth it. In this roundup, you’ll find 40 of my favorite cauliflower recipes including soups, salads, cauliflower rice dishes, tacos, casseroles, and simple roasted cauliflower sides.
Cauliflower Rice Recipes
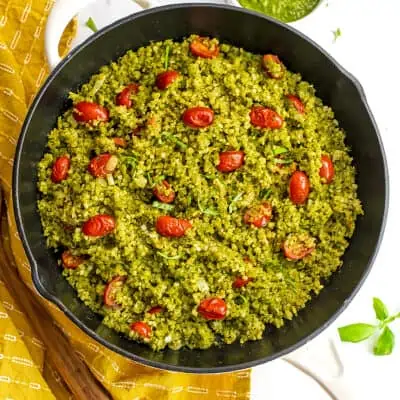
Pesto Cauliflower Rice
Cauliflower rice sautéed with pesto and juicy tomatoes for an easy, flavor-packed side dish. Perfect with chicken, salmon, shrimp, or eggs, especially during the summer when fresh pesto is everywhere.
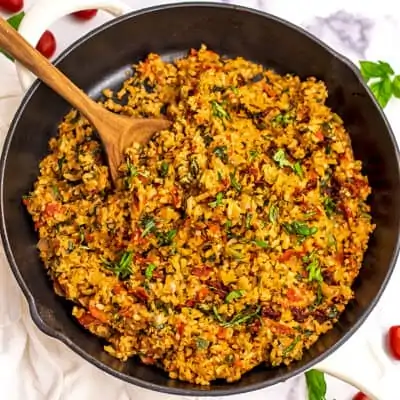
Italian Cauliflower Rice
This Italian cauliflower rice is cooked with onions, tomatoes, and sun-dried tomatoes for big Mediterranean flavor. It’s the perfect vegetable side dish for pasta, chicken, seafood, or any Italian-inspired dinner.
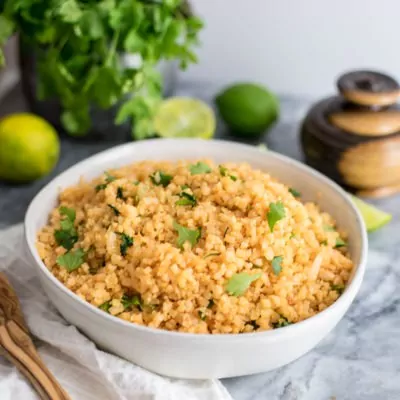
Mexican Cauliflower Rice
All the flavors of classic Mexican rice, made with cauliflower instead. This easy side dish is perfect with tacos, fajitas, burrito bowls, or enchiladas when you want a veggie-packed option.
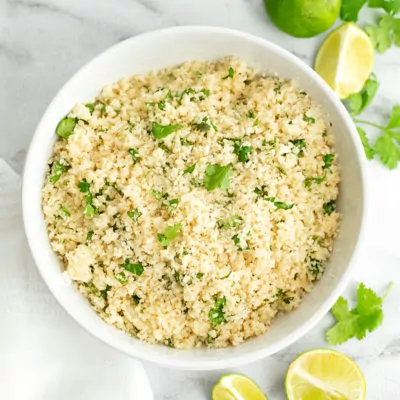
Cilantro Lime Cauliflower Rice
Fresh cilantro and lime give this cauliflower rice bright flavor that works perfectly with tacos, burrito bowls, and Mexican-inspired meals. It’s a great way to add vegetables to grain bowls or taco night.
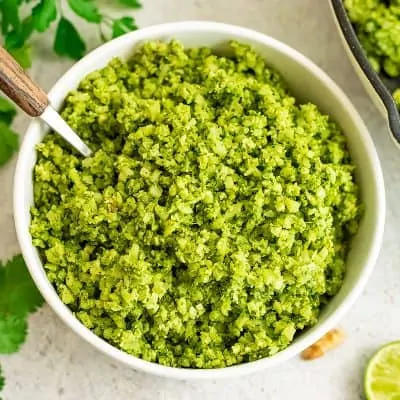
Green Cauliflower Rice
This green cauliflower rice is packed with fresh herbs like cilantro and parsley for bold chimichurri-style flavor. Serve it with grilled chicken, steak, shrimp, or salmon for an easy vegetable side.
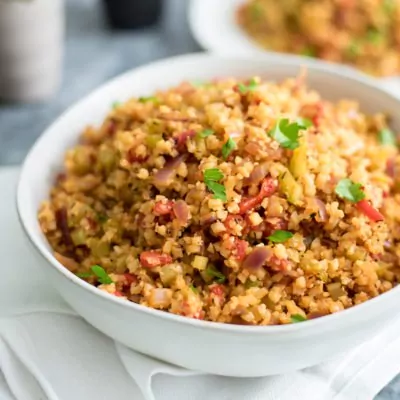
Cauliflower Dirty Rice (Cajun)
All the bold Cajun flavor of dirty rice made with cauliflower instead of rice. This dish is packed with seasoning and makes a delicious, veggie-forward side for any Southern-inspired meal.
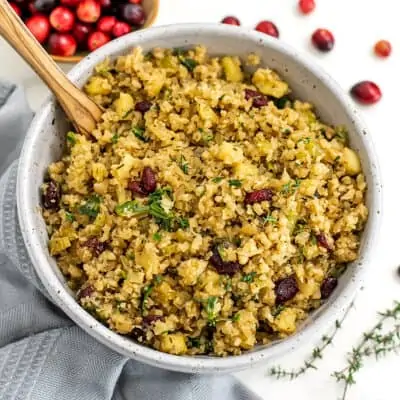
Cauliflower Rice Stuffing
A lower-carb twist on classic stuffing made with cauliflower rice, onions, and herbs like sage. It’s the perfect vegetable side for holiday dinners and pairs beautifully with traditional Thanksgiving flavors.
Air Fryer Cauliflower Recipes

Air Fryer Cauliflower Gnocchi
Cauliflower gnocchi gets perfectly crispy in the air fryer, making it a great appetizer, snack, or easy dinner. Dip it in pizza sauce or serve it with your favorite pasta sauce.
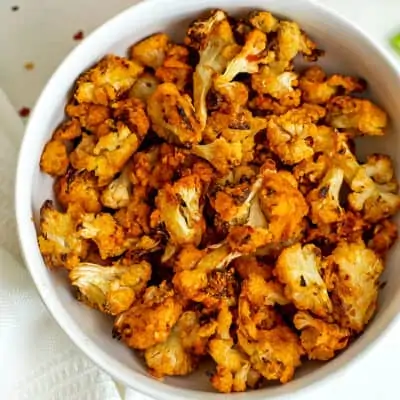
Air Fryer Cauliflower Buffalo Wings
These crispy air fryer buffalo cauliflower wings have a gluten-free coating and are tossed in a quick homemade buffalo sauce. Ready in about 20 minutes, they’re perfect for game day or an easy appetizer.
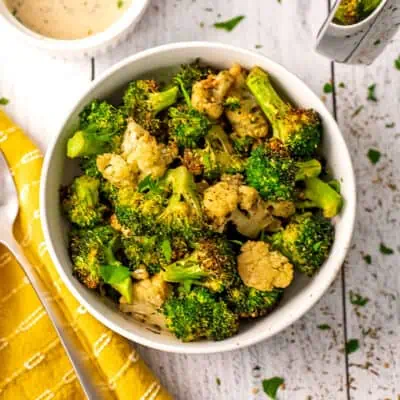
Air Fryer Broccoli and Cauliflower
A simple bag of broccoli and cauliflower turns into a quick and flavorful side dish in the air fryer in just 10 minutes. Season it to match any meal with several easy seasoning options.
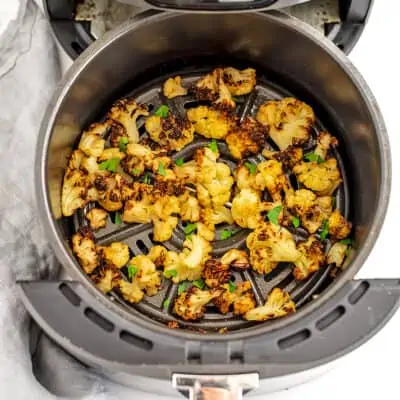
Air Fryer Frozen Cauliflower
Air fryer frozen cauliflower cooks up beautifully caramelized and slightly sweet in a fraction of the time. It’s one of the easiest ways to turn a bag of frozen veggies into a delicious side dish.
Cauliflower Salad Recipes

Buffalo Cauliflower Salad
Crispy buffalo cauliflower sits on a bed of greens with a creamy homemade ranch dressing. It’s a bold, flavor-packed salad that feels hearty enough for lunch or dinner.
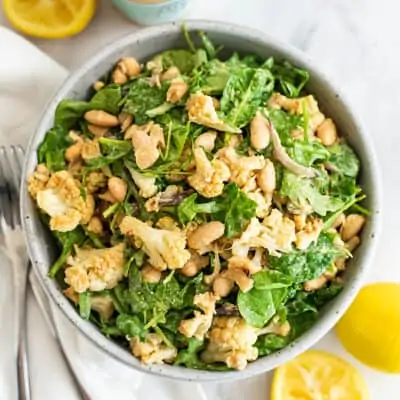
Mediterranean Cauliflower Salad
Roasted cauliflower and white beans are tossed with a bright lemon tahini dressing for a satisfying Mediterranean-inspired salad. It’s filling, fresh, and perfect for spring or summer meals.
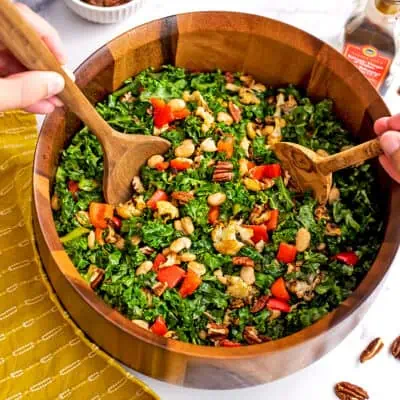
Cauliflower Kale Salad
Roasted cauliflower, kale, and white beans are tossed with a simple balsamic dressing in this hearty salad. It’s perfect for meal prep since kale holds up beautifully in the fridge.
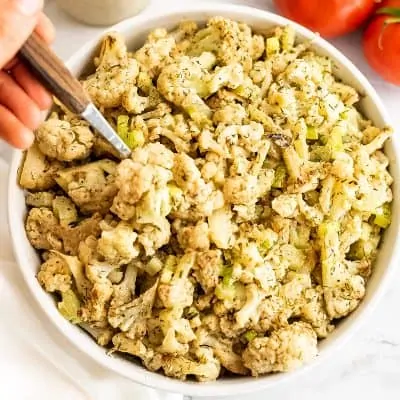
Cauliflower Potato Salad – No Mayo
This cauliflower potato salad swaps potatoes for tender cauliflower tossed in a creamy tahini dressing. It’s a great make-ahead side dish for cookouts, burgers, and weeknight dinners.

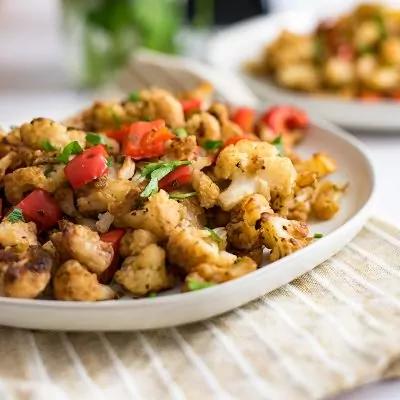
Cauliflower Tabbouleh
A veggie-packed twist on tabbouleh made with cauliflower, fresh parsley, peppers, and a bright lemon dressing. It’s fresh, flavorful, and perfect for meal prep or summer cookouts.
Cauliflower Soup Recipes
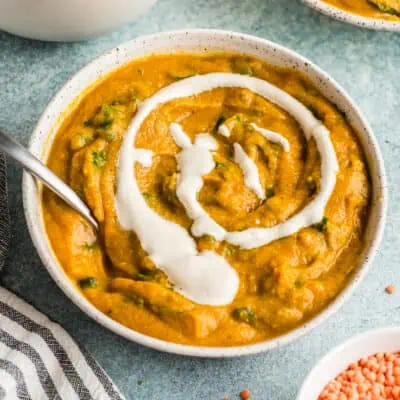
Cauliflower and Red Lentil Soup Recipe
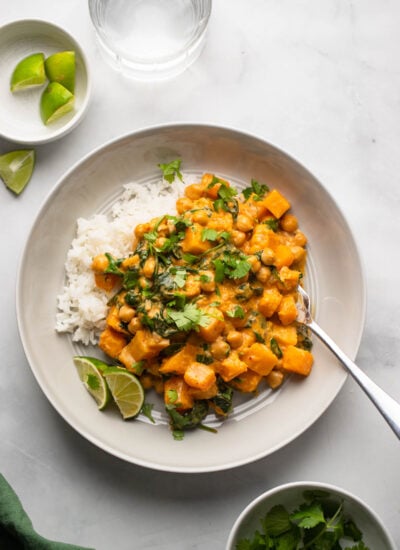
This creamy cauliflower red lentil soup is packed with warm curry flavor and ready in about 30 minutes. The lentils add plant-based protein and make this soup extra filling.
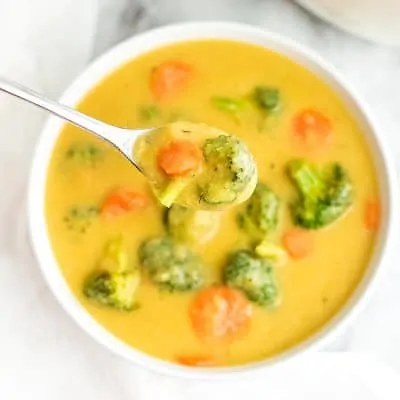
Low Carb Cheesy Broccoli Cauliflower Soup
This Instant Pot broccoli cauliflower soup is rich and creamy without any dairy. Instead this recipe uses a combination of blended cauliflower, hemp hearts (or cashews) and nutritional yeast to make it rich and creamy.
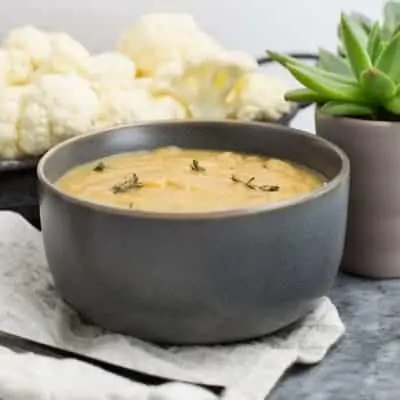
Slow Cooker Cauliflower Soup
An easy slow cooker cauliflower soup made with simple ingredients and minimal prep. Just add everything to the crockpot and come home to a warm, comforting bowl of soup.
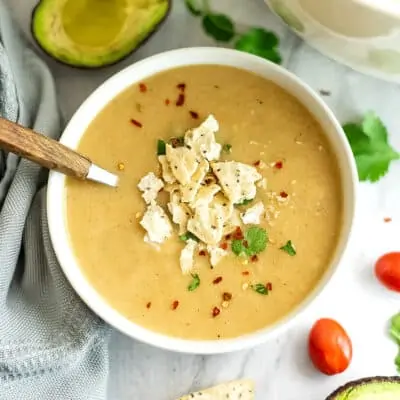
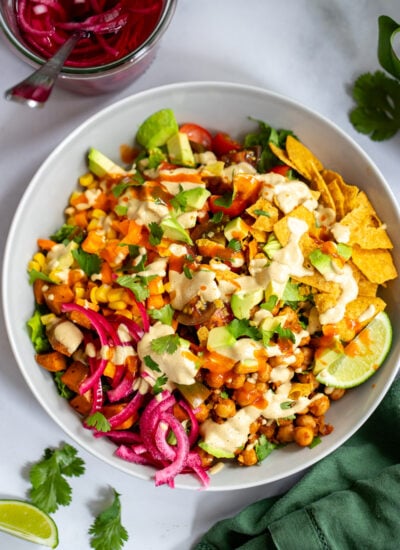
Smoky Cauliflower White Bean Soup
This smoky cauliflower white bean soup is a hearty, Mexican-inspired dish made with simple pantry ingredients. It’s dairy-free, filling, and perfect topped with crushed tortilla chips.
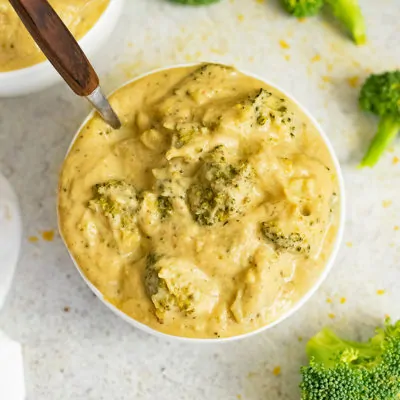
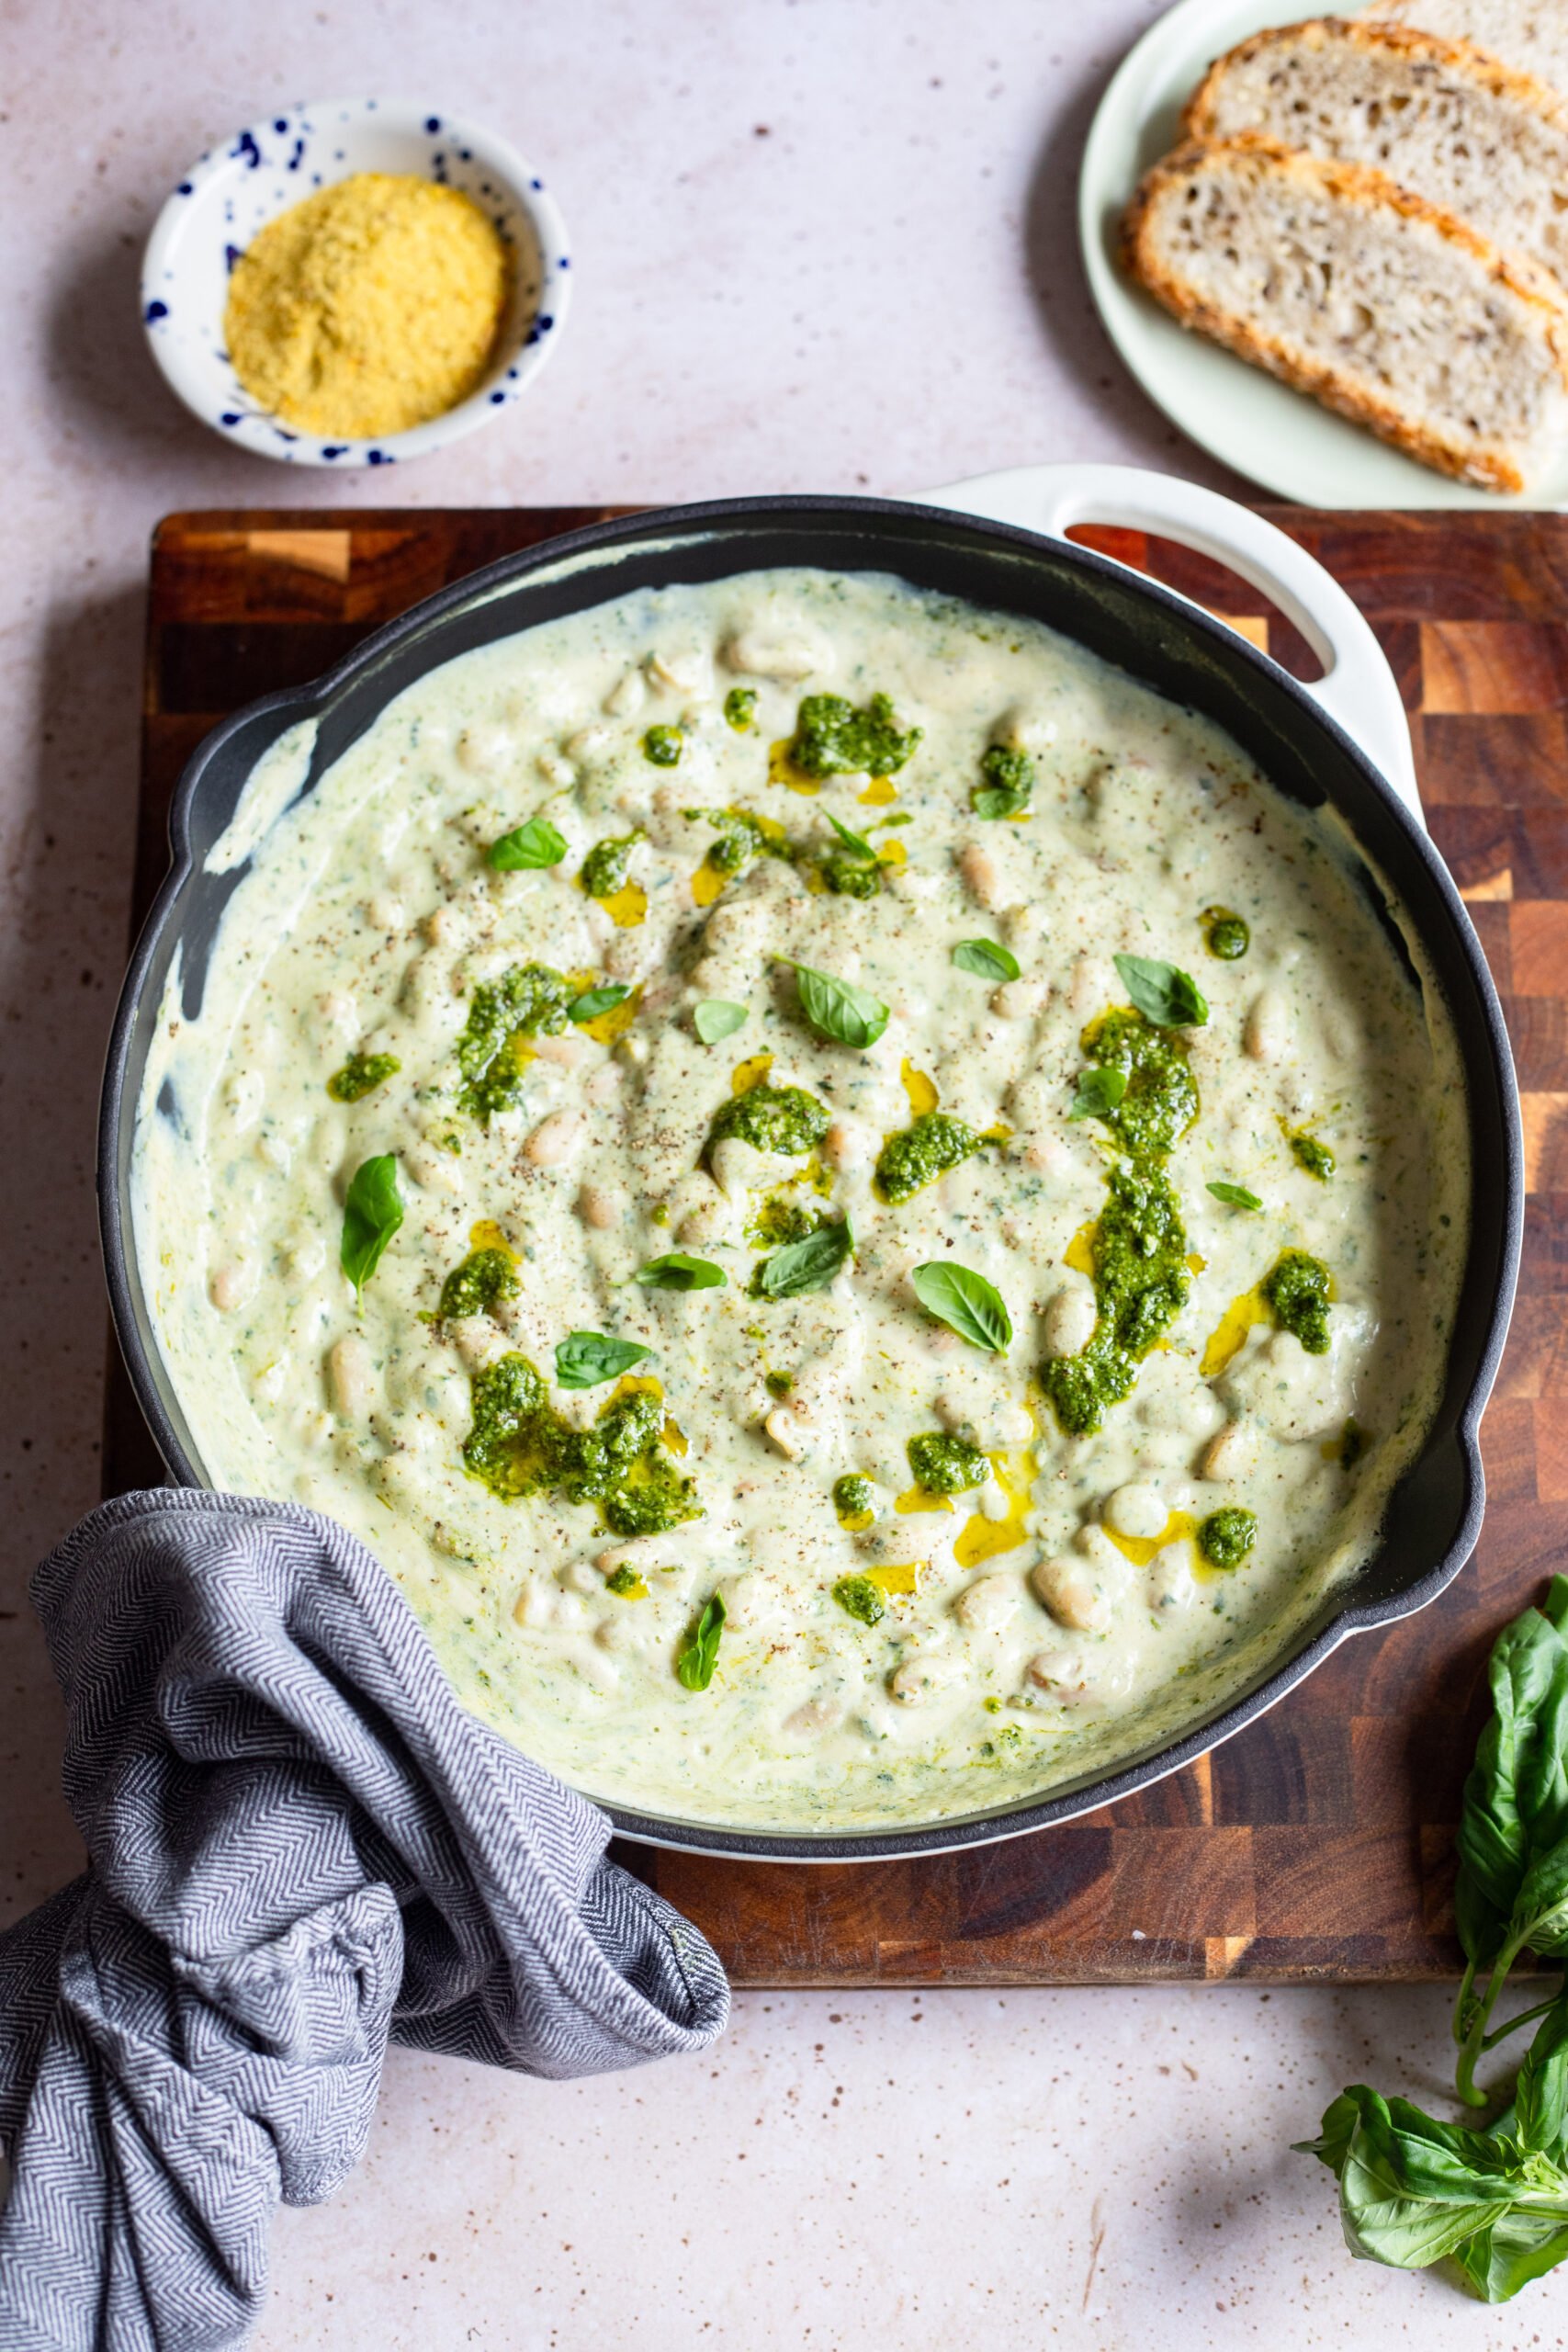
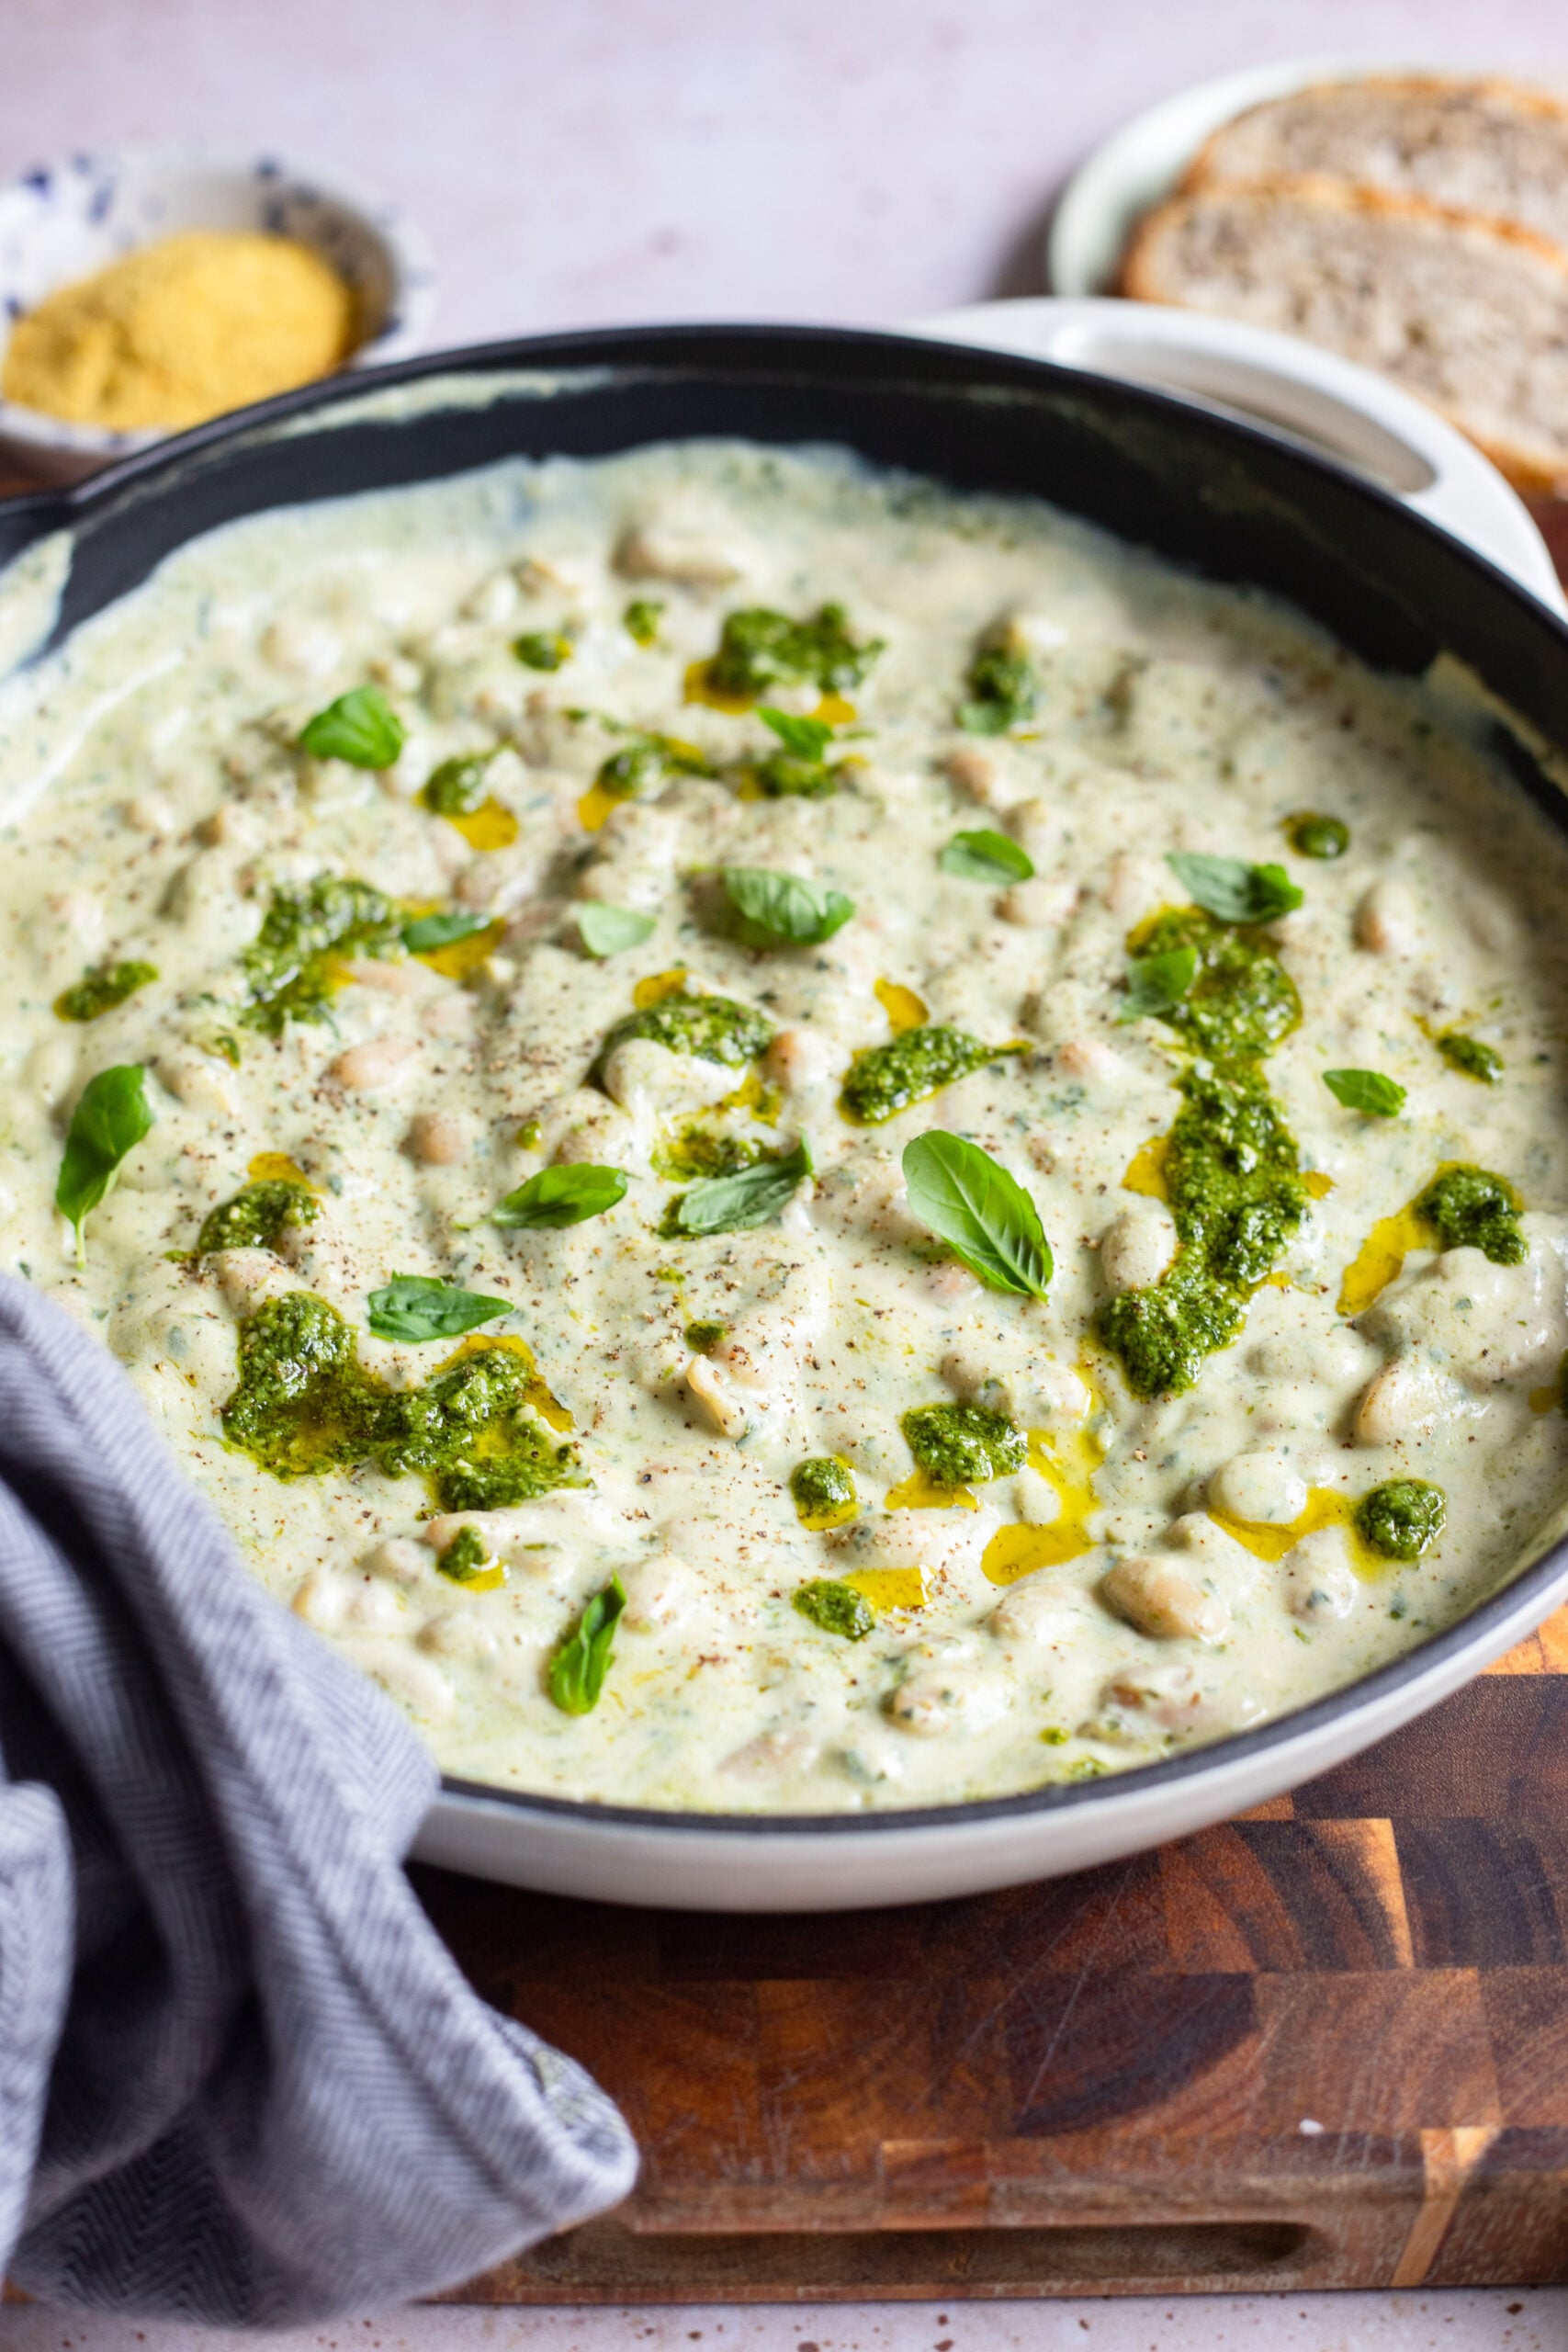
Vegan Broccoli Cheese Soup (with Hidden Cauliflower)
This creamy vegan broccoli soup uses blended cauliflower and white beans to create a rich texture without any dairy. It’s a simple, comforting soup with plenty of vegetables in every bowl.
Roasted Cauliflower Recipes
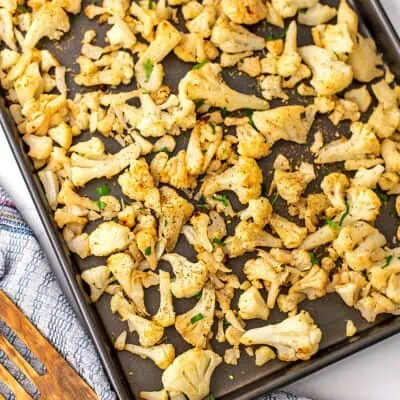
Roasted Frozen Cauliflower
Frozen cauliflower roasts beautifully in the oven, turning golden and slightly caramelized. It’s one of the easiest side dishes with almost no prep required.
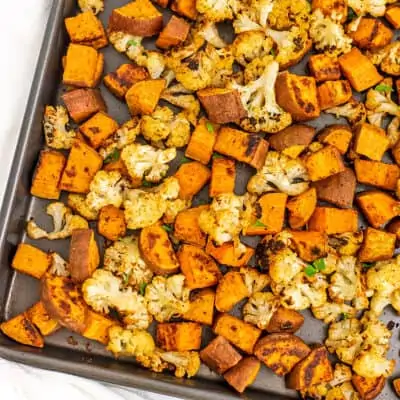
Roasted Cauliflower and Sweet Potato
This simple sheet pan side dish combines roasted cauliflower and sweet potatoes for a perfectly caramelized veggie mix. It’s a popular, easy recipe that pairs well with almost any dinner.
Simple Balsamic Roasted Cauliflower
Roasting cauliflower with balsamic vinegar creates a rich, slightly sweet flavor that’s hard to resist. This easy side dish works with fresh or frozen cauliflower.

Moroccan Cauliflower
This Moroccan roasted cauliflower is packed with warm spices and incredible flavor. The edges get perfectly crispy and caramelized, making it hard to stop eating straight from the pan.
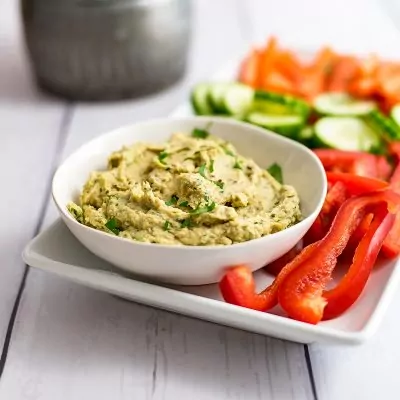
Creamy Roasted Cauliflower Hummus
Roasted cauliflower blended with tahini creates a smooth, creamy hummus-style dip without chickpeas. It’s a great snack served with veggies, crackers, or pita.
Cauliflower Dinner Recipes
Sweet and Sour Cauliflower
Crispy cauliflower tossed in a sticky sweet and sour sauce for a fun veggie-packed dinner. Serve it over rice for an easy meal that feels like takeout.
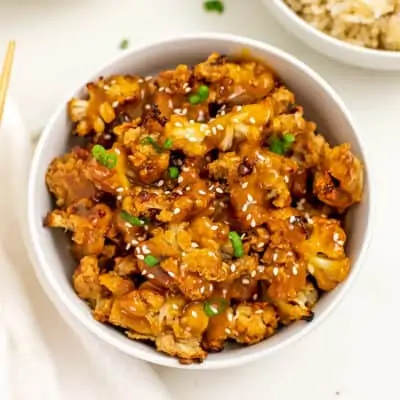
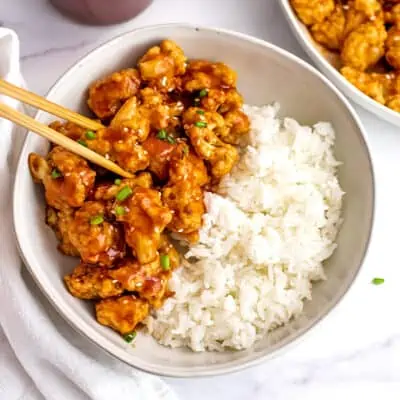
Vegan Orange Chicken
Crispy cauliflower tossed in a sticky orange sauce makes a delicious veggie twist on orange chicken. This gluten-free recipe is perfect served over rice for an easy dinner.
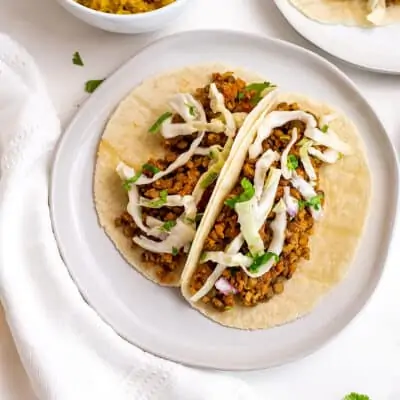
Cauliflower Lentil Tacos
Cauliflower rice and lentils are cooked with salsa and taco seasoning for an easy, flavor-packed taco filling. It’s a quick, high-protein option for a satisfying meatless dinner.
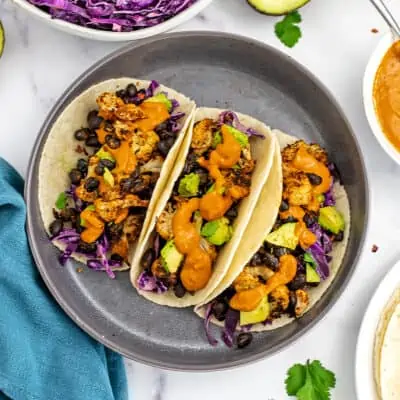
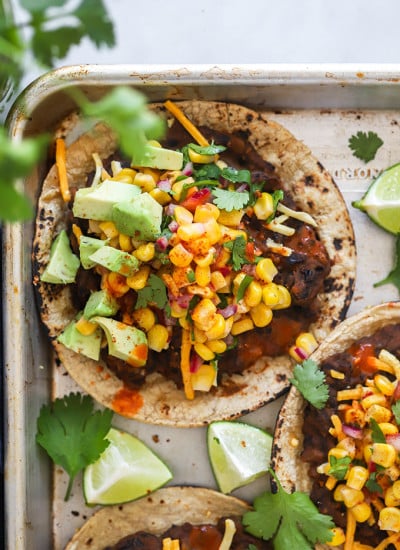
Cauliflower Black Bean Tacos
These cauliflower black bean tacos are hearty, flavorful, and perfect for a satisfying meatless meal. A spicy tahini sauce takes them to the next level.
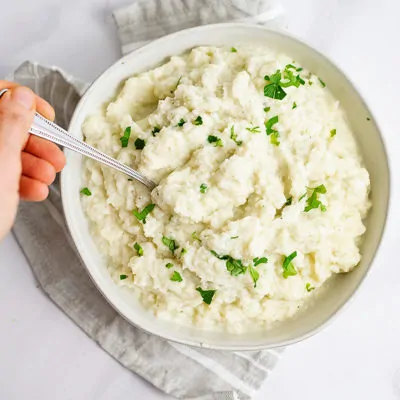
Vegan Garlic Mashed Cauliflower (Instant Pot)
A creamy, flavorful alternative to mashed potatoes made with tender cauliflower and plenty of garlic. The Instant Pot makes this recipe mostly hands-off and incredibly easy.
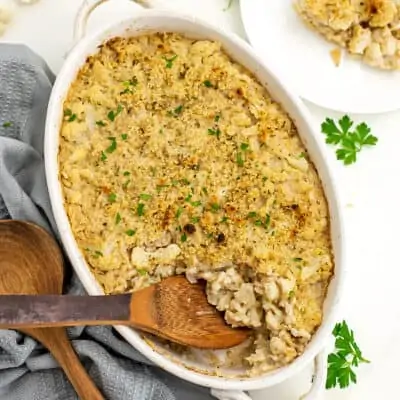
Cauliflower Vegan Casserole
This creamy cauliflower casserole is made with rice and white beans for a hearty, comforting dish. It works beautifully as a side or an easy plant-based dinner.
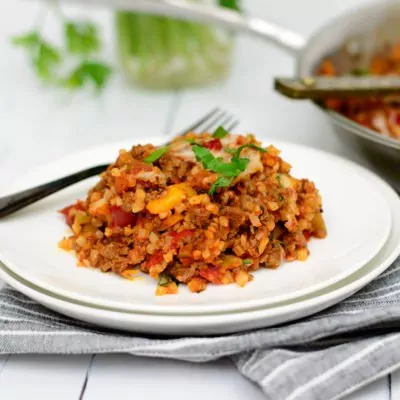
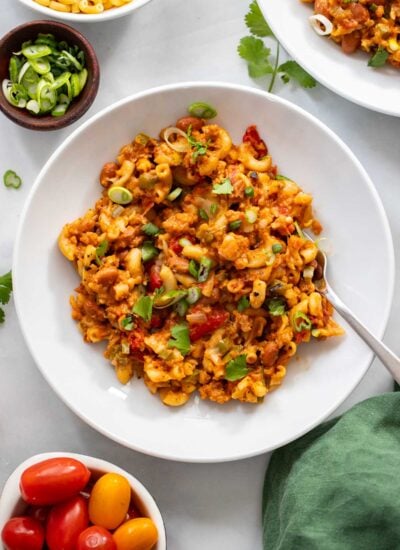
Cauliflower Lasagna
Layers of cauliflower, seasoned ground meat, peppers, onions, pizza sauce, and melty cheese make this low-carb cauliflower lasagna the ultimate veggie-packed comfort food.
Cauliflower For Breakfast
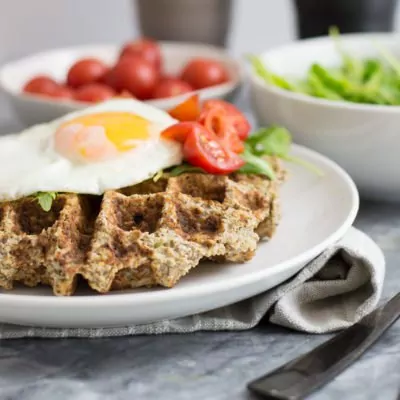
Simple Low Carb Savory Cauliflower Waffles
These savory cauliflower waffles are made with cauliflower, egg whites, coconut flour, and ground flax for a low-carb breakfast packed with protein and veggies.
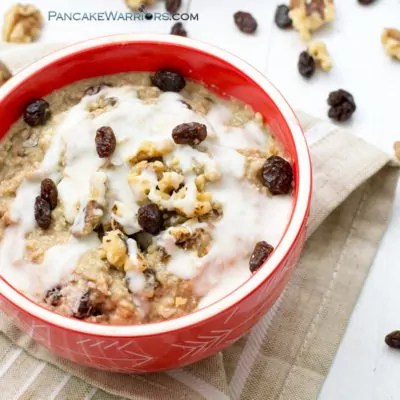
Cinnamon Bun Caulioats (Cauliflower Oats)
Cauliflower rice replaces the oats in this cinnamon bun–inspired breakfast made with protein powder and coconut butter. It’s warm, cozy, and a surprisingly delicious way to start the day with vegetables.
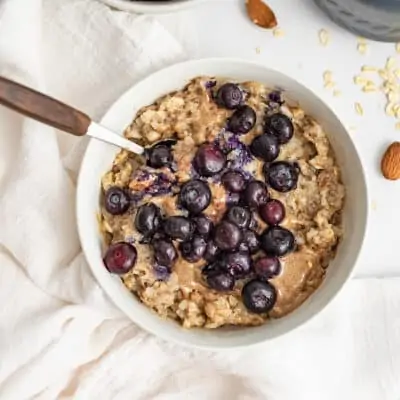
High Protein Oatmeal with Cauliflower (4 Ways)
This high protein oatmeal combines oats, cauliflower rice and protein powder for a simple, filling breakfast (4 ways). The cauliflower blends right in while adding extra volume and vegetables.
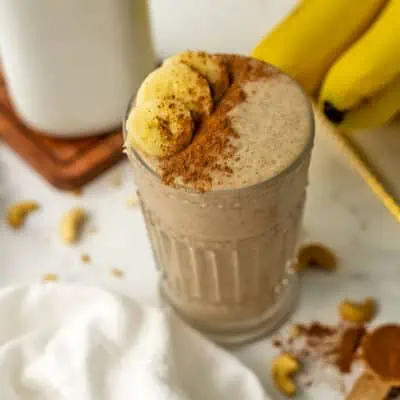
Cinnamon Banana Smoothie Recipe
This banana cinnamon smoothie blends cauliflower rice, banana, chia seeds, and protein powder for a creamy, filling breakfast. It tastes a little like banana bread and keeps you full for hours.
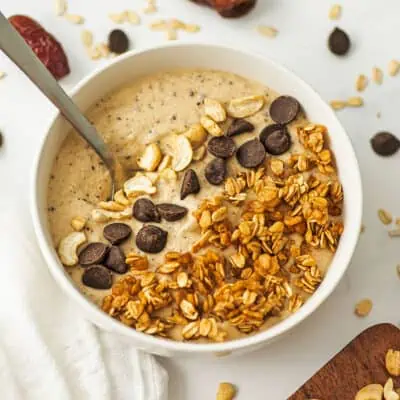
Cookie Dough Smoothie Bowl
Rolled oats, cauliflower rice, and dates create the thick, creamy texture of this cookie dough–inspired smoothie bowl. It’s high in protein and makes a delicious, filling breakfast.
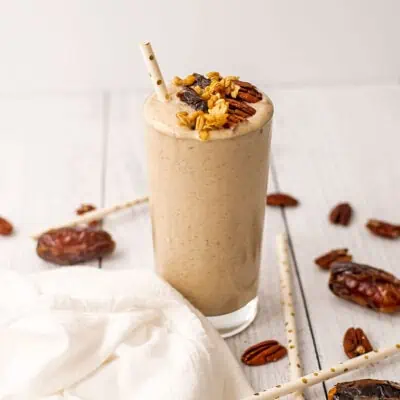
Pecan Pie Smoothie
Frozen cauliflower rice and protein powder create the creamy base for this pecan pie–inspired smoothie. Dates add natural caramel sweetness for a rich, dessert-like flavor.

Oreo Protein Milkshake
This Oreo-inspired protein smoothie blends cauliflower, protein powder, banana, and Medjool dates for a creamy treat that feels like a milkshake but is packed with protein.
Quick Tips for Cooking with Cauliflower
Over the years I’ve learned a few simple tricks that make cooking with cauliflower much easier:
- Frozen cauliflower rice is usually the best option. It’s inexpensive, cooks quickly, and saves the hassle of breaking down a whole head of cauliflower.
- Bagged cauliflower florets are a great shortcut. If you don’t love chopping a whole head of cauliflower, the pre-cut florets work perfectly in most recipes.
- Frozen cauliflower florets work in many recipes. In about 80% of cases they roast and cook just as well as fresh. The main times I prefer fresh cauliflower are when presentation matters, like cauliflower wings or recipes where larger florets are important.


")


")


")
")


