Water
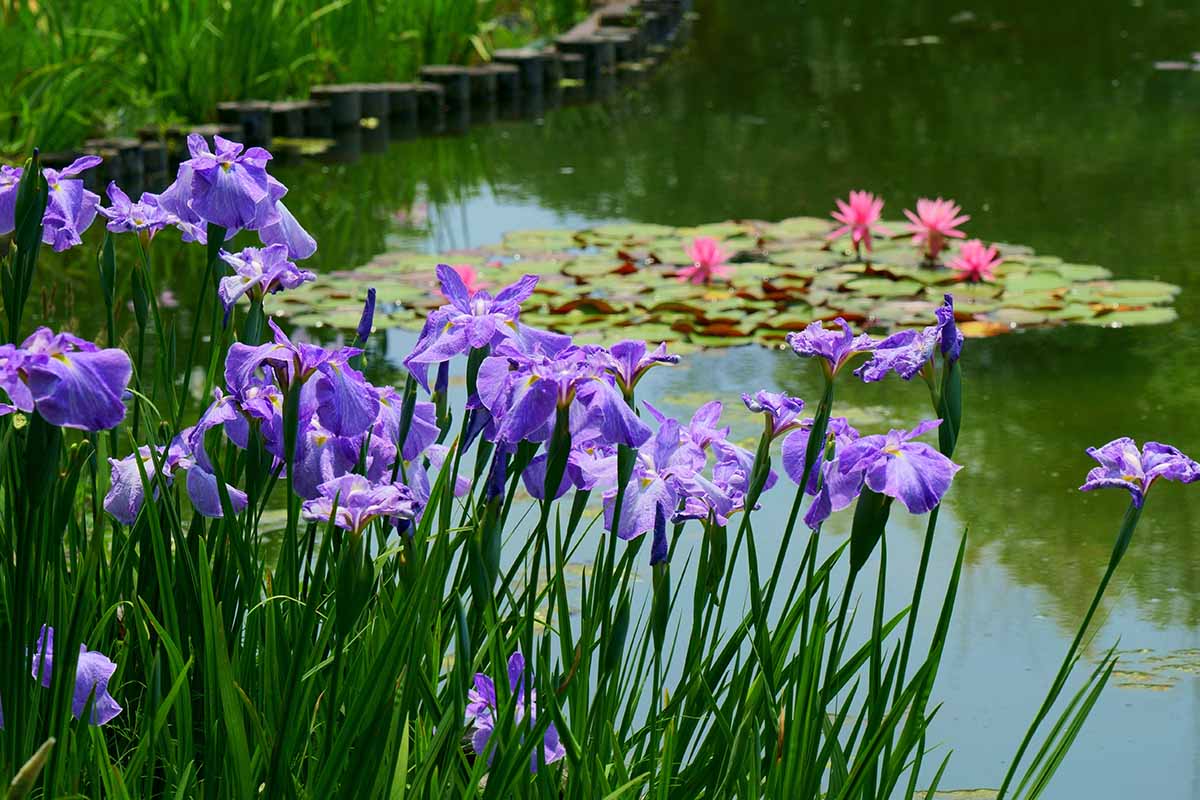
Japanese iris are sometimes called water iris, so that should give you a clue about what kind of conditions they enjoy.
They do best in areas that are consistently moist or even a bit boggy. Like I said, all of mine have thrived near water sources like a leaky hose bib or an irrigation canal.
But one year the irrigation canal that watered my yard needed repairs, and we didn’t have water coming through all summer. The irises? They were fine.
The same goes for when we fixed that leaky hose bib. So while they prefer boggy or moist conditions, they’ll adapt to drier areas.
They’re also perfectly happy in standing water up to six inches deep or so, but only for a limited time. More than a month and the crown will rot.
The exception is during the winter months. When the plants are dormant, they won’t tolerate standing water. Moist soil is fine, but standing water will rot the rhizomes.
If the blossoms are small and unimpressive, the first suspect should be lack of water. If the leaves start turning yellow, it could be that your water is too alkaline.
Fertilizer
Mulch with two to three inches of well-rotted compost around the plants in the spring. This provides nutrients but it also helps the soil retain moisture.
If your soil is naturally rich, you won’t need to do more than add compost.
But if it’s lacking, which you can determine with a quick soil test, you’ll also need to add fertilizer.
It’s best to feed in the spring before blooming and, if your soil is really depleted, again after blooming.
Don’t allow the soil to dry out for a few weeks after feeding, as this can result in root burn from the fertilizer.
Cultivars to Select
Gardeners in Japan have been cultivating these plants for centuries. There are cultivars that can be traced back 500 years.
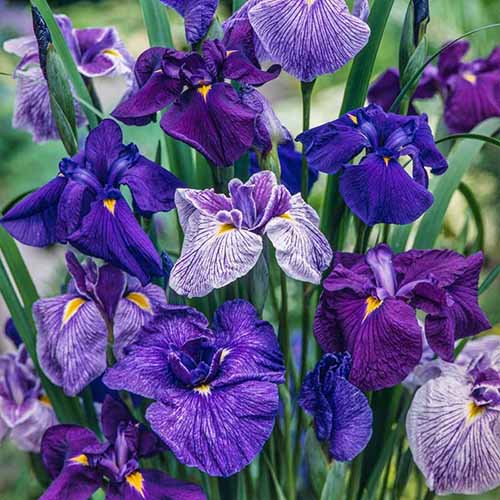
While the species has flowers that consist of three standards and three falls, known as singles, breeders have created other forms as well.
You will find doubles, which have six falls and no standards, as well as peony forms, with up to 12 falls and no standards. It’s common to find cultivars with small standards.
Blue Mix
If you aren’t particular about the cultivar, Eden Brothers sells a fun mixture of blue varieties. You can pick up packs of six, 12, or 18 rhizomes from them in the fall for planting.
But if you’d rather have some say in exactly what your flowers look like, here are a few cultivars I’d recommend:
Alpine Majesty
Purple might be the standard, but if you want to branch out, ‘Alpine Majesty’ offers up massive snow white double blossoms with golden yellow throats.
It’s also a tall Japanese iris, reaching up to four feet when it’s in the right conditions.
When a plant really wows, the Royal Horticultural Society (RHS) in England will hand out its coveted Award of Garden Merit. ‘Alpine Majesty’ nabbed one in 2005.
Frilled Enchantment
This winner of the RHS Award of Garden Merit in 2005 is a frilly show-off with huge, ruffled, double flowers in hues of purple and white, edged in vibrant pinky-magenta.
The flowers appear on stalks that grow nearly four feet tall on a vigorous plant.
It was bred out of ‘Kurume-Dome’ and an unknown parent in the early 1950s by Walter Marx of Walter Marx Gardens.
Royal Pageant
‘Royal Pageant’ was bred in the early 1950s from ‘Rose Anna’ and an unknown parent, and the world of Japanese irises is better off for it.
The petals are pale mauve with vibrant, deep, reddish-purple veins and a golden signal, all accented against bold purple styles.
It’s a long-lasting bloomer, too. The huge blossoms open up earlier than most Japanese irises and stick around until the others have all faded.
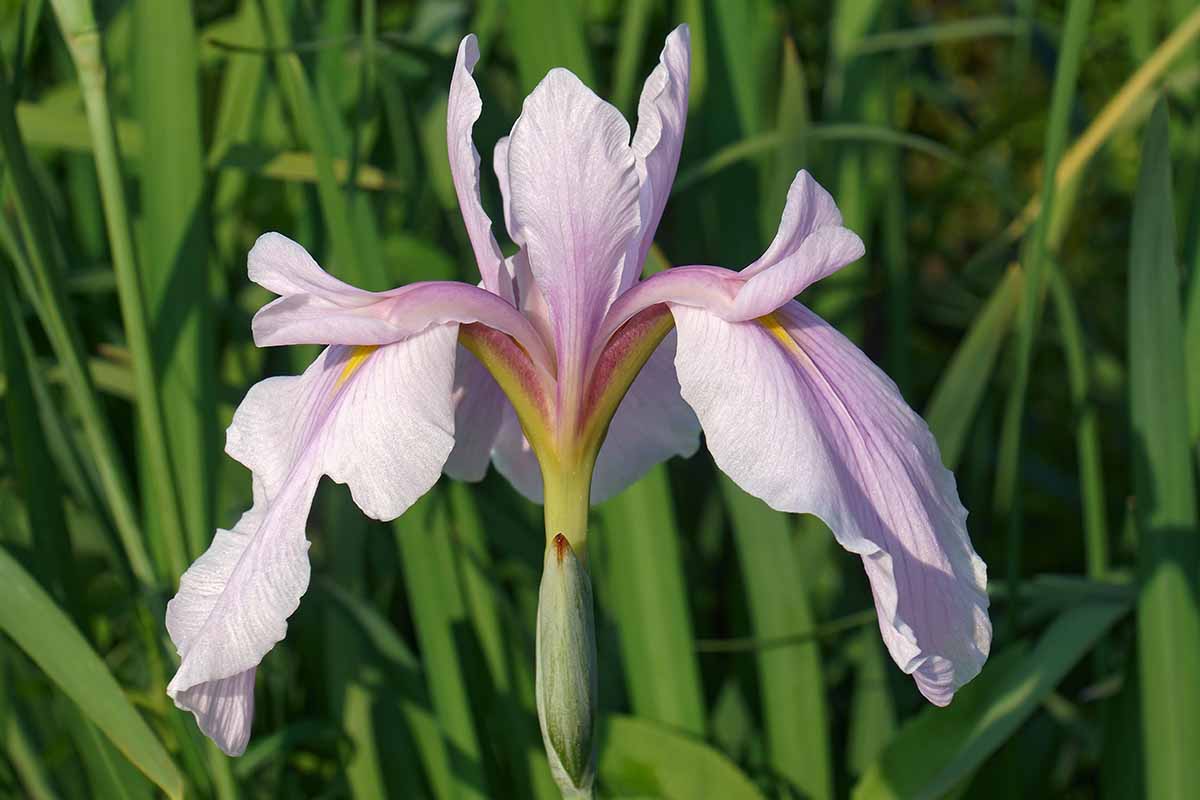
Rose Queen
‘Rose Queen’ is one of my personal favorites. The single blossoms are faint pink on the edges, gradually transitioning to deep purple rose at the center with a bright yellow throat.
When in bloom, the stalks can reach up to three feet tall. Each plant produces heaps of flowers, which is no-doubt part of the reason the RHS gave it the Award of Garden Merit in 1995.
Variegata
Most irises are background plants when they aren’t in bloom.
The greens are lovely, but they’re not a showstopper, unless you grow ‘Variegata.’
The cream and green foliage makes for a beautiful display even when the large purple flowers aren’t in bloom. Honestly, it’s beautiful enough to grow as a foliage plant.
‘Variegata’
‘Variegata’ was given the Award of Garden Merit by the RHS in 1995.
You can find ‘Variegata’ available at Nature Hills Nursery in #1 containers.
Maintenance
You should divide your plants every four years or so as discussed below.
While dividing isn’t strictly necessary for the health of the plant, it will encourage bigger blossoms in the following year.
Remove any yellow or brown foliage in the fall. You can also cut the entire plant down to a few inches tall, but in areas without heavy snow, just leave them be.
You don’t have to deadhead the spent flowers as it won’t encourage new reblooming. But if you find the appearance unattractive, go ahead and snip the flower stalk off at the base.
If you live in a region that is too cold or wet during the winter, you can always lift the rhizomes out of the ground and store them for the winter.
Propagation
With Japanese irises, there are two good ways to propagate them. Buy or get your hands on some rhizomes or divide an existing plant.
From Rhizomes
Rhizomes should be planted in the fall. The rhizomes should be planted two inches deep and about 18 inches apart.
To get them in the ground, dig a hole that is just deep enough to accommodate the rhizome. It should be nearly poking out of the ground.
Set the rhizome in the hole. Just barely cover with soil and water well.
By Division
The best time to divide your Japanese iris plants is after flowering.
Dig down about nine inches deep and an inch or two wider than the base of the leaves.
Use your spade to carefully lift the clump out of the ground.
Gently brush away the soil or wash it off with a gentle stream of water from the hose.
Tease apart the rhizomes by hand.
Set the rhizomes in a bucket of water as you work so that they don’t dry out.
Replant the separated rhizomes as discussed above.
Learn more about dividing irises here.
Pests and Disease
Deer and rabbits aren’t interested in irises which is great news for gardeners who struggle with our furry friends in the garden.
There are a few insect pests that can’t wait to take a bite out of your plants.
Pests
Aphids will occasionally feed on irises. They aren’t such a big deal except that they can spread mosaic virus, which we talk about in a bit.
The first pest we’re going to talk about is a seriously bad one.
Iris Borer
The iris borer (Macronoctua onusta) is by far the most damaging pest iris growers will face. It’s not the adults, which are big, brown, night-flying moths, that are the problem.
The larvae, which look like two-inch-long pink caterpillars, hatch in the spring and start feeding on the foliage, tunneling their way down into the rhizome.


 | Twist-Up Makeup Remover Balm with Rice Bran & Jojoba Oils, Korean Skin Care for Oily & Combination Skin")