


Happy Friday, GPODers!
It has been a little while since GPOD has hit the road, and Susan Warde in St. Paul, Minnesota, has come through with a reminder that you don’t have to travel far to experience garden inspiration. Susan has shared her incredible garden designs many times over the years (Color Coordinating in Susan’s Front Garden, Last Year’s Gardening Season at the 45th Parallel, Season’s End in Susan’s Garden, and more), but today she’s giving some attention and love to the front-yard gardens in her area that offer free beauty for the whole neighborhood. Here’s Susan’s close-to-home edition of GPOD on the Road.
“Putting on a good front!” I’m a fan of front-yard gardens. It’s such a pleasure to view them on walks and, if one is lucky, get to chat with the gardener. (My own gardening experience began in the front yard more than 40 years ago, and I’ve shared some photos of it on GPOD.) I live in a neighborhood where many gardens are visible from the sidewalk. The following photos are of gardens within walking distance of my house or, in a couple of cases, only a short drive away. The second one was taken at the end of October last year; the others are all from this July.
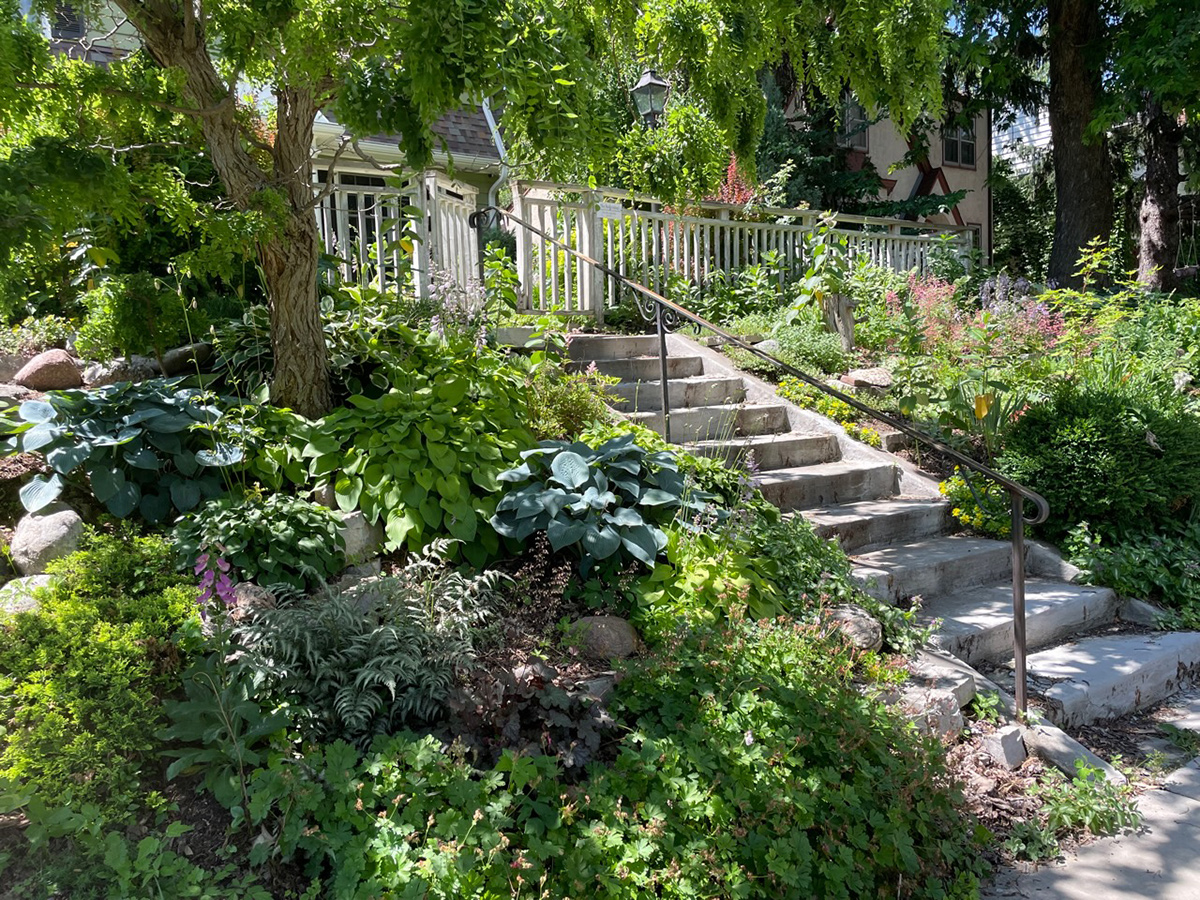
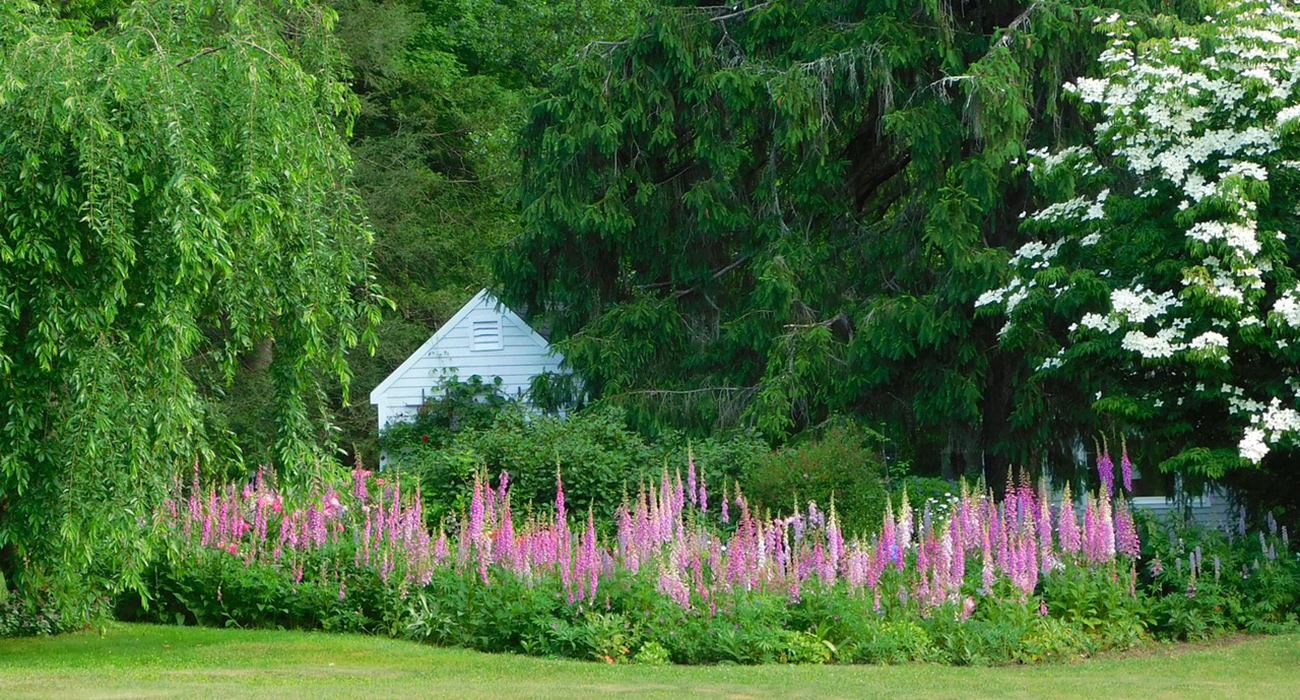
One of my favorites is this cottage garden. Walking up to the front door is an adventure, with the abundance of interesting plants trying to escape their confines.
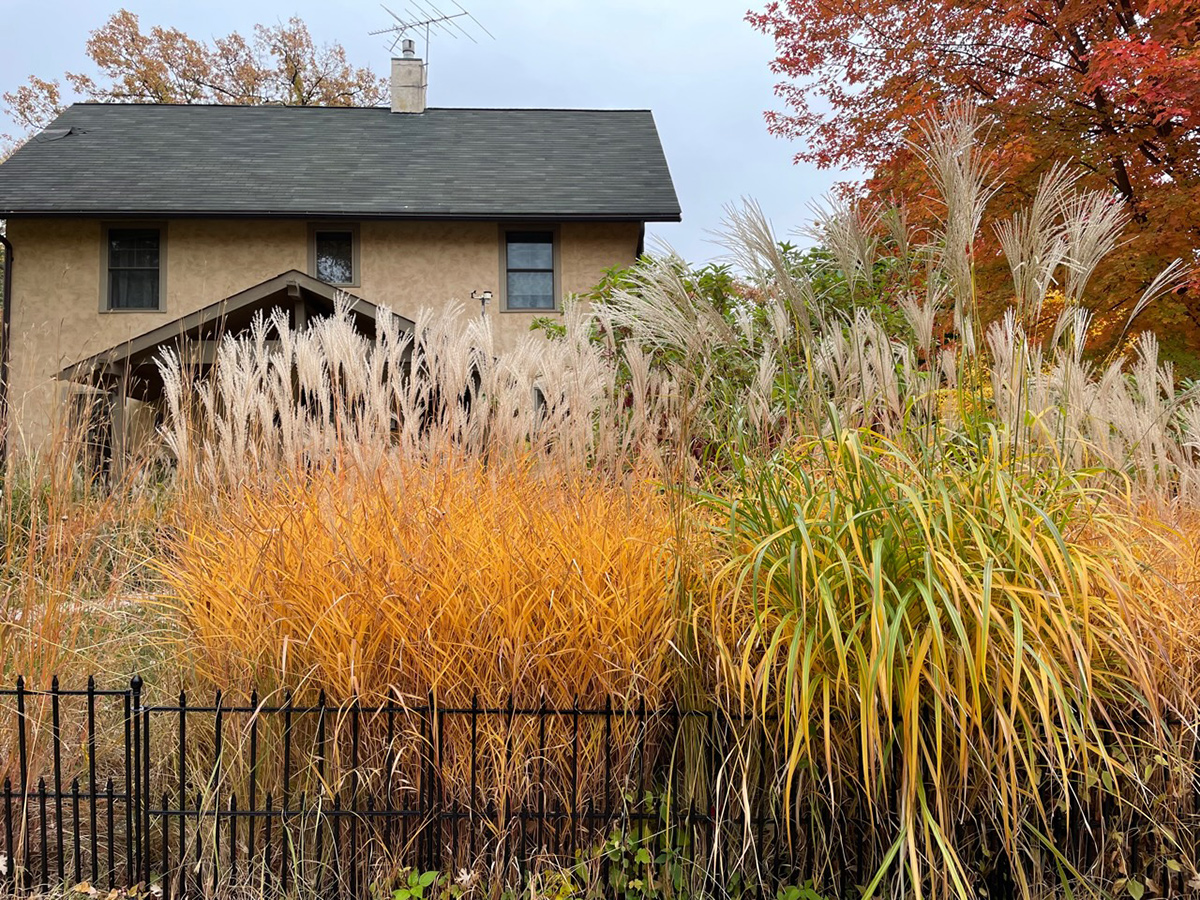 Nearby is a corner house with this striking fall display of grasses and a maple in full autumn color.
 A garden is a great way to deal with a slope. On the main street that runs through our neighborhood, there are three houses in a row where the owners have turned not only their front yard but also the narrow boulevard into a botanical wonderland.
 A view of the same three gardens taken from the other direction
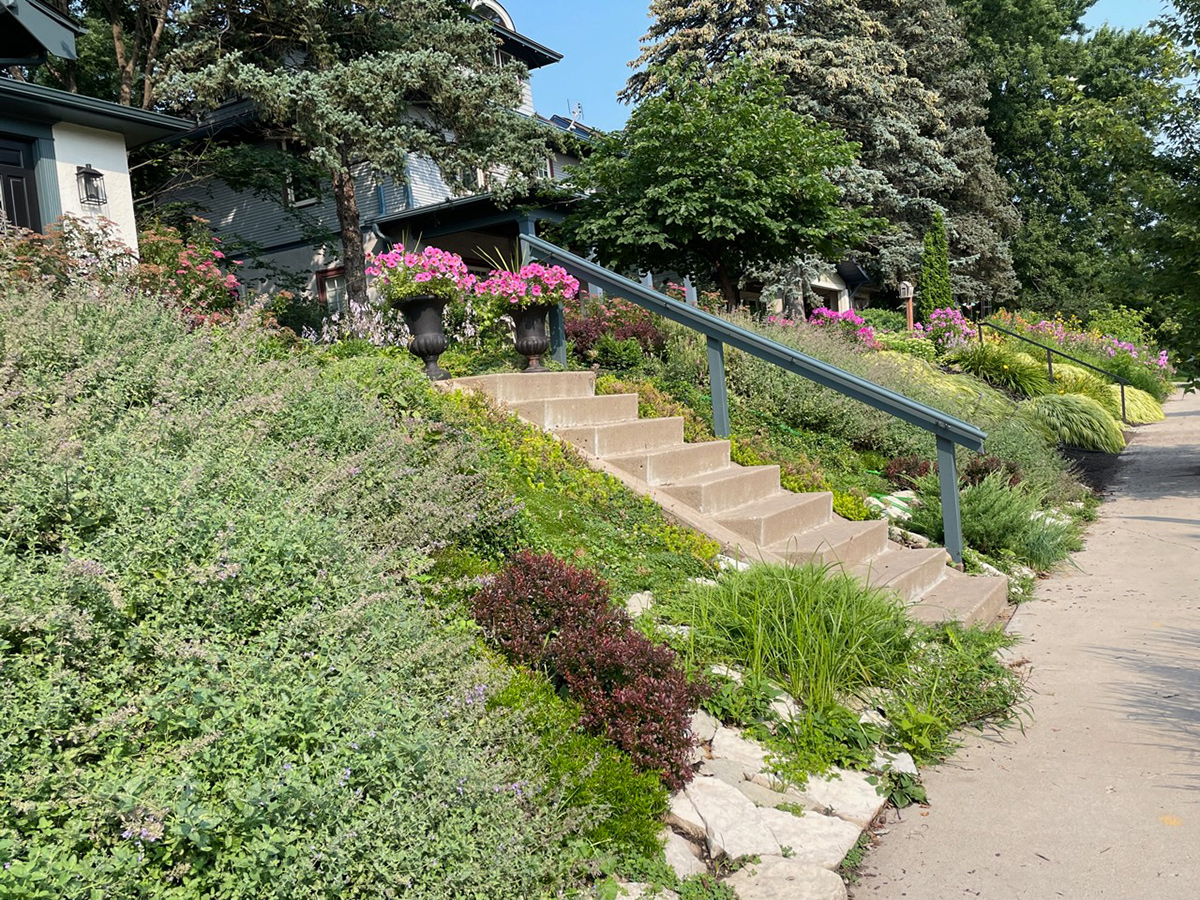
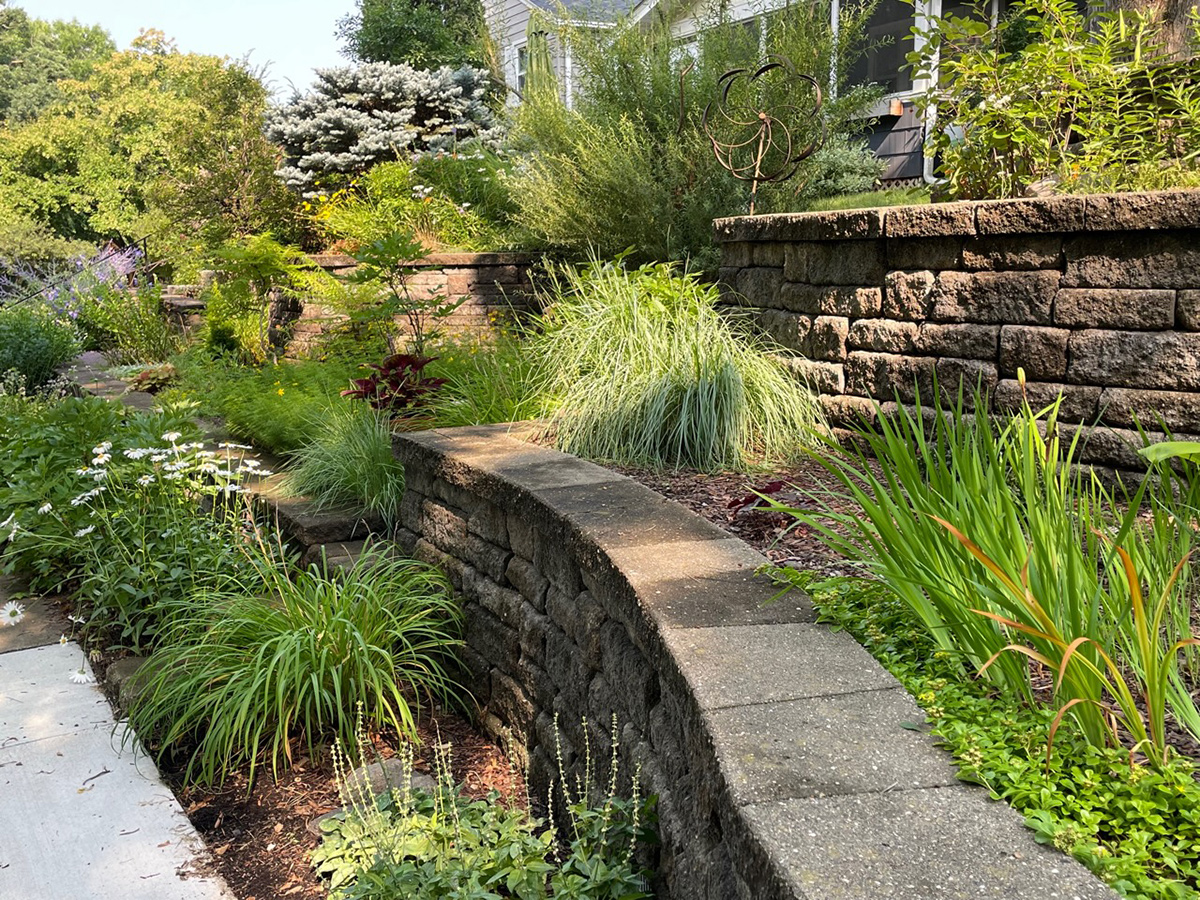 Terracing the slope is visually appealing and gives the gardener easier access.
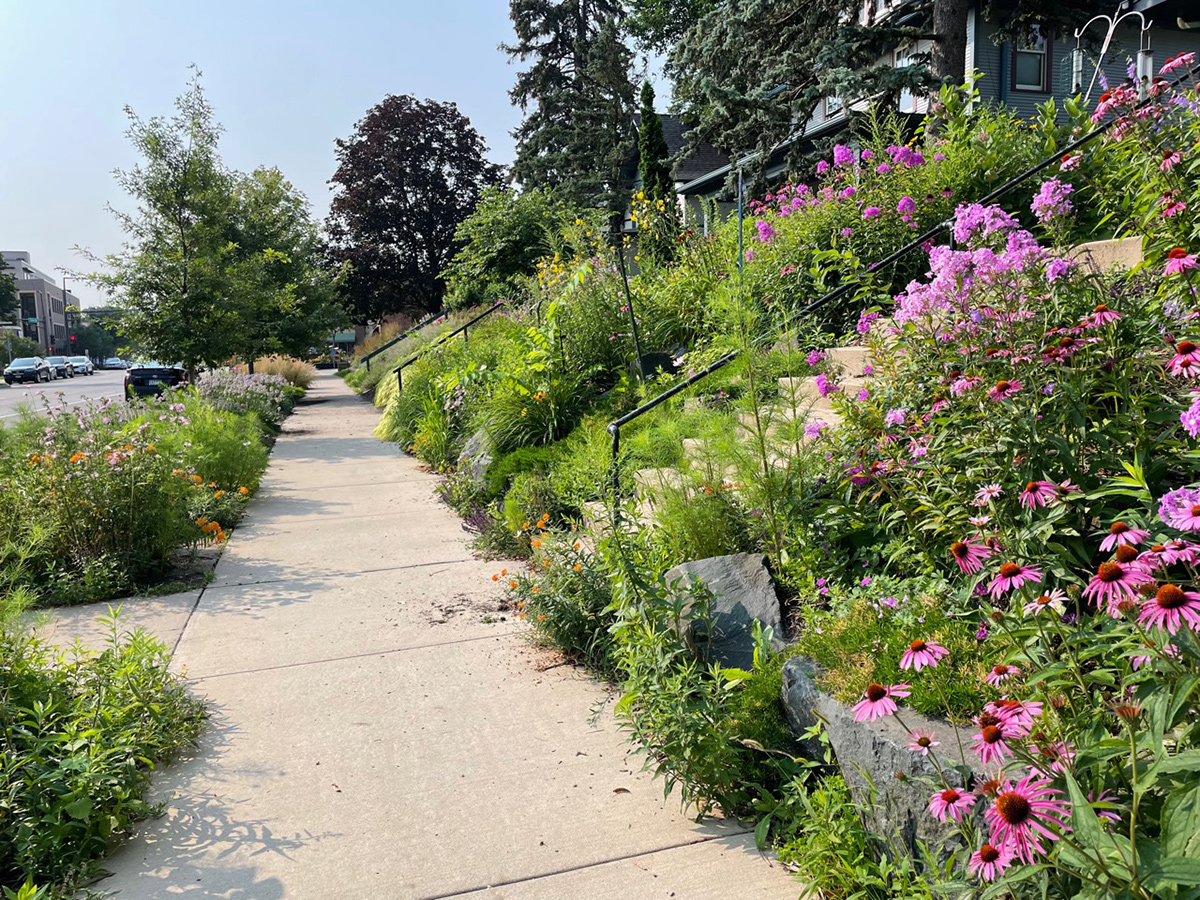
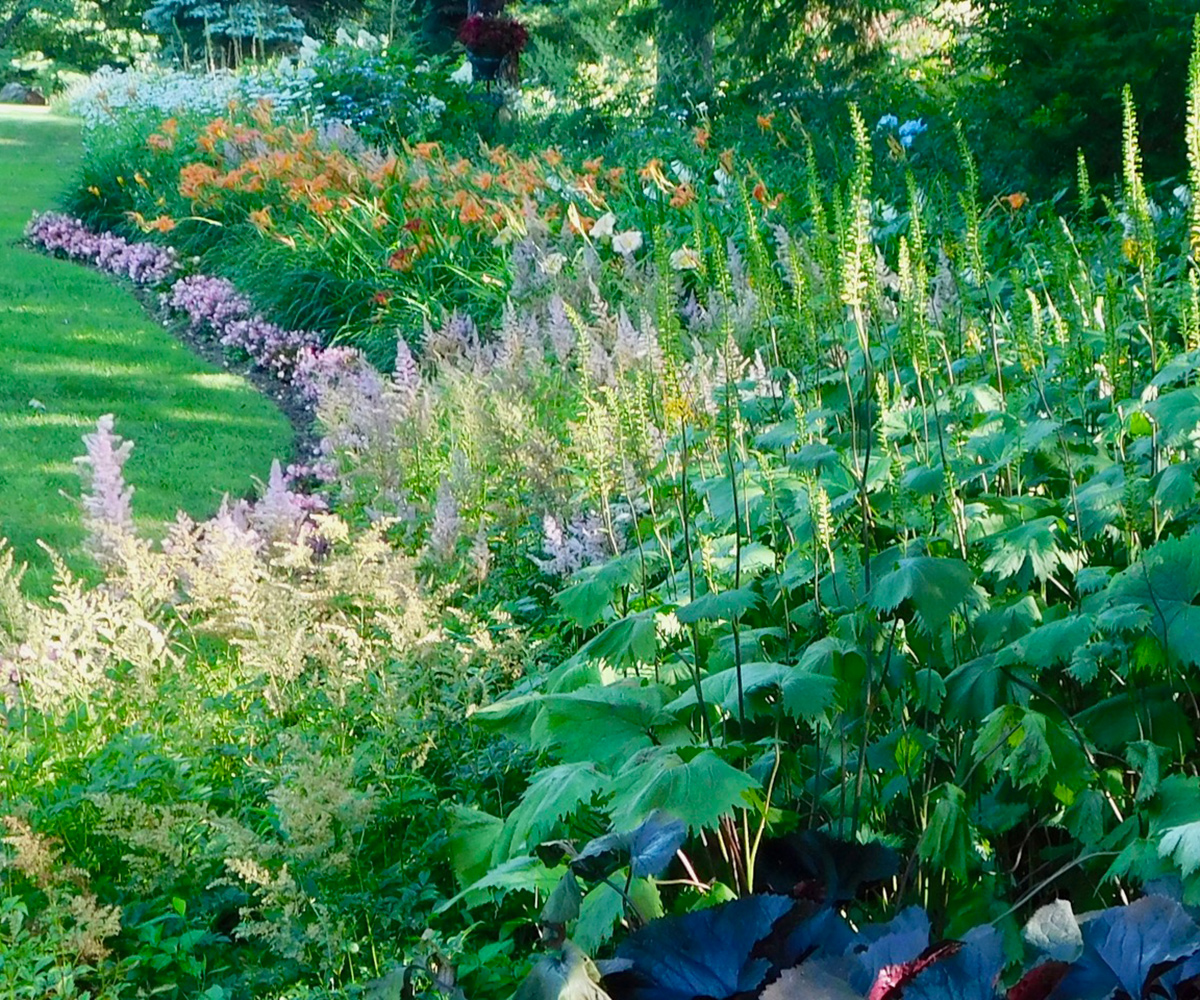
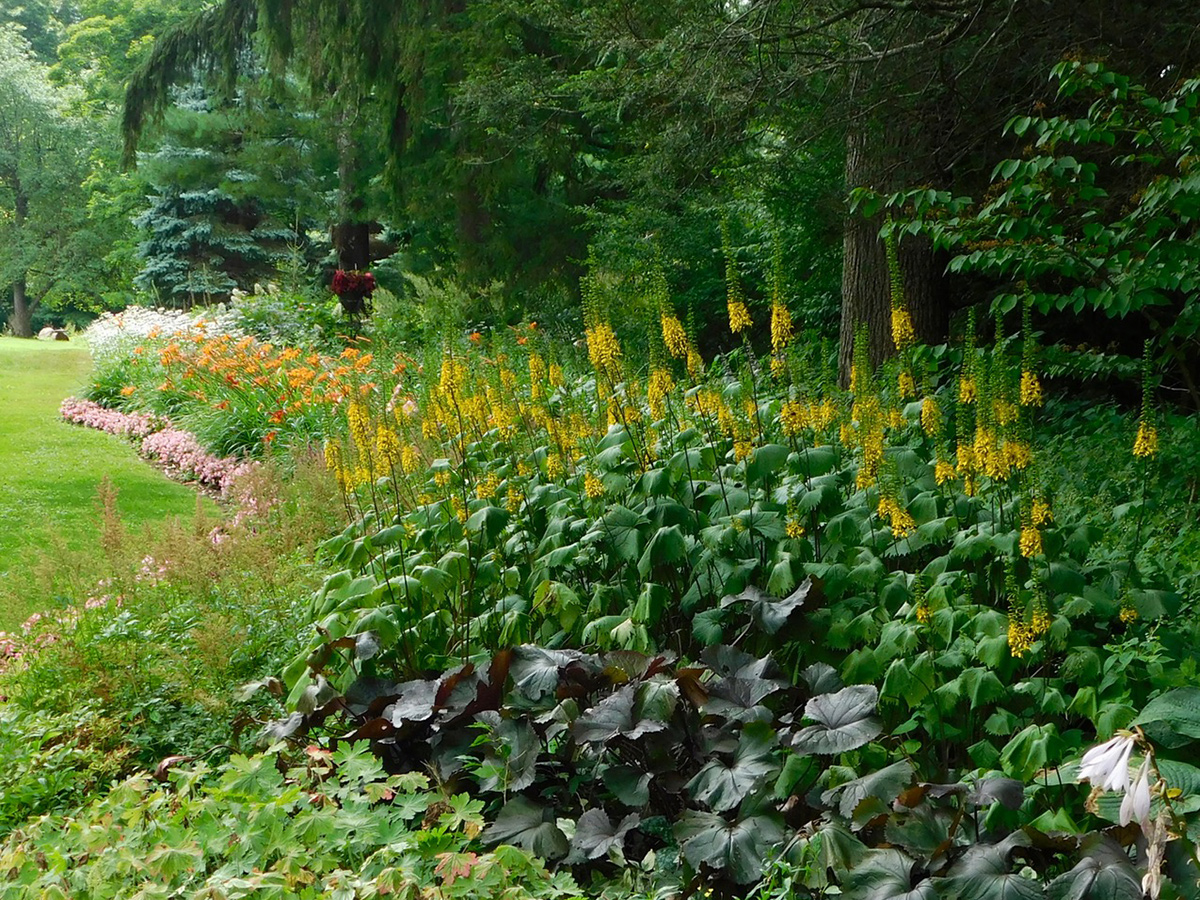
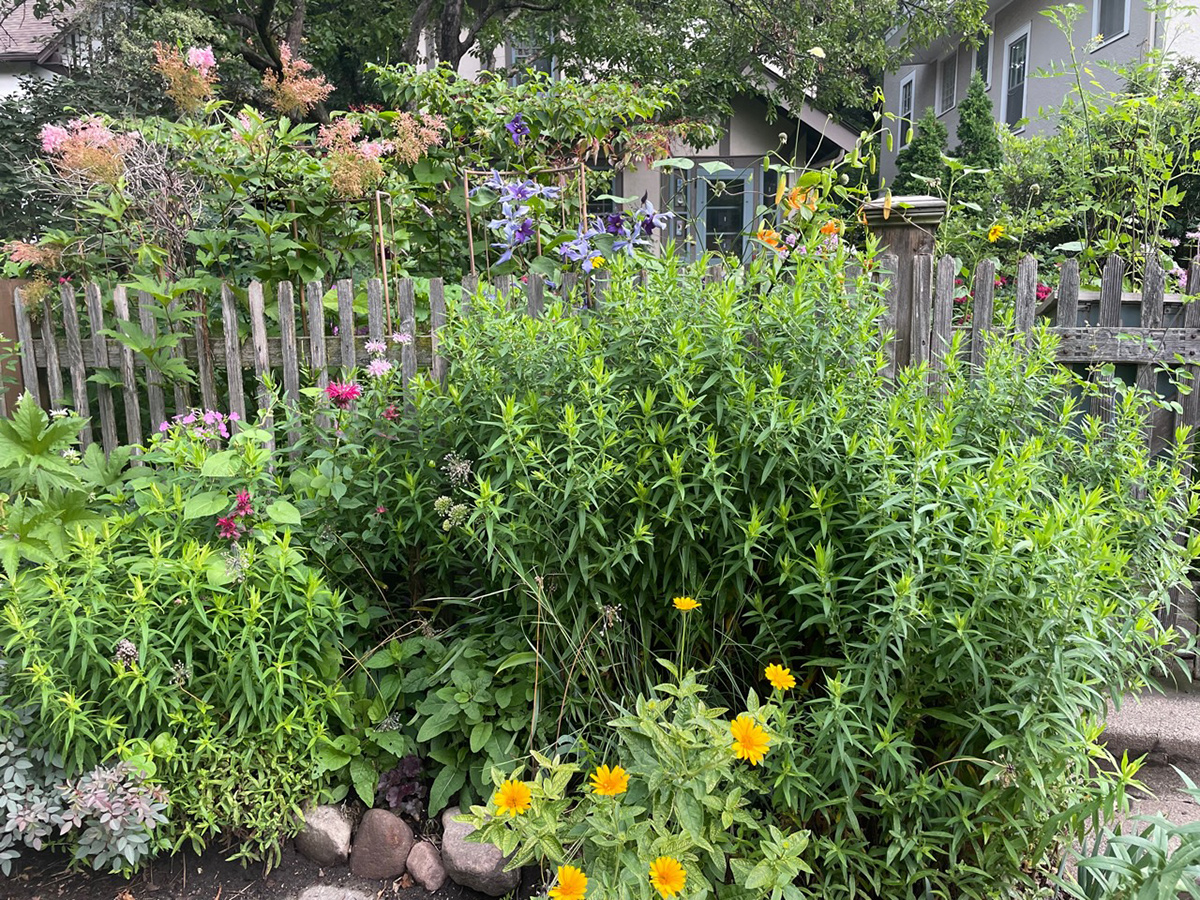
 Another sloping front yard with numerous plants that are placed strategically according to their light requirements: The garden actually begins on the boulevard and continues behind the fence.
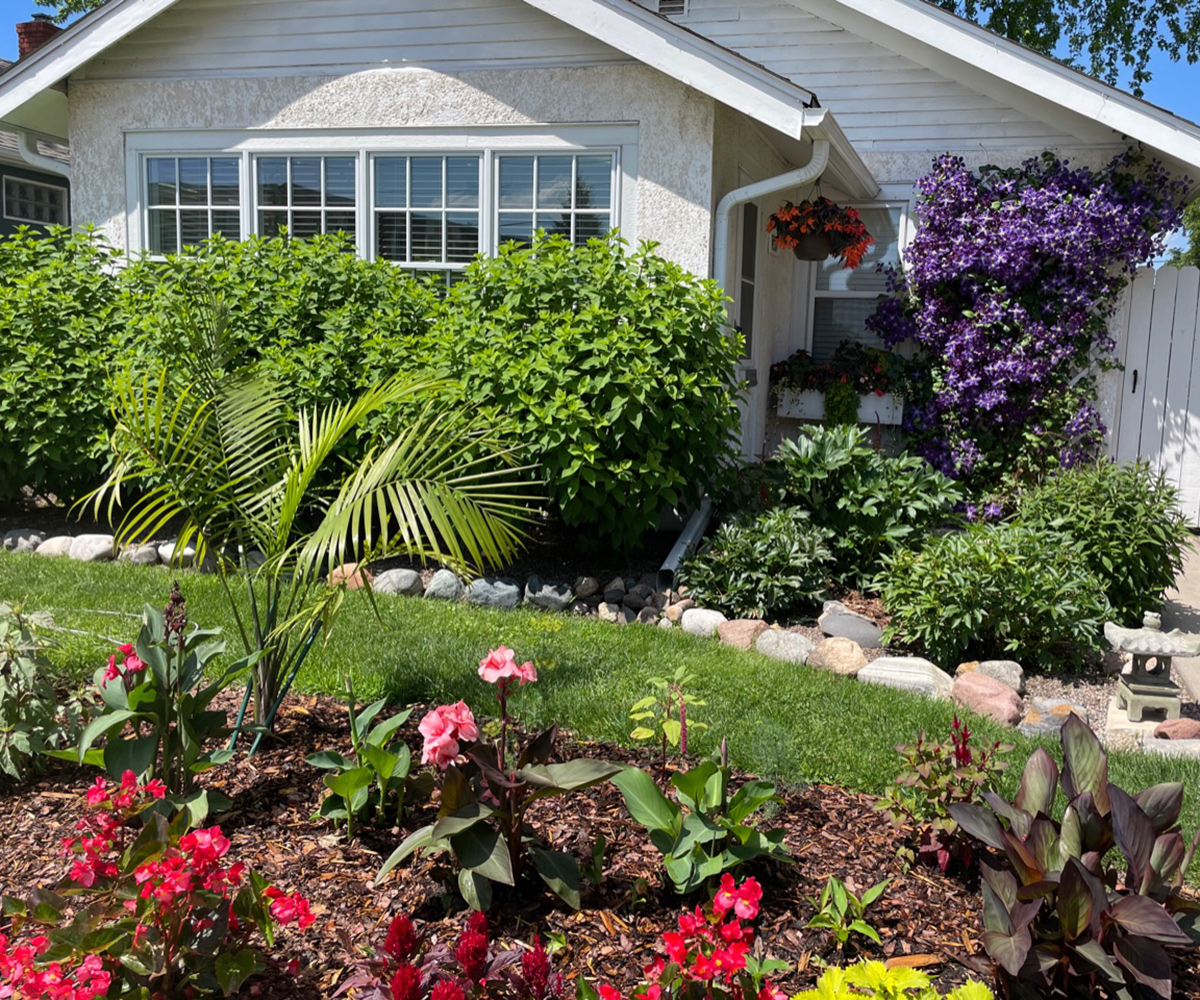 This tiny front yard is bright with colorful blooms and an exuberant ‘Jackmanii’ clematis (Clematis ‘Jackmanii’, Zones 4–8).
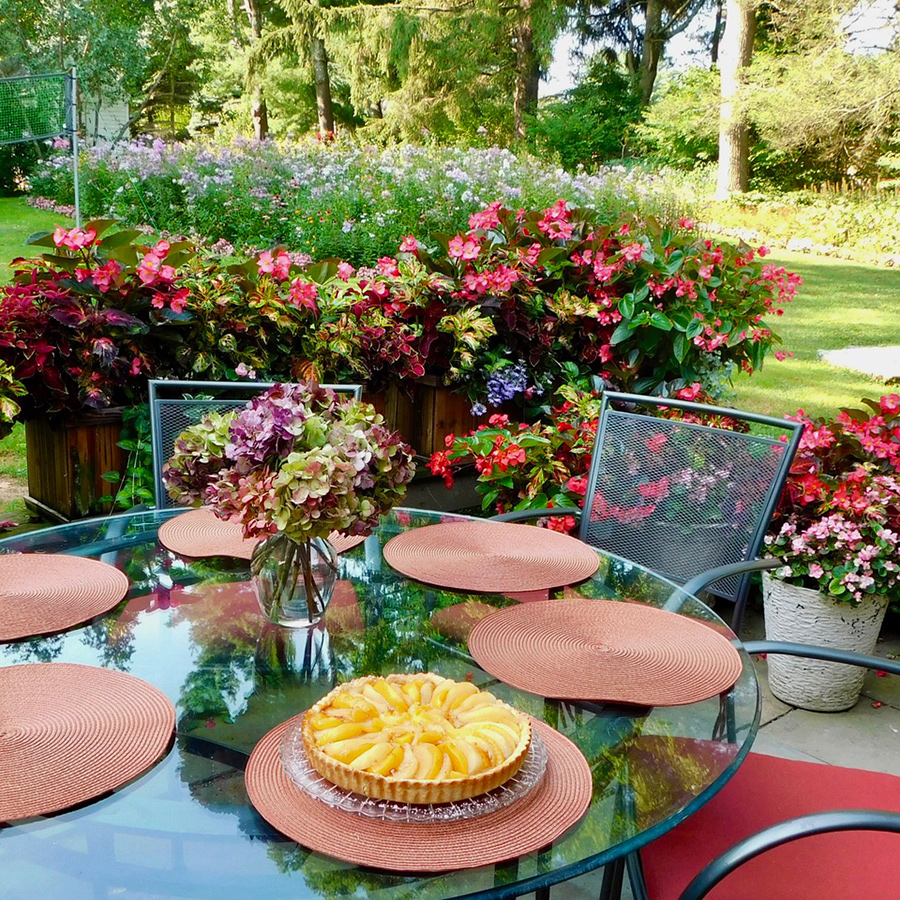
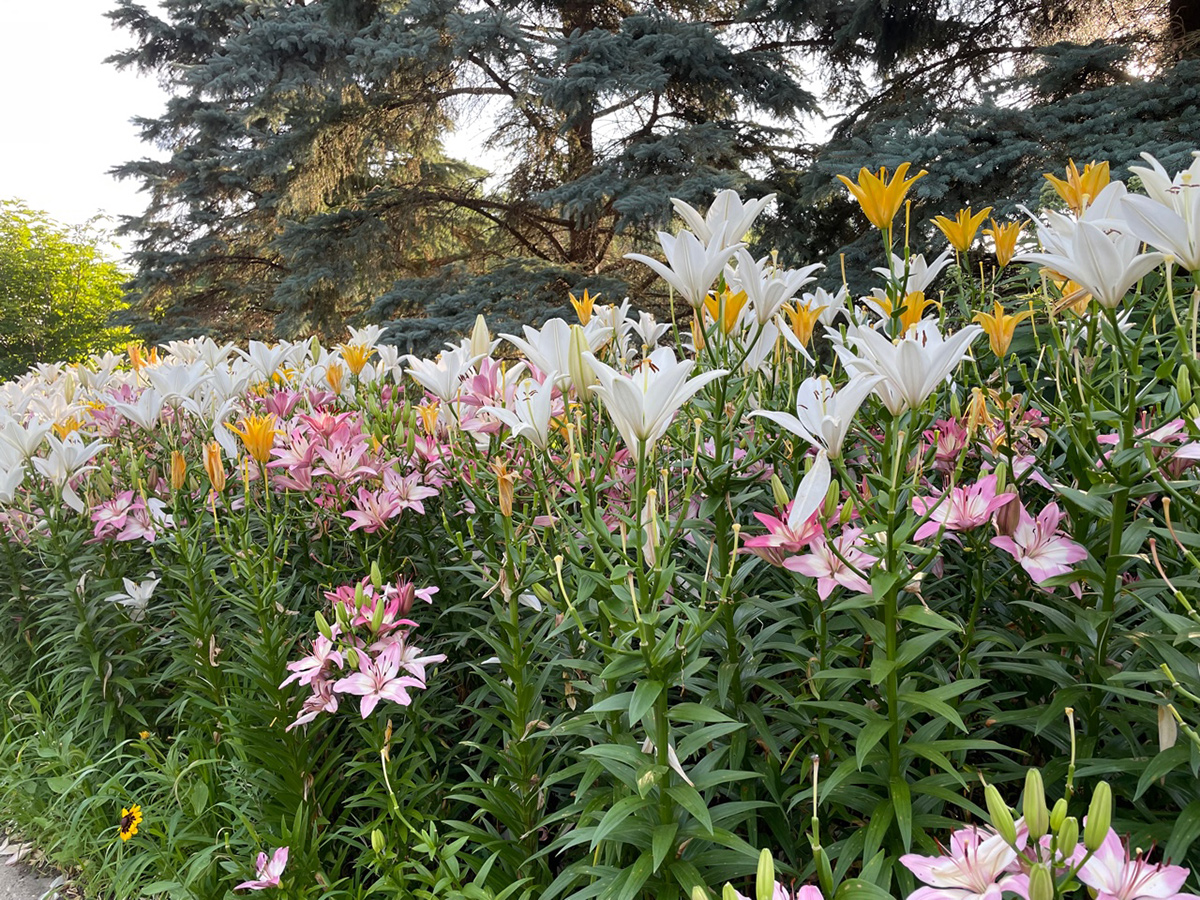 Huge! This suburban garden is on a corner lot. In the spring it’s filled with old-fashioned tulips that come back year after year. As their foliage dies back, Asiatic lilies (Lilium spp. and cvs., Zones 4–8) replace them along one side of the garden.
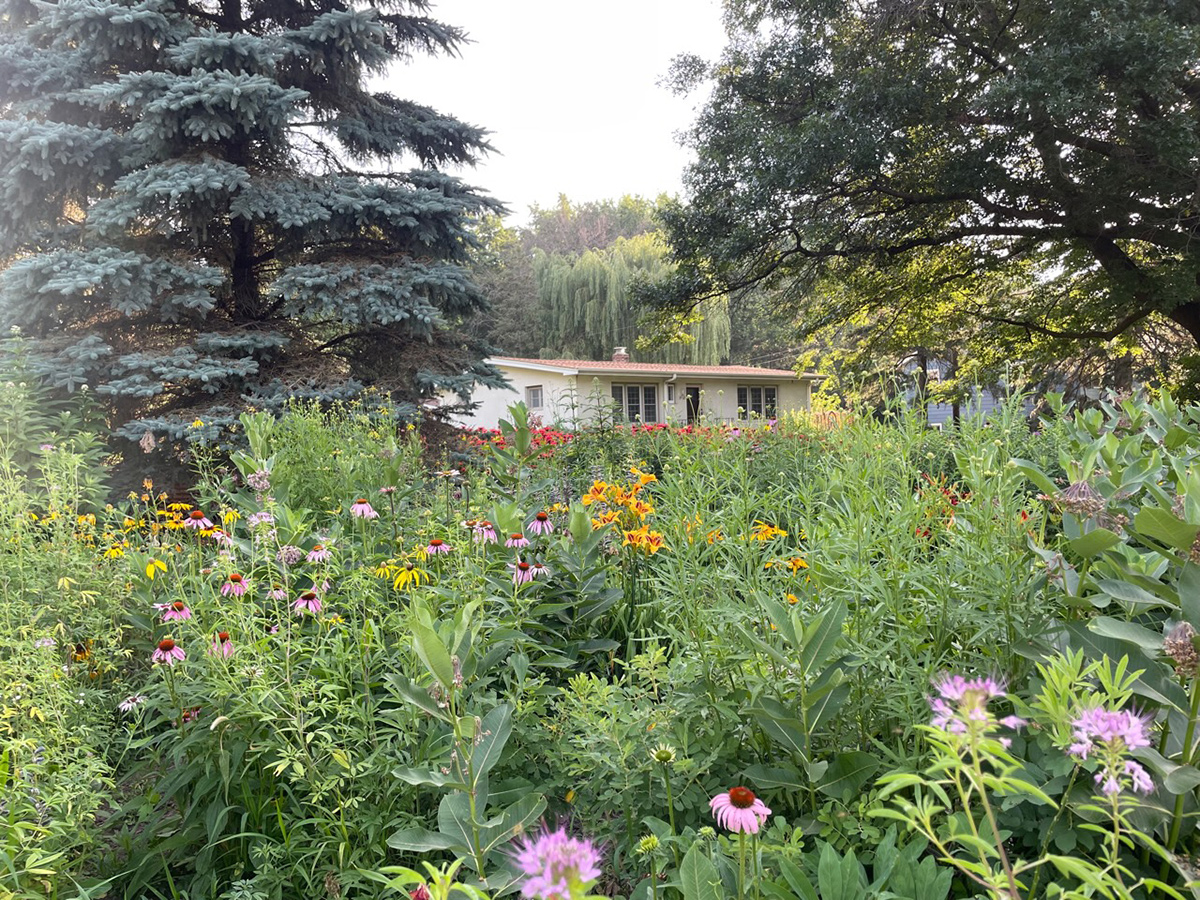 The rest is a pollinator’s dream, with echinacea and other composite flowers, common milkweed (Asclepias syriaca, Zones 3–9), cleome, and red monarda in the background.
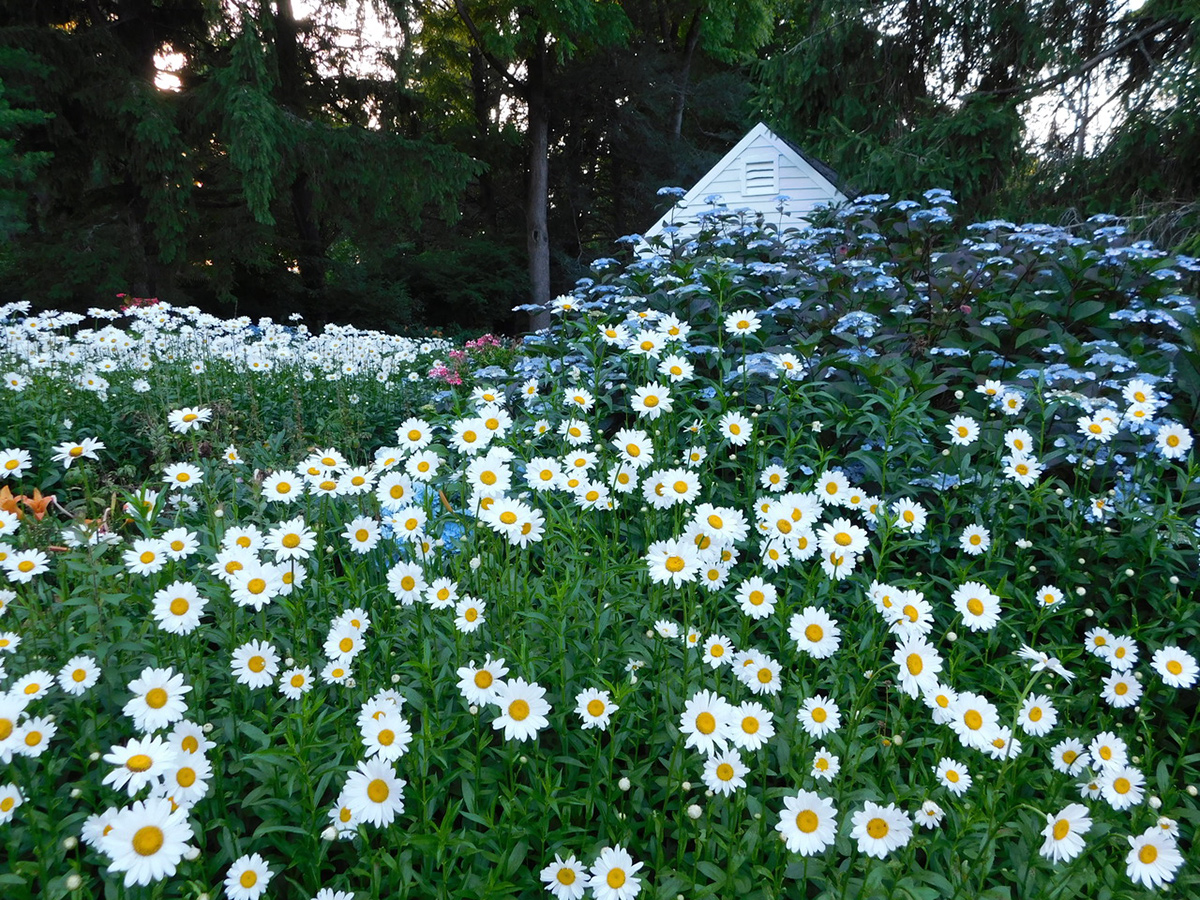
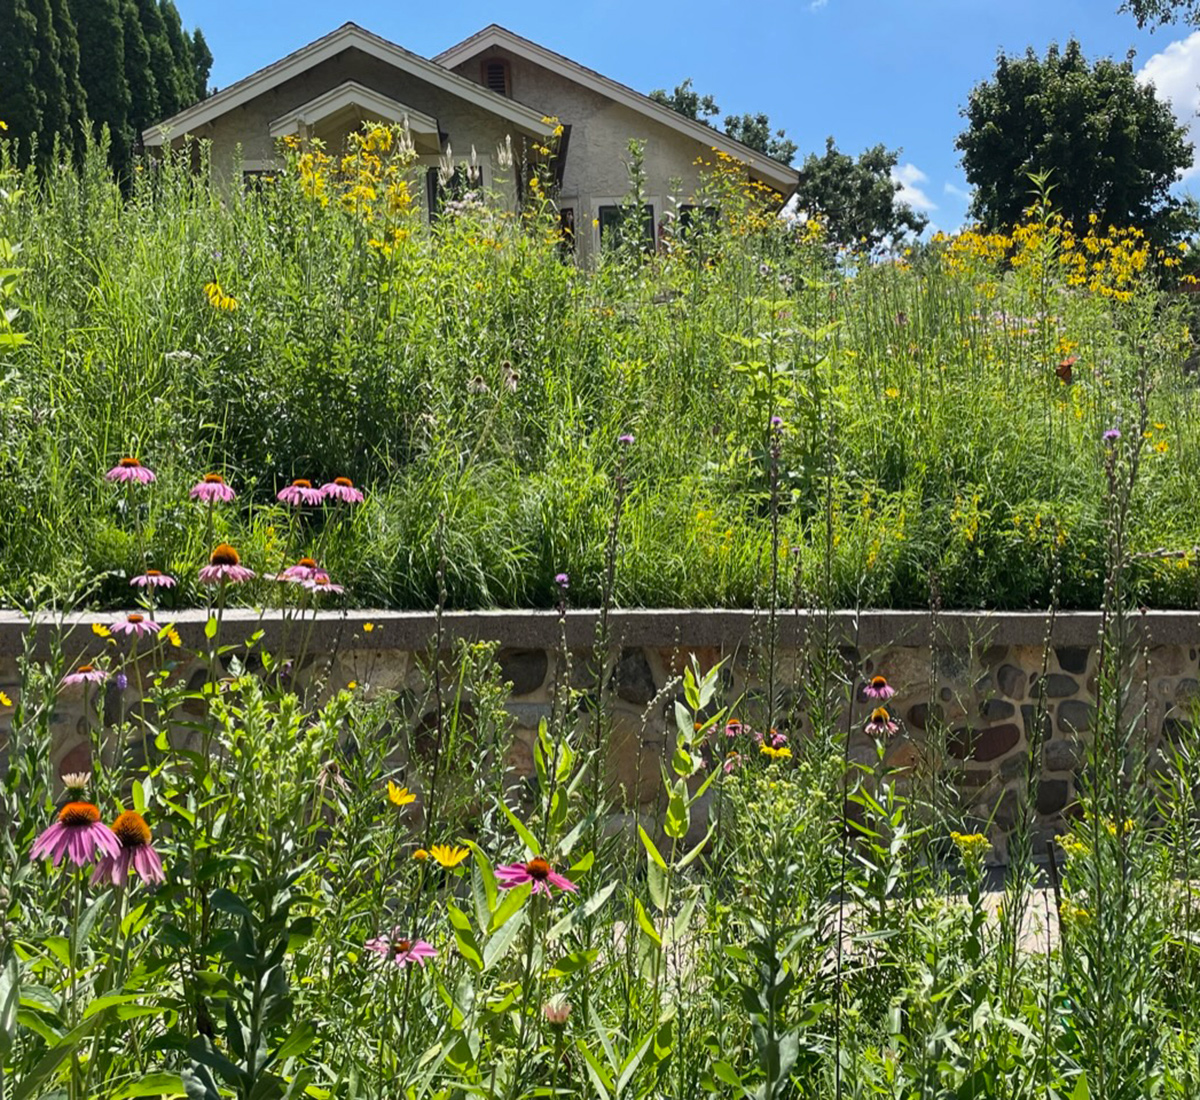 This prairie garden was developed decades ago, long before the concept became so popular, and it’s my absolute favorite. At the bottom of the photo is the boulevard garden. A really handsome stone wall beyond the sidewalk borders the bottom of the slope up to the house. The garden is always abuzz and aflutter with visiting insects.
Thank you so much for this front-yard-garden tour of St. Paul, Susan! It’s incredible to see the number of gardeners who, like you, are sharing the joy and beauty of plants with their neighbors. It certainly makes me want to plan a walking tour around St. Paul one day.
Do you admire any front-yard gardens in your area? I hope Susan’s submission encourages you to walk around your neighborhood and enjoy the garden displays your neighbors create. If a design, or a few designs, really strike your fancy, consider sharing some photos with Garden Photo of the Day! Follow the directions below to submit photos via email, or send me a DM on Instagram: @agirlherdogandtheroad.
We want to see YOUR garden!
Have photos to share? We’d love to see your garden, a particular collection of plants you love, or a wonderful garden you had the chance to visit!
To submit, send 5–10 photos to [email protected] along with some information about the plants in the pictures and where you took the photos. We’d love to hear where you are located, how long you’ve been gardening, successes you are proud of, failures you learned from, hopes for the future, favorite plants, or funny stories from your garden.
Have a mobile phone? Tag your photos on Facebook, Instagram, or Twitter with #FineGardening!
Do you receive the GPOD by email yet? Sign up here
Fine Gardening Recommended Products

Lee Valley Large Gardener’s Wash Basket
Fine Gardening receives a commission for items purchased through links on this site, including Amazon Associates and other affiliate advertising programs.
This basket was designed to be used by gardeners to wash freshly harvested vegetables before taking them inside. You can gather your vegetables and then hose them off right in the same basket. However, you can also use it for fruit or add a cloth liner for serving bread or other baked goods. Measuring 16″ long, 11″ wide and 4″ deep, it is made of chrome-plated steel to resist rust.

Wagner’s 52003 Classic Blend Wild Bird Food, 6-Pound Bag
Fine Gardening receives a commission for items purchased through links on this site, including Amazon Associates and other affiliate advertising programs.
Classic wild bird food uses the highest quality grains to attract backyard wild Birds. A high-quality mix containing Millet, milo, cracked corn and Sunflower for a wide range of wild birds to enjoy. Perfect for tube, hopper, or platform feeders. Great to feed in all seasons! Perfect for the winter, when seeds are scarce; spring and summer for hatchlings; and autumn to give energy to migrating birds. This seed will help you fill your yard with birds such as Jays, cardinals, doves, Juncos, finches, goosebeaks, any many more.

Planting in a Post-Wild World: Designing Plant Communities for Resilient Landscapes
Fine Gardening receives a commission for items purchased through links on this site, including Amazon Associates and other affiliate advertising programs.
Featuring gorgeous photography and advice for landscapers, Planting in a Post-Wild World by Thomas Rainer and Claudia West is dedicated to the idea of a new nature—a hybrid of both the wild and the cultivated—that can nourish in our cities and suburbs.


")