


Both are such similar plants that they are often confused.
If I really had to choose between the two, I’d say P. subulata might just about win out as a ground cover, as it stays shorter and tends to bloom more densely.
But both options can bring beauty to the garden, when planted under the right conditions.
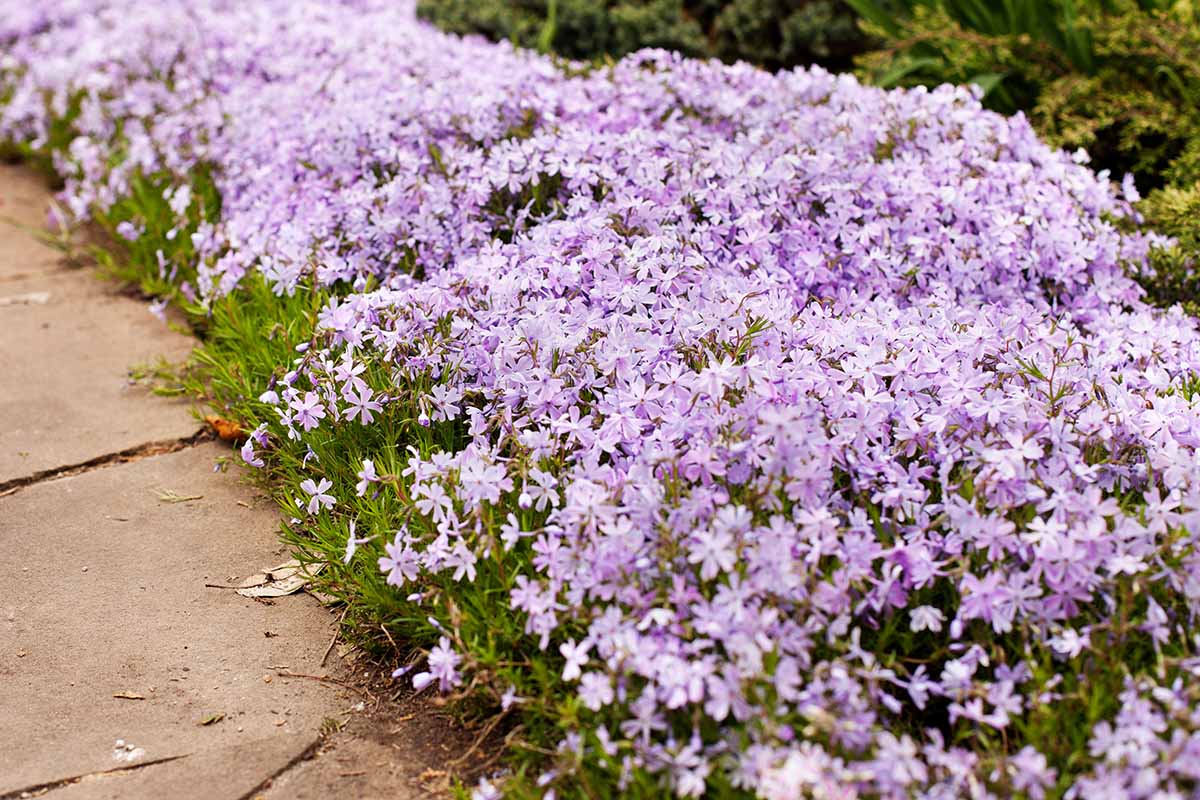
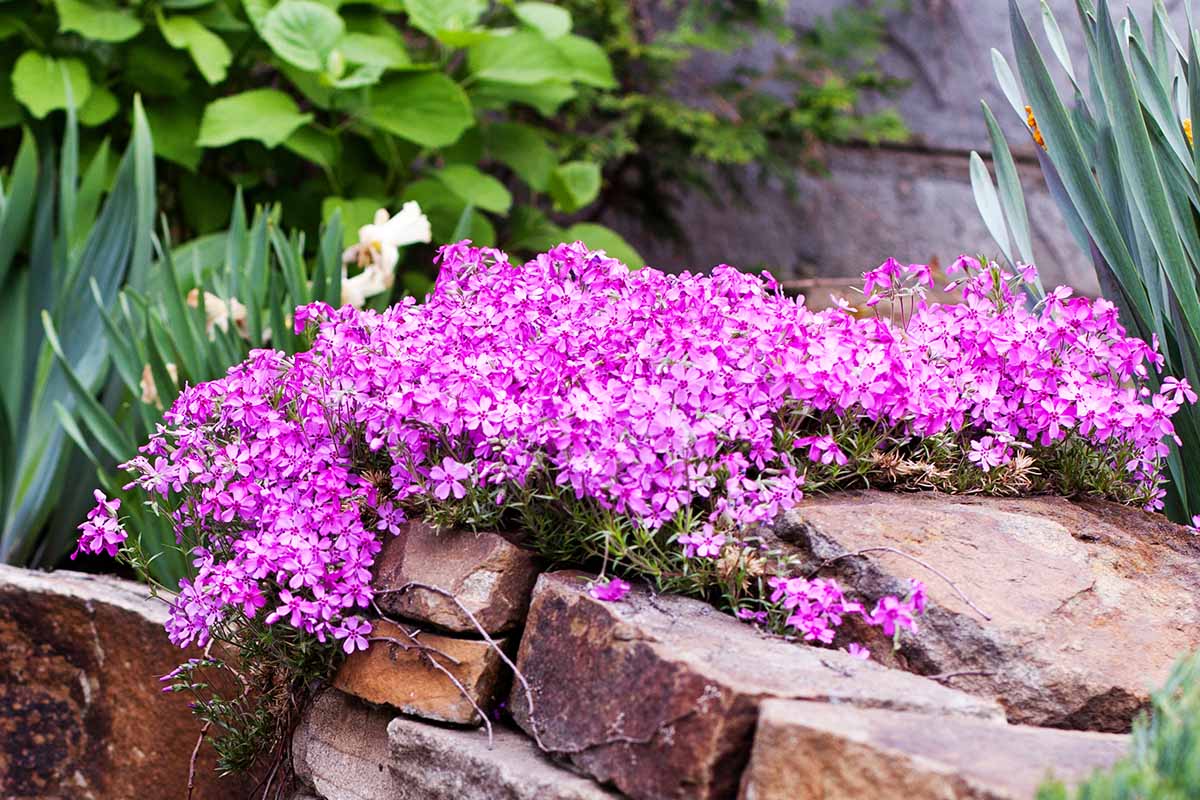
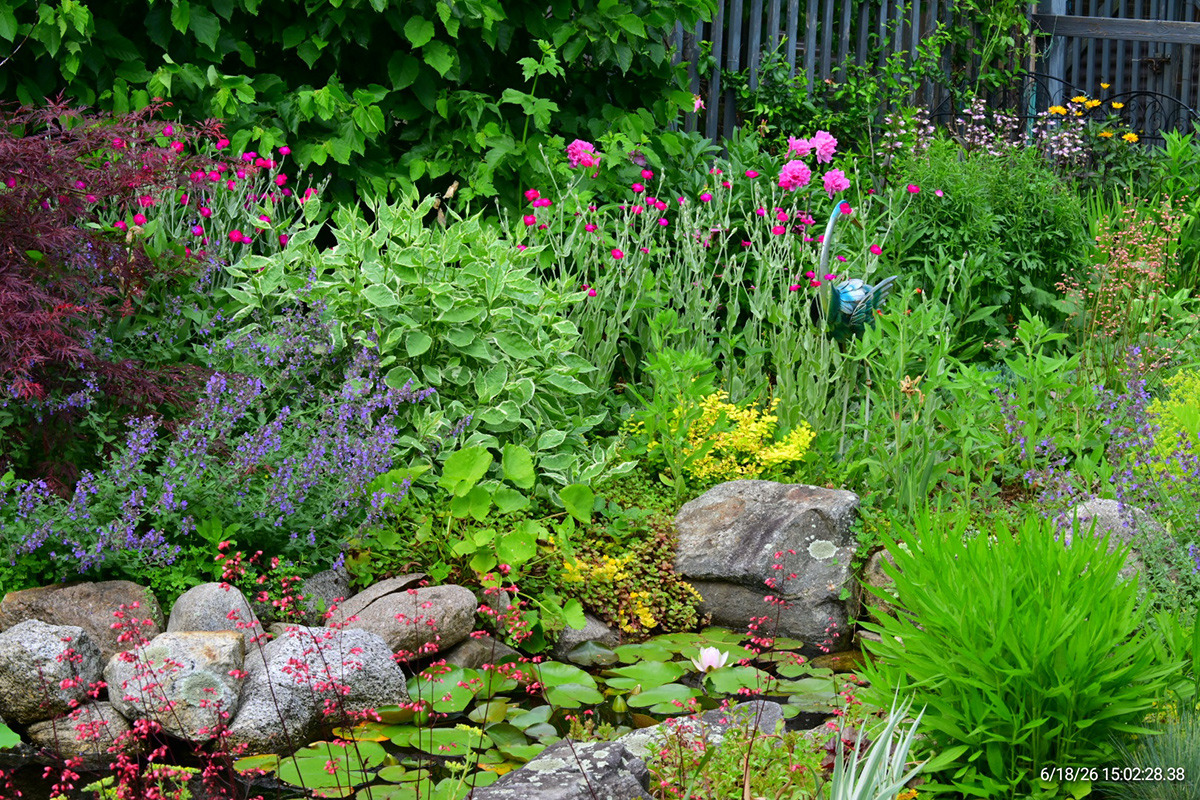
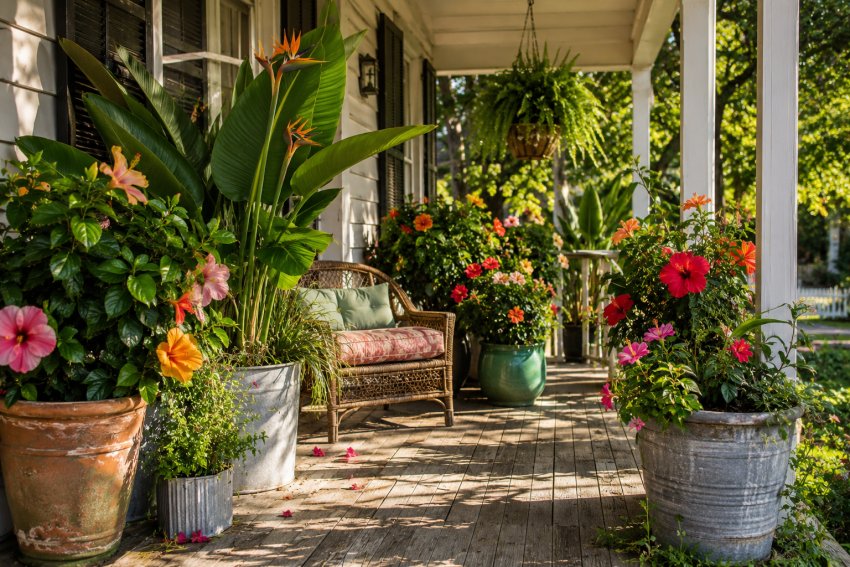
Growing only three to eight inches tall, but spreading as wide as nine to 24 inches, creeping phlox is an ideal ground cover and companion plant.
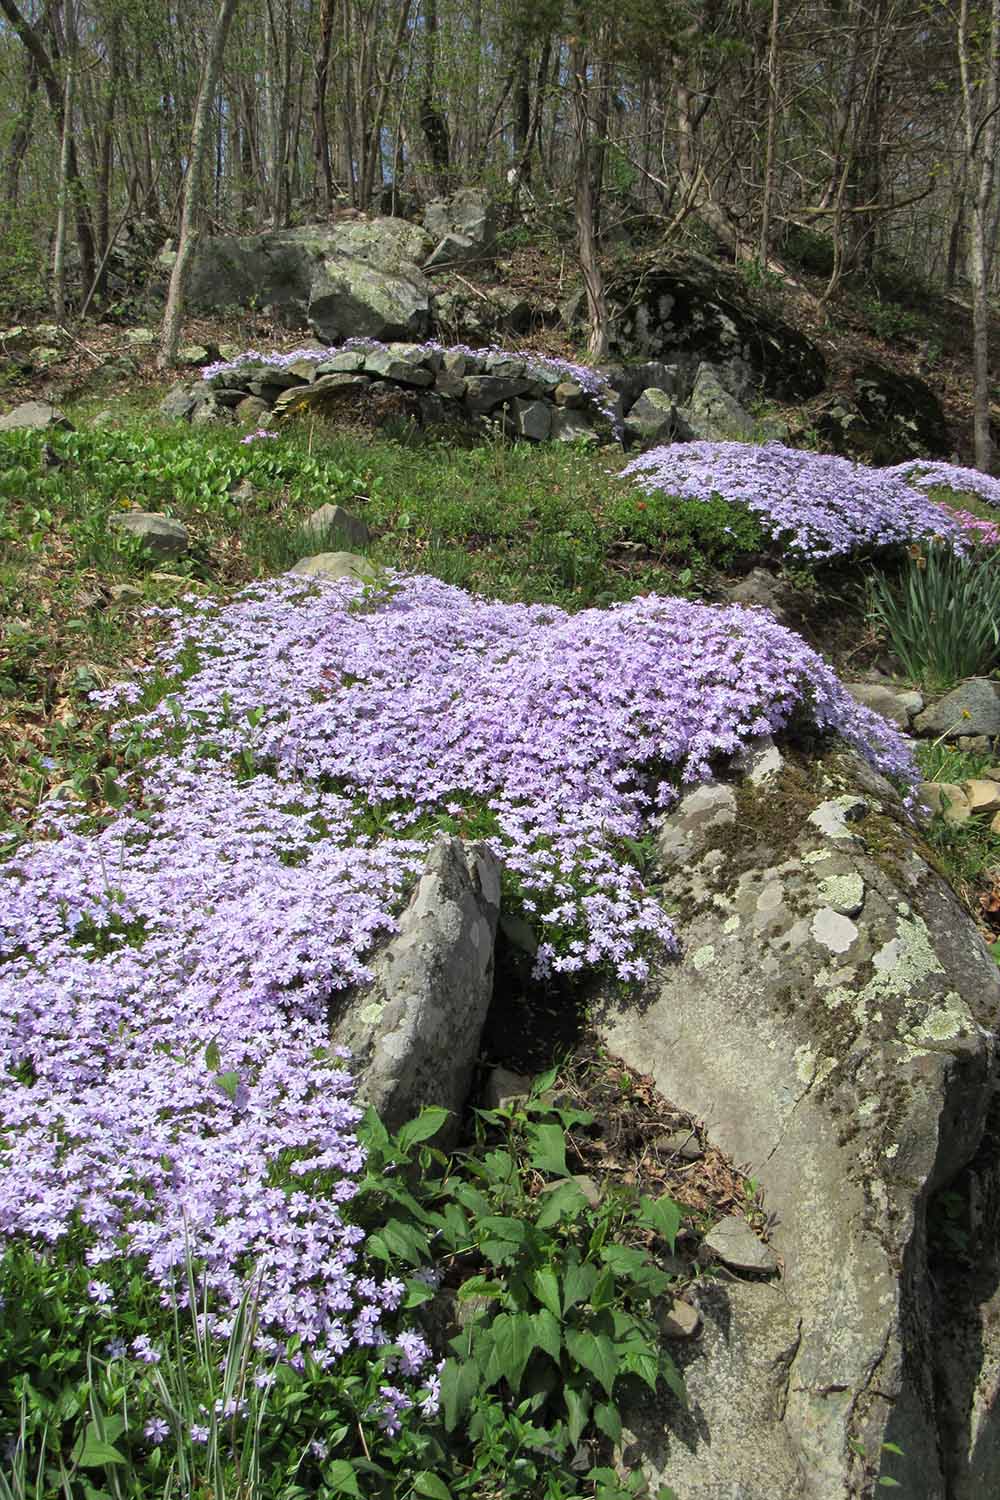
Although it is perfectly at home on flat land, to appreciate this plant in all its colorful glory, it might be best to place it on a slope, where the blooms can be properly seen and enjoyed.
Slopes also provide an ideal home for creeping phlox for two other reasons:
- The soil typically drains well on slopes.
- The roots can help to prevent erosion.
Both species are also tolerant of black walnuts and other trees containing juglone.
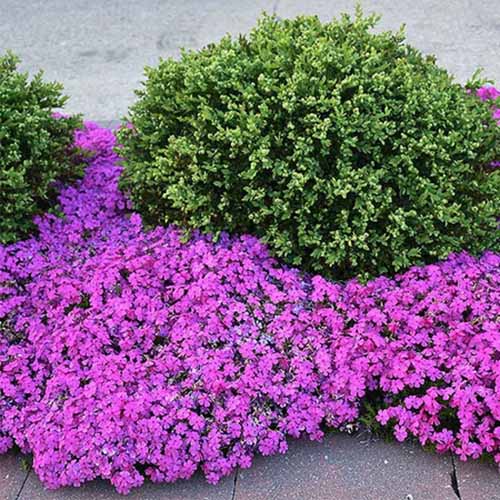
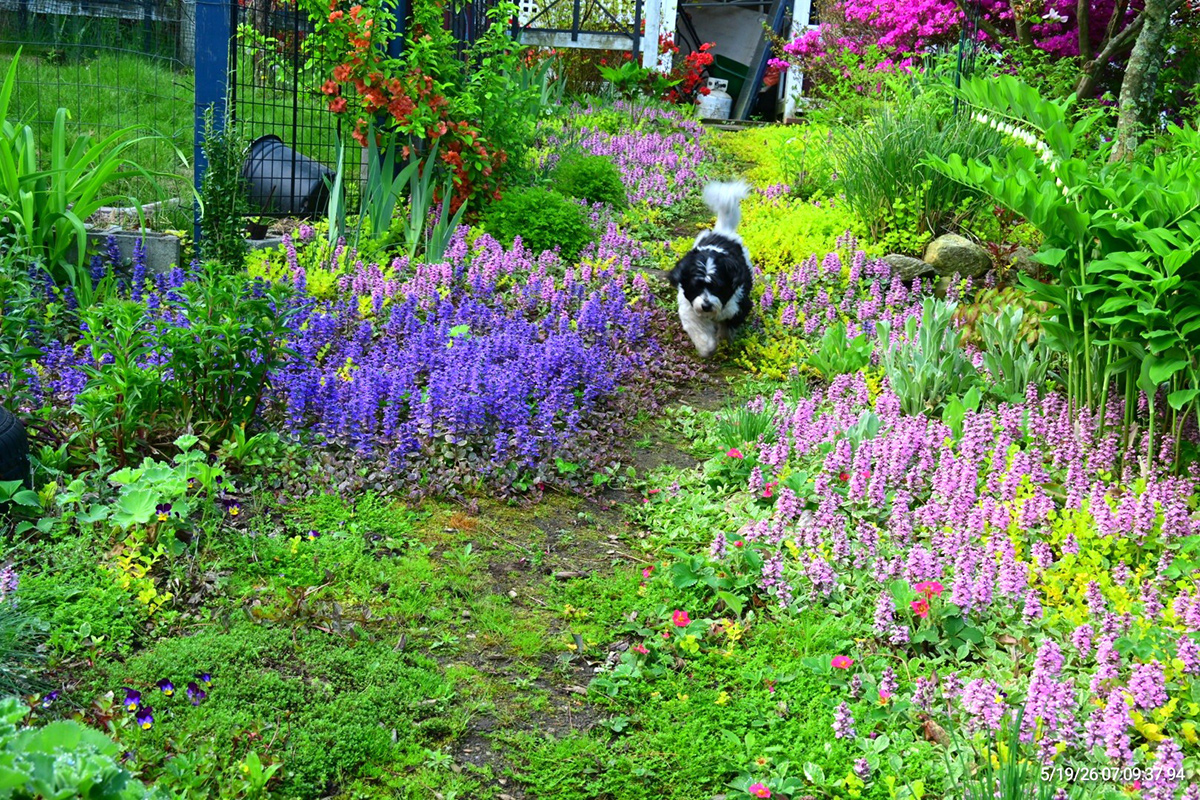
As the name suggests, these plants have a tendency to spread. For some gardeners, this is ideal – spreading perennials that cover every inch of empty space.
But if you prefer well behaved and orderly plants, creeping phlox might not be right for you.
How to Grow
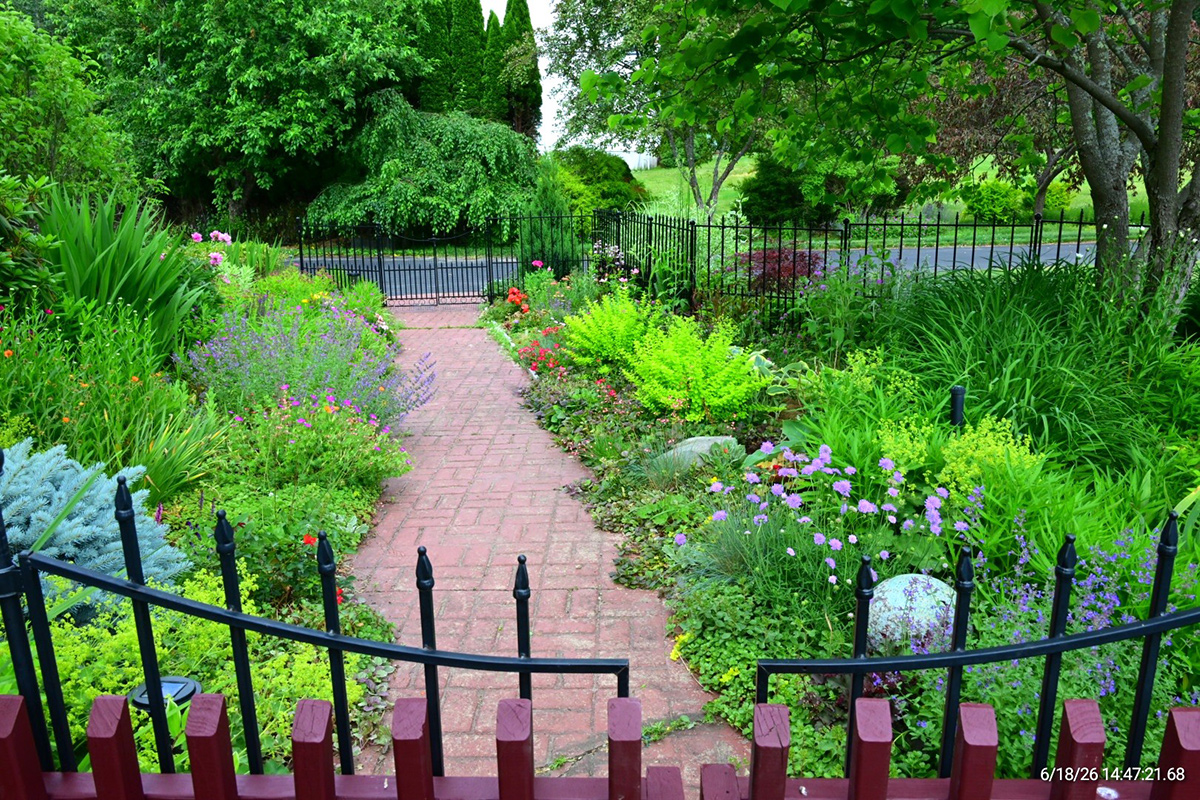
P. stolonifera and P. subulata are adaptable and versatile and when situated in the right place with the right amount of sun exposure, will thrive without any special care.
Neither species is particularly fussy, although they prefer well drained, humus-rich soil.
Creeping phlox doesn’t like soggy soil, so generally speaking, it’s best to keep watering to a minimum.
Even when well established, phlox benefits from watering during especially hot summers or if you live somewhere that gets an average of less than one inch of rain per week.
Both P. stolonifera and P. subulata take kindly to either a late winter or early spring feeding with a slow release fertilizer or organic plant food, which helps promote strong and vigorous growth.
Cultivars to Select
With so many varieties to choose from, there’s no doubt that you can find the right kind to suit your tastes and your garden plans.
Generally very hardy and adaptable plants, the most important consideration is probably color.
With a variety of vibrant shades of pink, purple, and blue to choose from, this can be a tough decision.
Here are a few of my favorites:
Candy Stripe
P. subulata ‘Candy Stripe’ is named for its distinctive pink-and-white striped blooms, which resemble candy cane markings on the star-shaped spring flowers.
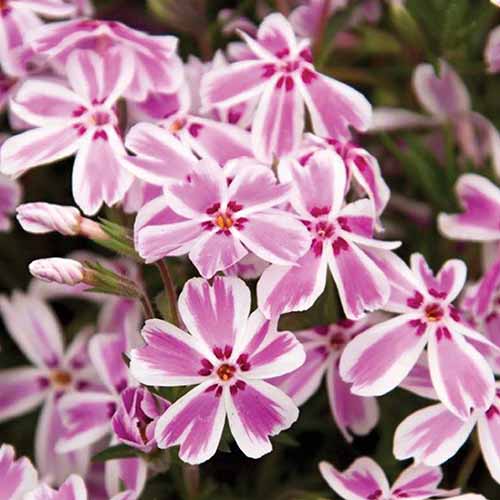
It grows four to six inches tall and spreads up to 24 inches wide, forming a dense, evergreen mat that puts on a colorful show for three to four weeks in mid to late spring.
You can find ‘Candy Stripe’ available at Burpee.
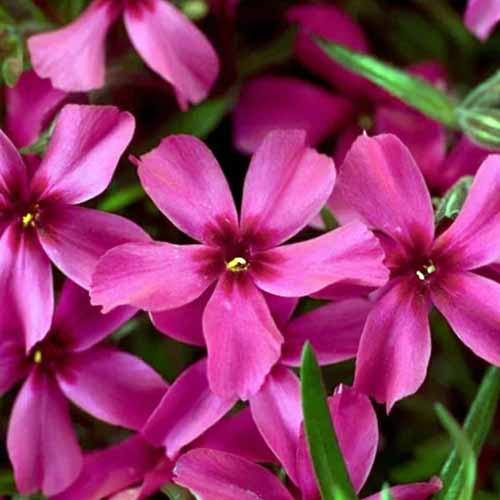
Drummond’s Pink
‘Drummond’s Pink’ is a P. subulata cultivar that produces solid bubble-gum pink, fragrant blooms from early to late spring over a dense, evergreen mat.
It grows to around 12 inches tall and spreads 12 to 24 inches wide.
You can find ‘Drummond’s Pink’ plants in #1 containers available at Nature Hills Nursery.
Emerald Blue
Masses of lavender-blue, star-shaped flowers over needle-like evergreen foliage adorn ‘Emerald Blue’ in mid to late spring, blooming for three to four weeks.
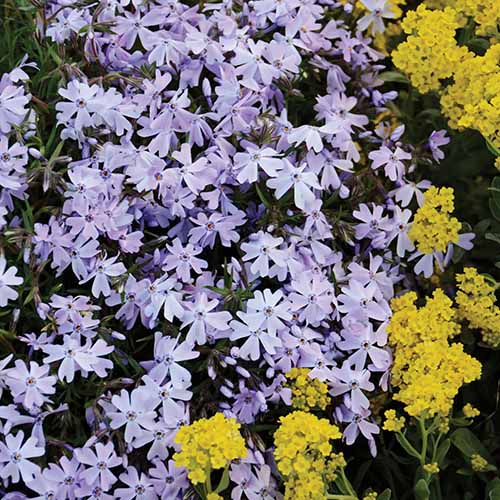
This P. subulata cultivar grows four to six inches tall and spreads 12 to 24 inches.
You can find ‘Emerald Blue’ plants available at Burpee.
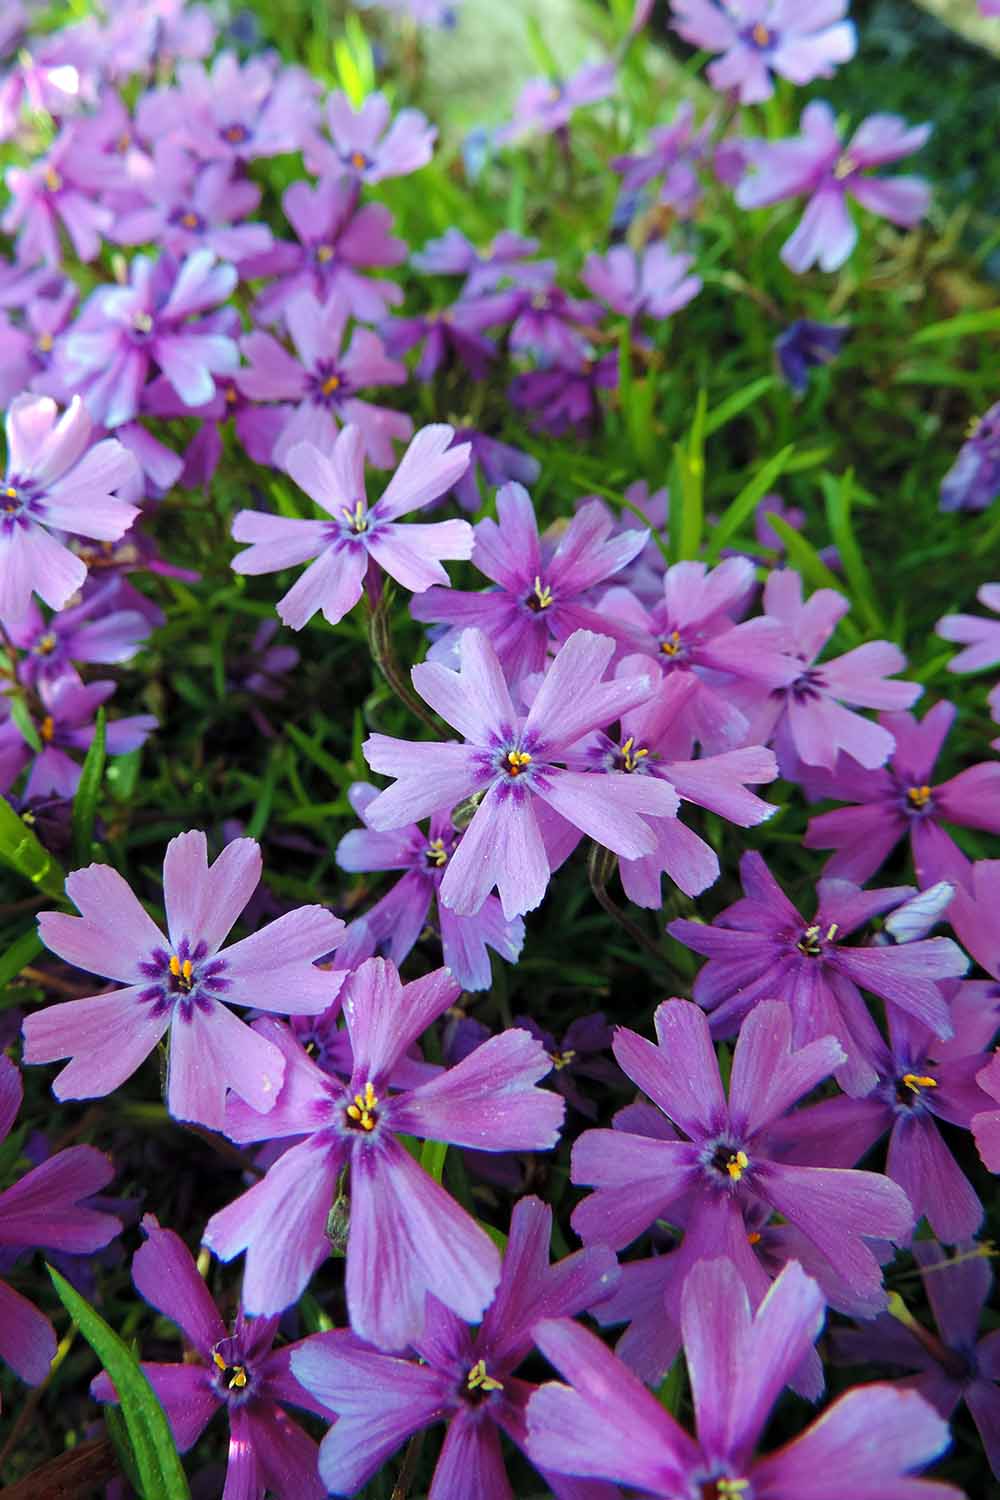
Scarlet Flame
In mid to late spring, ‘Scarlet Flame’ produces vivid scarlet-red, star-shaped flowers.
Growing four to six inches tall with a spread of 12 to 24 inches, this P. subulata cultivar is one of the more boldly colored varieties available.
Find plants in #1 containers available at Nature Hills Nursery.
Snowflake
For something a bit more delicate, P. subulata ‘Snowflake’ produces pure white, fragrant blooms in early to late spring, with a potential fall rebloom if deadheaded.
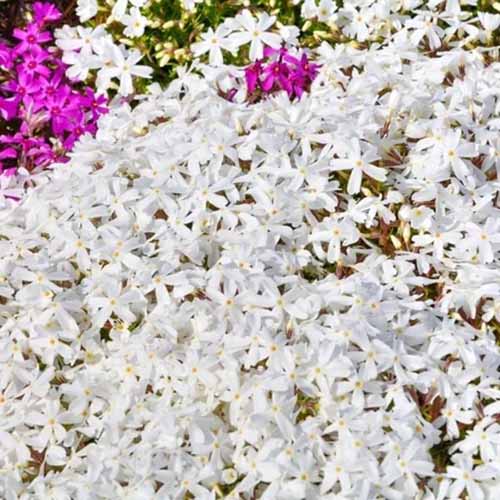
It grows to around 12 inches tall and wide.
You can find ‘Snowflake’ available at Nature Hills Nursery in #1 containers.
Maintenance
Although not strictly necessary, a bit of trimming from time to time does this plant some good.
Stems can be cut back at a couple of different times throughout the year.
Once after flowering to encourage a second bloom, with an occasional winter cut-back to keep the plant happy, healthy, and raring to go, ready for the following spring.
Cutting the stems back like this also encourages their naturally long growth to become shorter and woodier, creating more dense flowering.
Propagation
It’s easy to grow P. stolonifera and P. subulata from seed, cuttings, and transplants.
From Seed
From seed, the main thing to remember is to use a potting medium with good drainage, preferably comprised of perlite and coarse sand granules.

It’s best to seed them about two months before the last frost date. Once the plants start to emerge, it’s important to give them enough sunlight – around 12 hours a day.
From Cuttings
However, it is probably easier to grow from cuttings than it is from seeds.
Cuttings, if done right, are a particularly easy option to propagate, as they root easily after a few months.
All you need to do is cut a roughly six-inch-long section, either from a rooted stem or a lateral shoot near the tip.
Make sure there’s at least one leaf and no flowers on the cutting. Always make cuttings with a clean, sharp tool to prevent infection.
Creeping phlox roots so well that it doesn’t even require rooting hormone, although this product will help speed along the process if you’re keen to ensure success.
Just place the cuttings in a potting mixture with good drainage, using perlite and/or coarse sand, and you’re good to go.
 Hey! Urine – Credible! Card, Funny Medical Humor Card for Nurse, Healthcare Worker Appreciation Card with Urine Test Strip Design")


 I KNEEd to Say Thank You Card, Funny Nurse and Medical Worker Appreciation Card, Cute Knee Design with Stethoscope and Clipboard Thank You Card for Healthcare Workers")


 Hip Hooray Card, Funny Bone and Hip Design Thank You Card for Nurse, Playful Healthcare Worker Appreciation Card, Cute Hip and Bone Medical Card")


 You Are Off the Charts! Card, Funny Nurse Appreciation Card, Medical and Healthcare Worker Thank You Card with Stethoscope and RX Design")